Source: MiniDisc Wiki contributors · September 3, 2026 snapshot · CC BY 4.0, except where otherwise credited.
Attribution and changes
Adapted from “Onkyo FR-V3”. Links, layout and file names normalized; missing database fields restored; remote embeds replaced with links. Manufacturer manuals and separately credited photographs retain their original attribution.
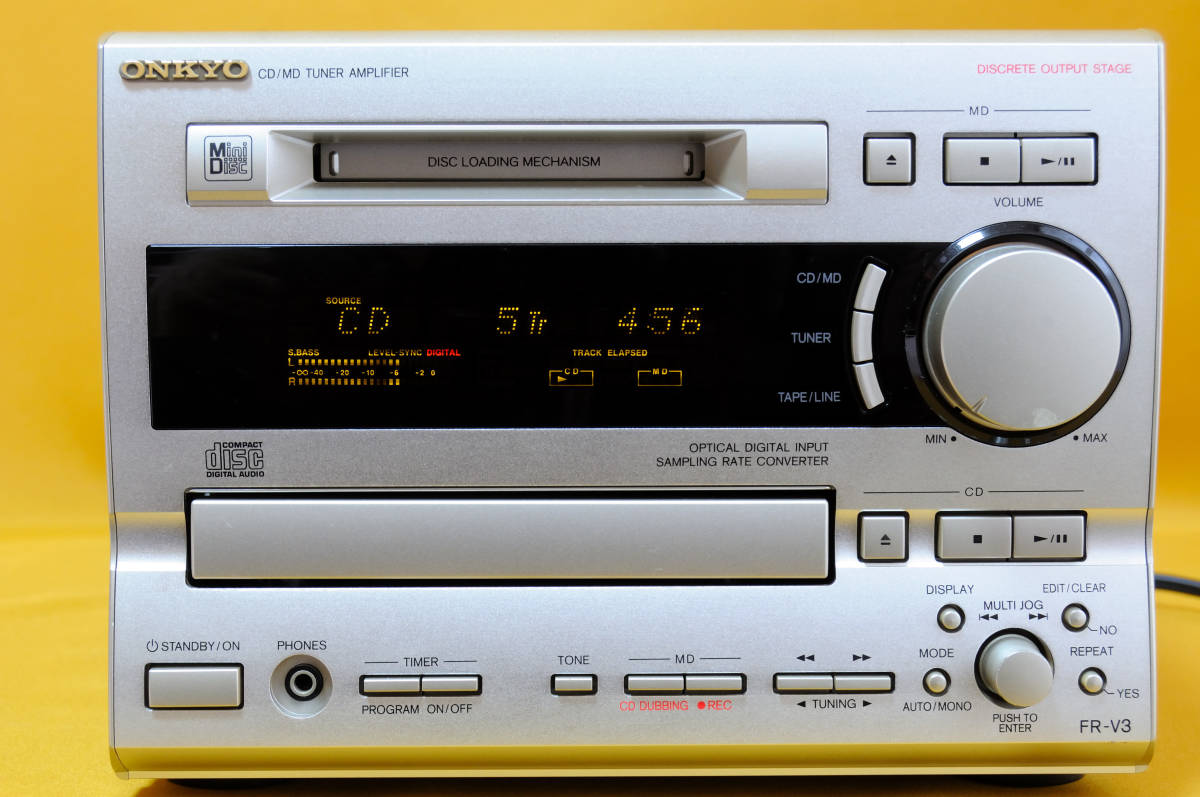
| Name | FR-V3 |
|---|---|
| Manufacturer | Onkyo |
| Released | Not recorded |
| Device type | bookshelf |
| Recorder | Recorder |
| MDLP | No |
| NetMD | No |
| Hi-MD | No |
| Radio | Yes |
| Dimensions | 205 × 154 × 356 mm |
| Weight | 5500 |
| ATRAC ver | Not recorded |
| Battery | Not recorded Not recorded |
| Battery notes | Not recorded |
| Sidecar (depr) | Not recorded |
| Voltage | 120, 230 |
| Power cable | Not recorded |
| Price (launch) | Not recorded |
| Not recorded | |
| - | |
| Inputs | RCA in, Digital optical (TOSLINK) |
| Outputs | 3.5mm headphone, RCA out |
| Control | Not recorded |
ONKYO FR-V3
Content adapted from:
Manuals
How to set the day of the week and the current time:
1. Press the "TIMER" button (repeatedly) at the bottom right of the main unit to display "Clock".
2. Press the MULTI JOG dial.
3. Turn the MULTI JOG dial to select the day of the week.
4. Press the MULTI JOG dial to confirm the day of the week.
5. Turn the MULTI JOG dial to set the time. (It can also be set with the number buttons on the remote control. When displaying am / pm, press the –/ — button to switch between am and pm.)
6. When you press the MULTI JOG dial, the clock starts and the second point blinks. (It can also be set with the ENTER button on the remote control.)
Turn the time display ON / OFF with the "CLOCK" button on the remote control.
To switch between 12-hour (am / pm) display and 24-hour display, press the "DISPLAY" button on the main unit while the time is displayed.
Repair
Photos
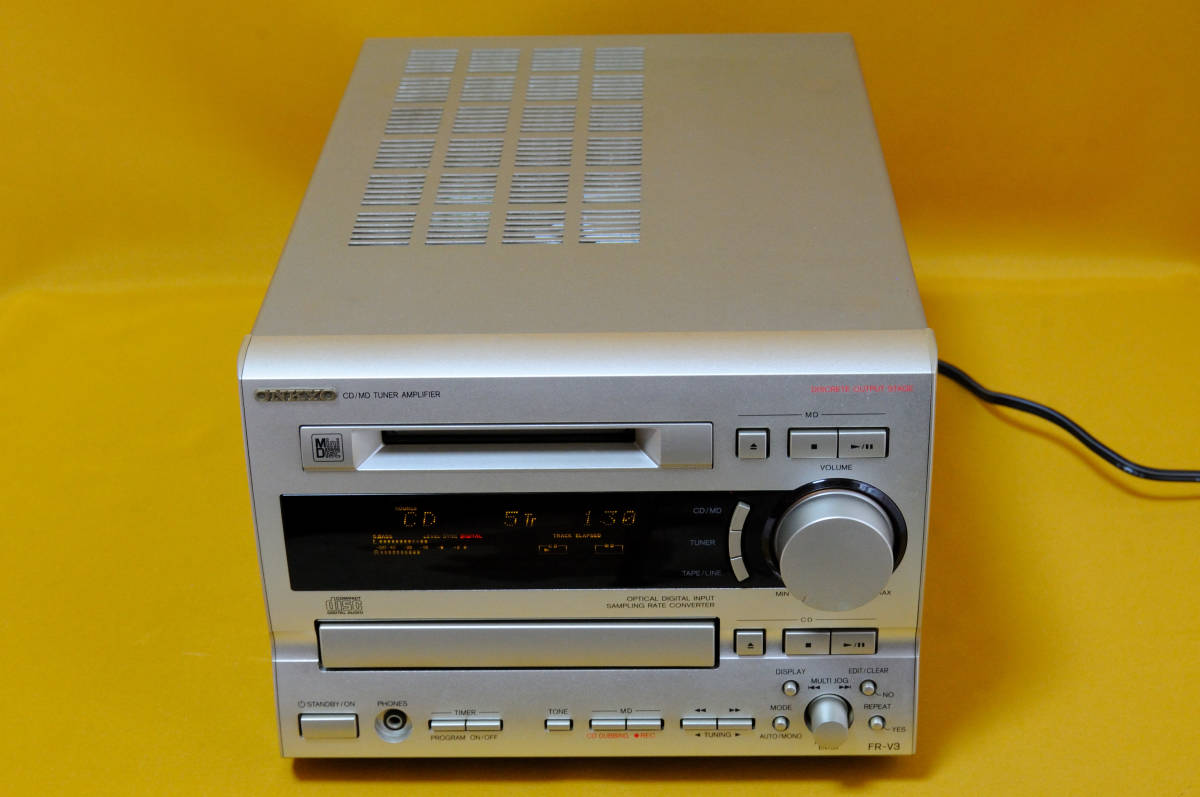
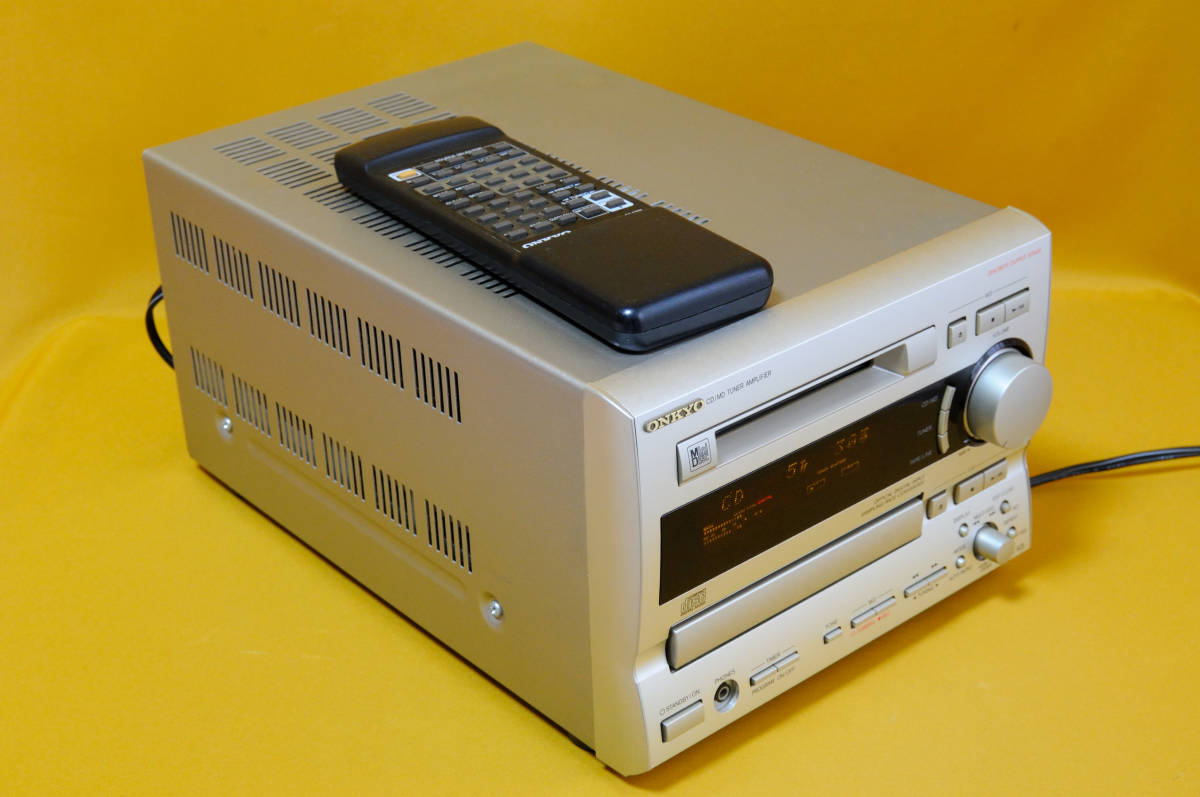
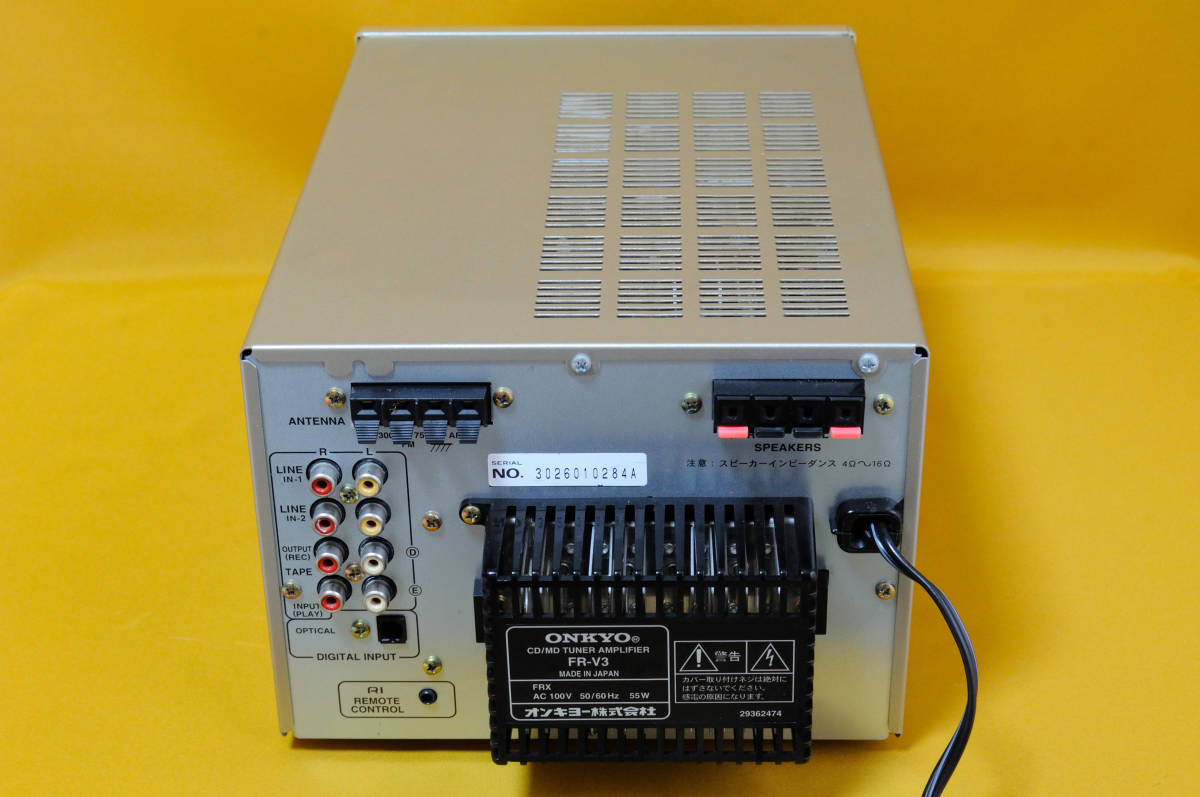
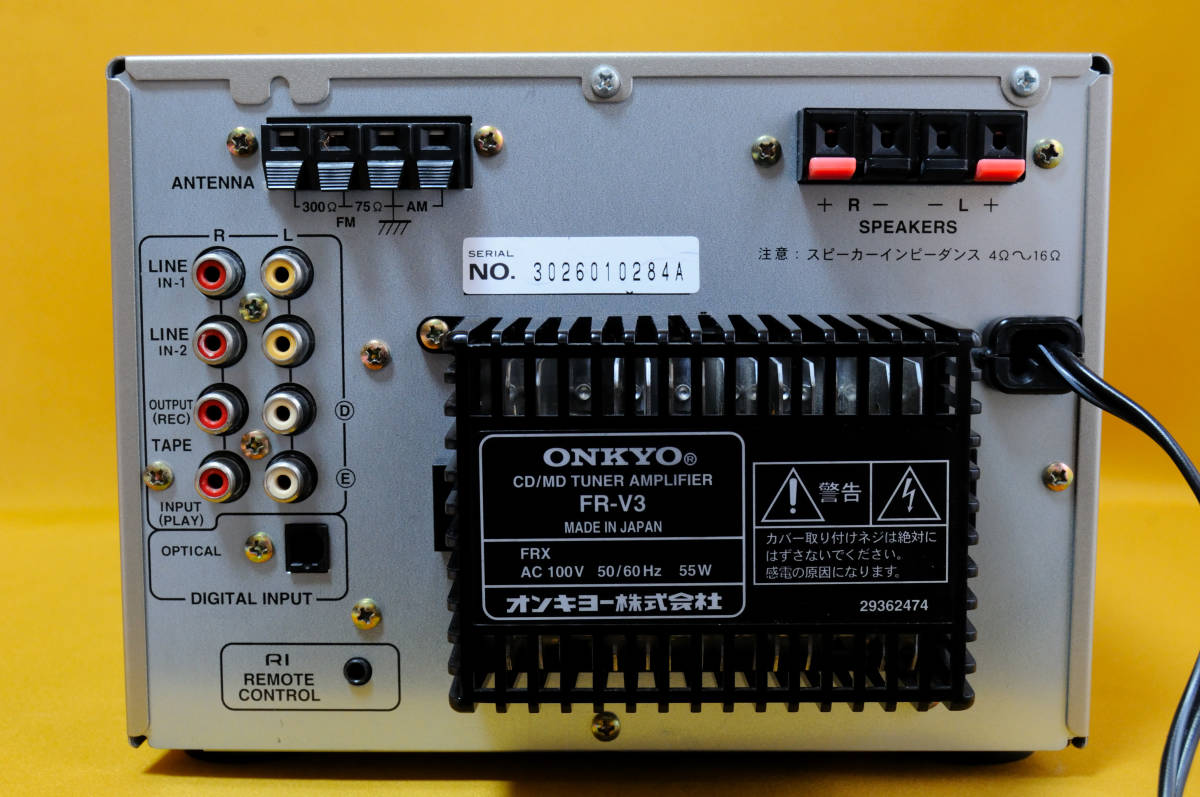
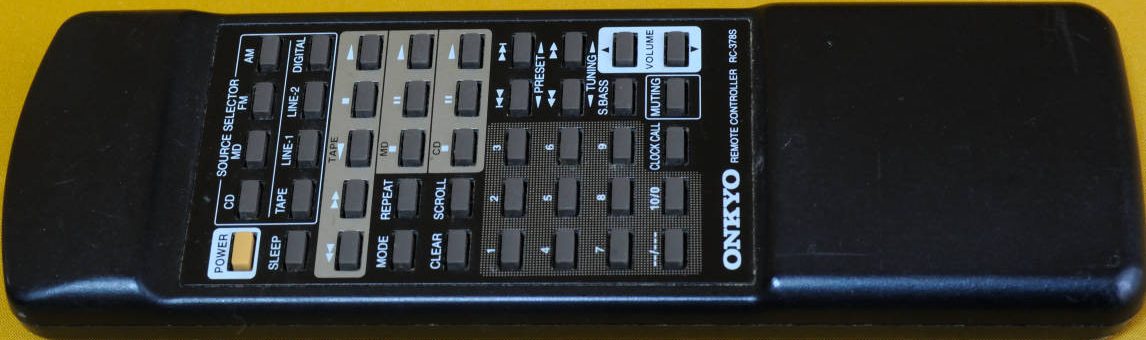
Have photos or data to add? Edit the page! We do not accept contributions via email.
Additional specifications and references
| Scms | Yes |
|---|---|
| Web Md | No |
| Manual | User manual |
| Region | Japan |