Source: MiniDisc Wiki contributors · September 3, 2026 snapshot · CC BY 4.0, except where otherwise credited.
Attribution and changes
Adapted from “Sony MZ-R90/R91”. Links, layout and file names normalized; missing database fields restored; remote embeds replaced with links. Manufacturer manuals and separately credited photographs retain their original attribution.
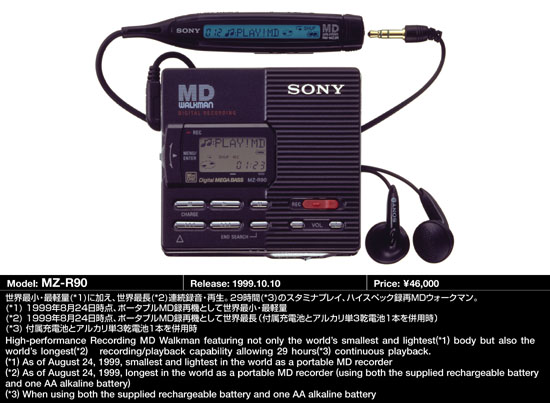
| Name | MZ-R90 |
|---|---|
| Manufacturer | Sony |
| Released | 1999/10 |
| Device type | portable |
| Recorder | Recorder |
| MDLP | No |
| NetMD | No |
| Hi-MD | No |
| Radio | No |
| Dimensions | 78.9 x 17.3 x 72mm (78.9 x 18.0 x 72mm MZ-R91) |
| Weight | 105g (110G MZ-R91) |
| ATRAC ver | 4 |
| Battery | Not recorded "Gumstick" |
| Battery notes | Not recorded |
| Sidecar (depr) | 1xAA |
| Voltage | 3 |
| Power cable | Center positive |
| Price (launch) | Not recorded |
| ¥46 000 | |
| - | |
| Inputs | 3.5mm line in (analog-only), 3.5mm line in (optical multi), 3.5mm microphone |
| Outputs | 3.5mm line out (analog-only), 3.5mm headphone |
| Control | Not recorded |
At the time of their release, they were the smallest recorders with the longest playback time available. The R90 and R91 seem very similar except for the fact the R90 was slightly slimmer/lighter and had a magnesium top cover.
User reviews say that due to power saving drive, it can be slow to start-up/respond.
The included charger is AC-MZR55 2.35x0.7mm 3V centre positive
Common problems for this model include:
- Cracked flex PCB cables
- Brittle plastics (especially battery compartment)
- Shorts due to spilled battery electrolyte
- Optical pickup failures
- Original power supply out-of-spec
ATRAC IC: CXD-2660GA
Content adapted from:
MZ-R90/R91 Minidisc.org Page
Sony Press Release
Comparison with Sharp MD-MT831
Review-sony-mz-r-9091
Comparison with Sharp MD-MT831 (MiniDisc Wiki mirror)
Manuals
Photos
MZ-R90
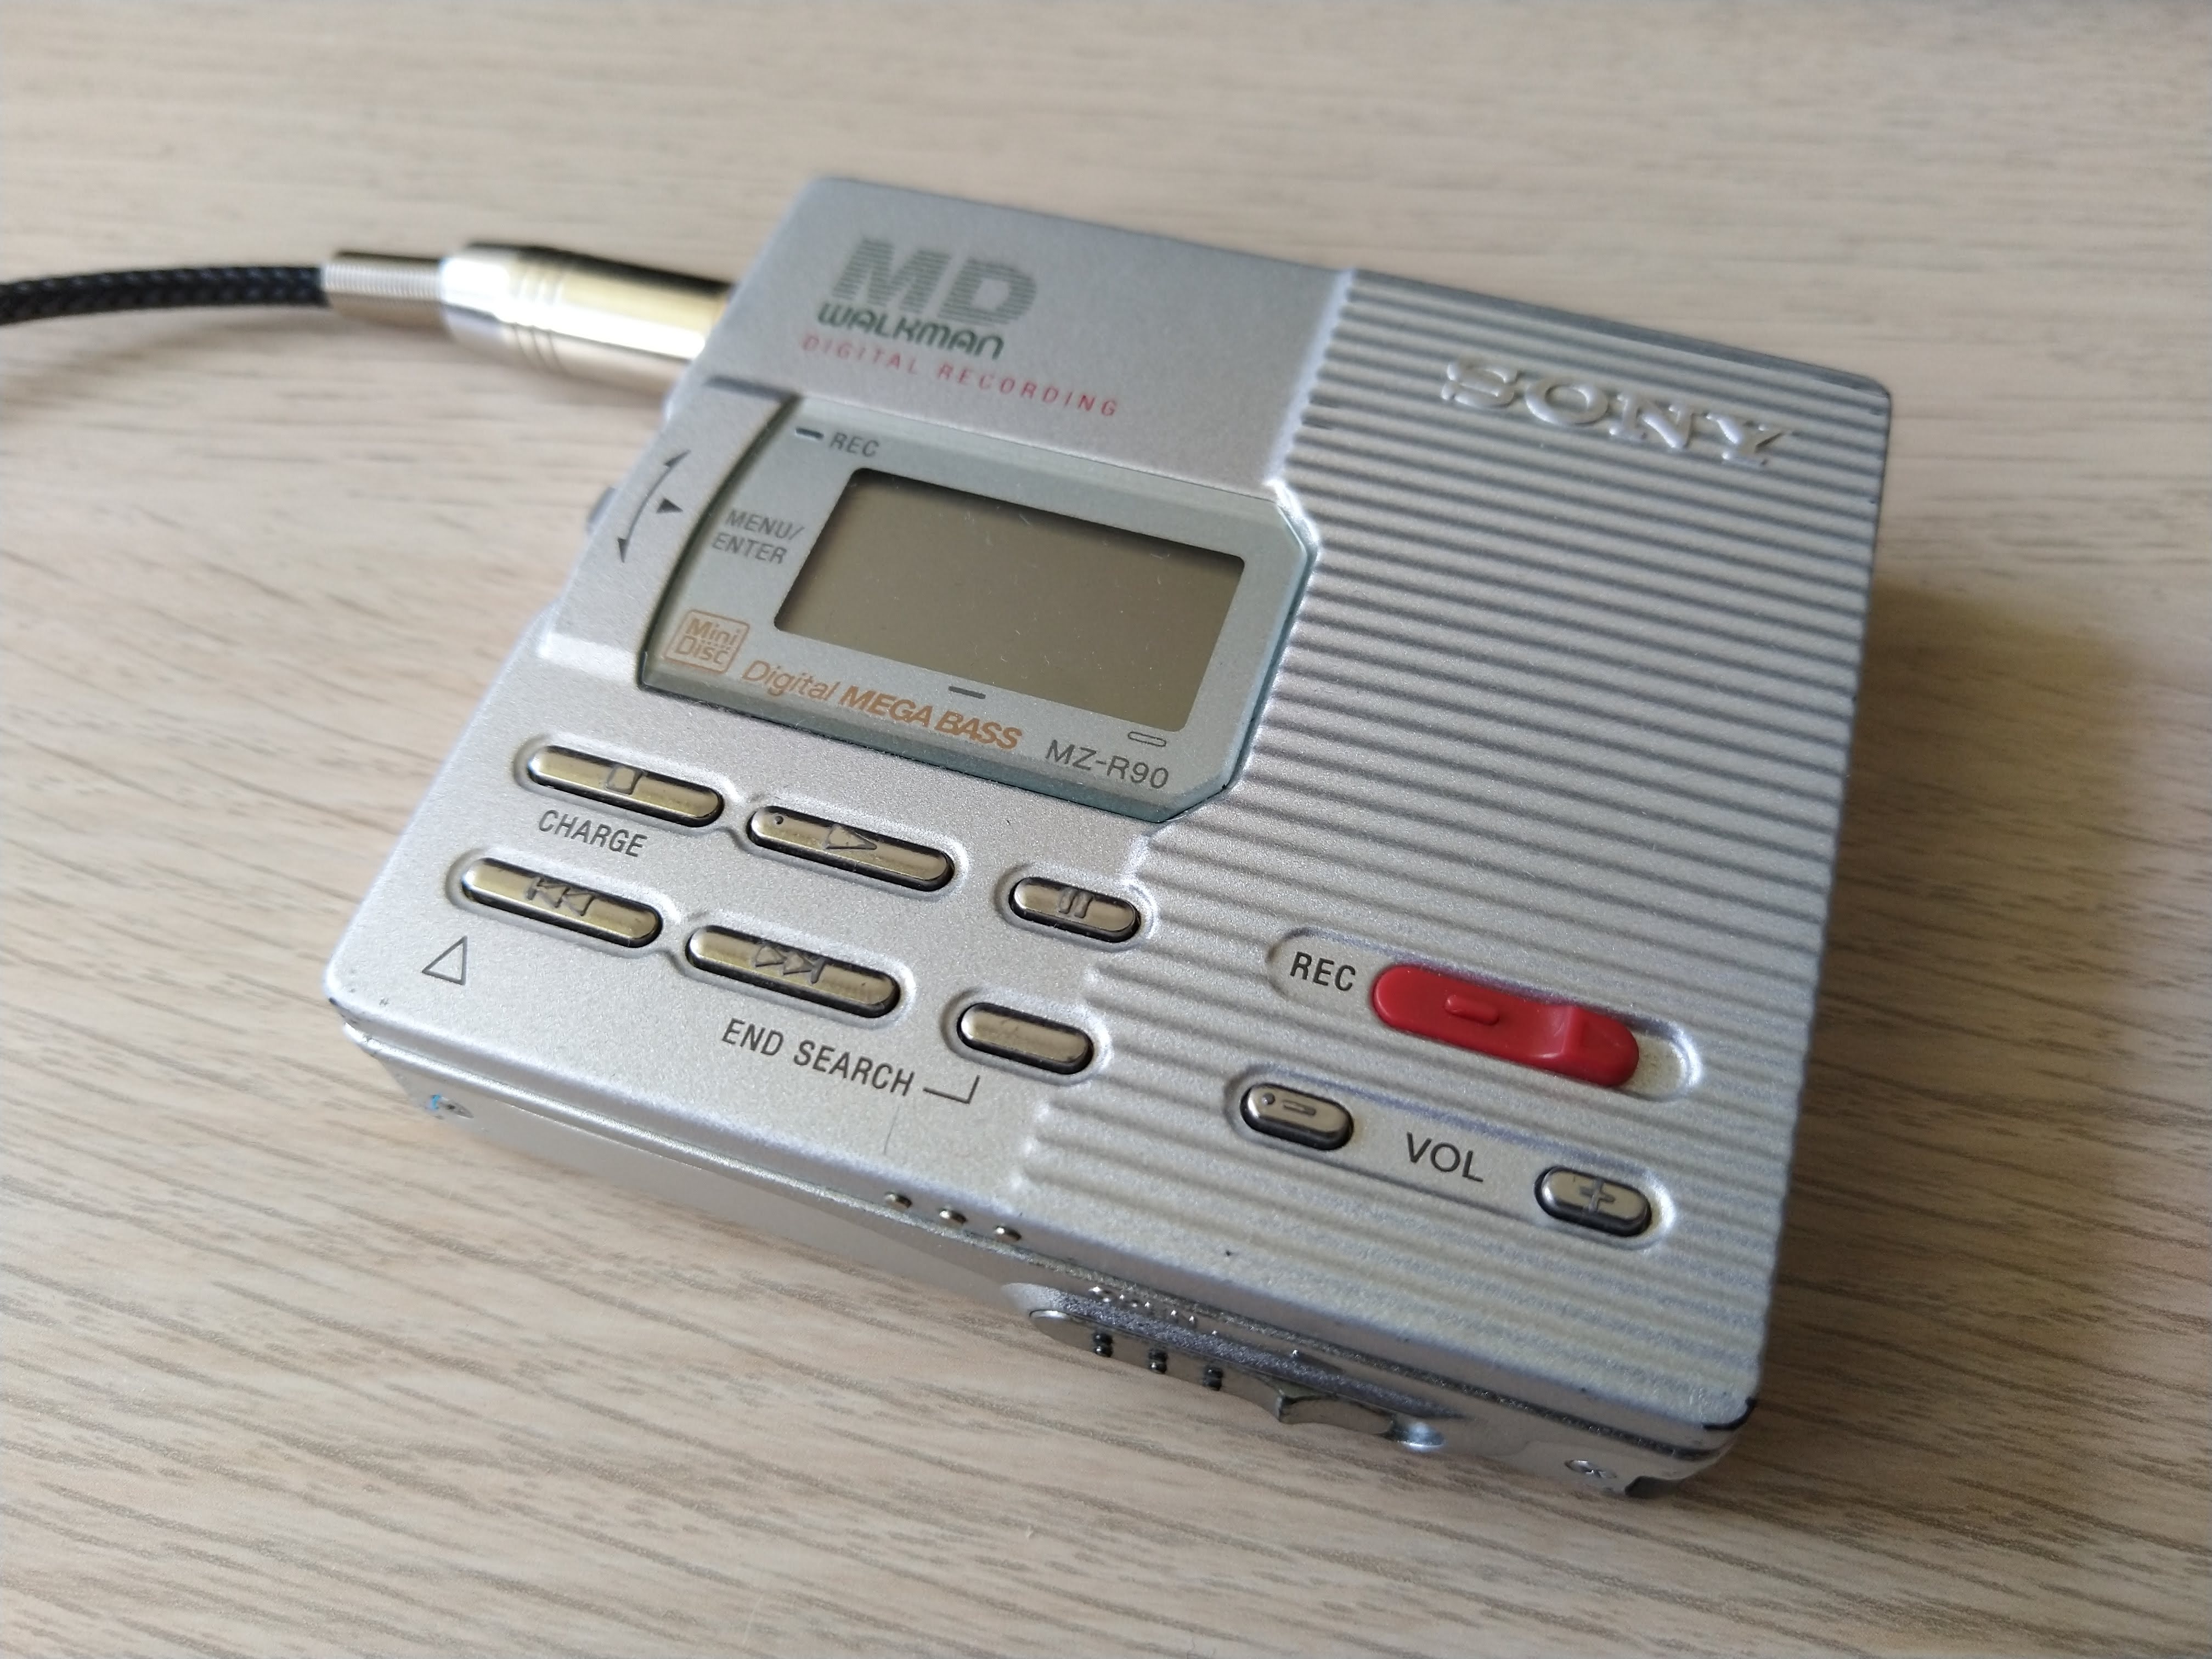
more photos
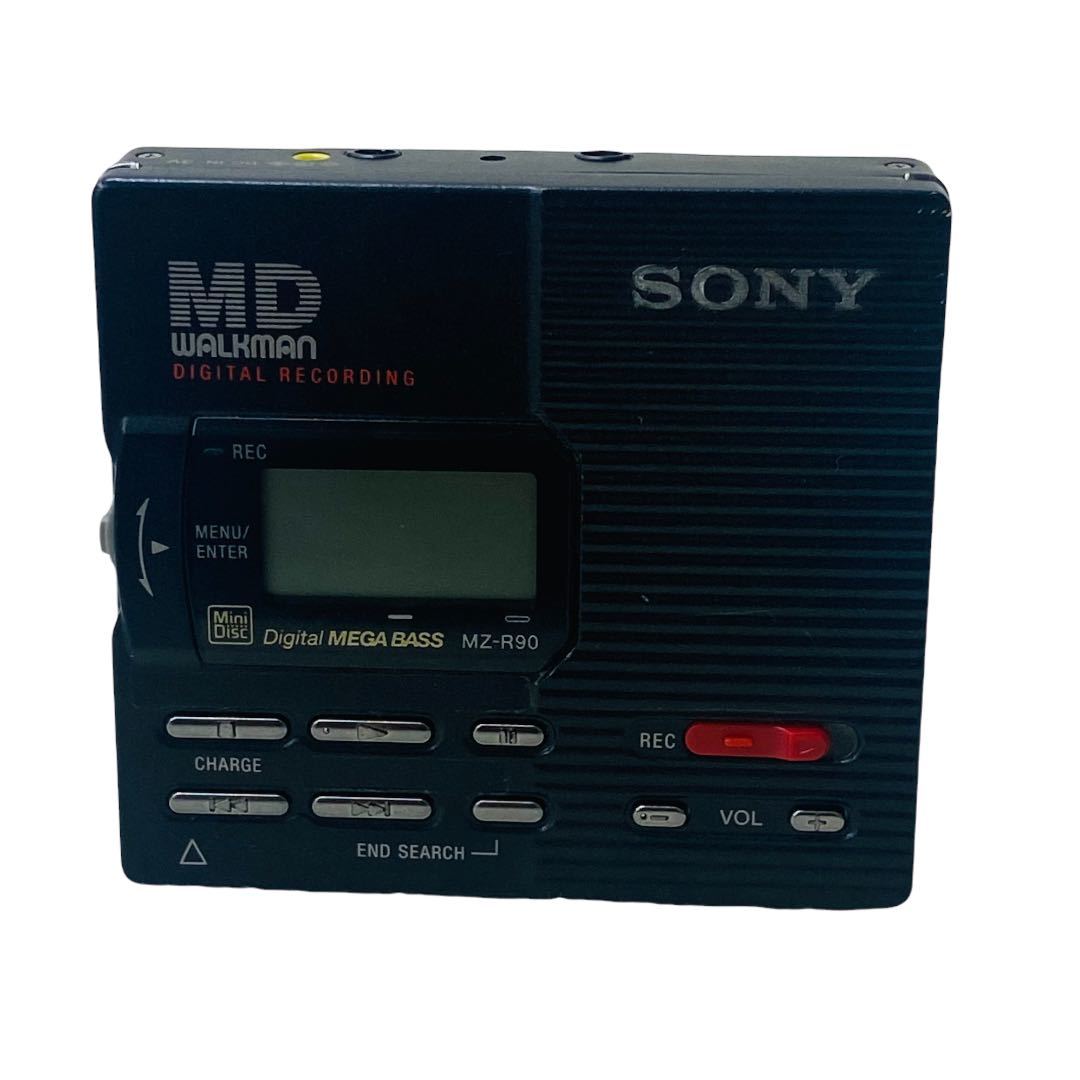
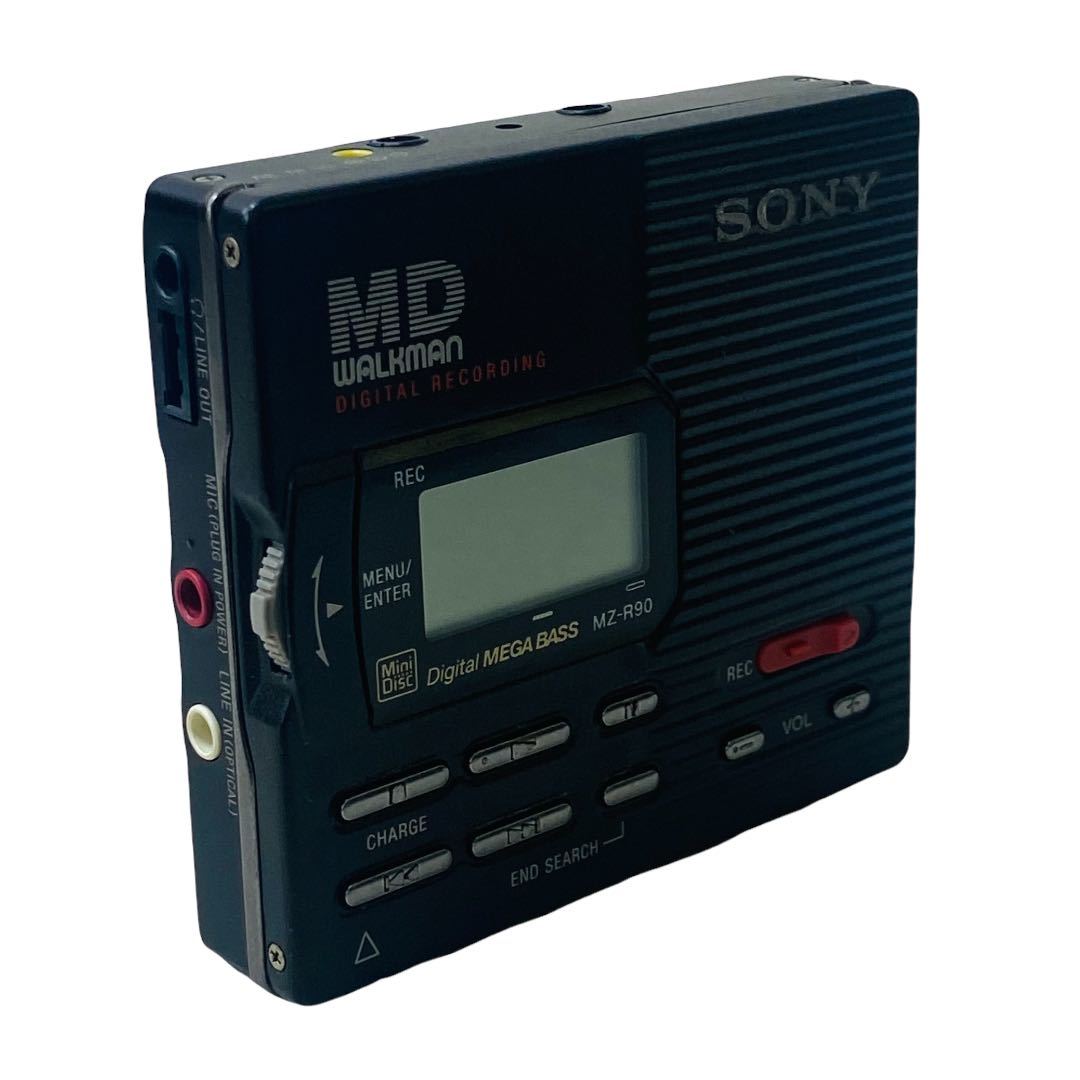
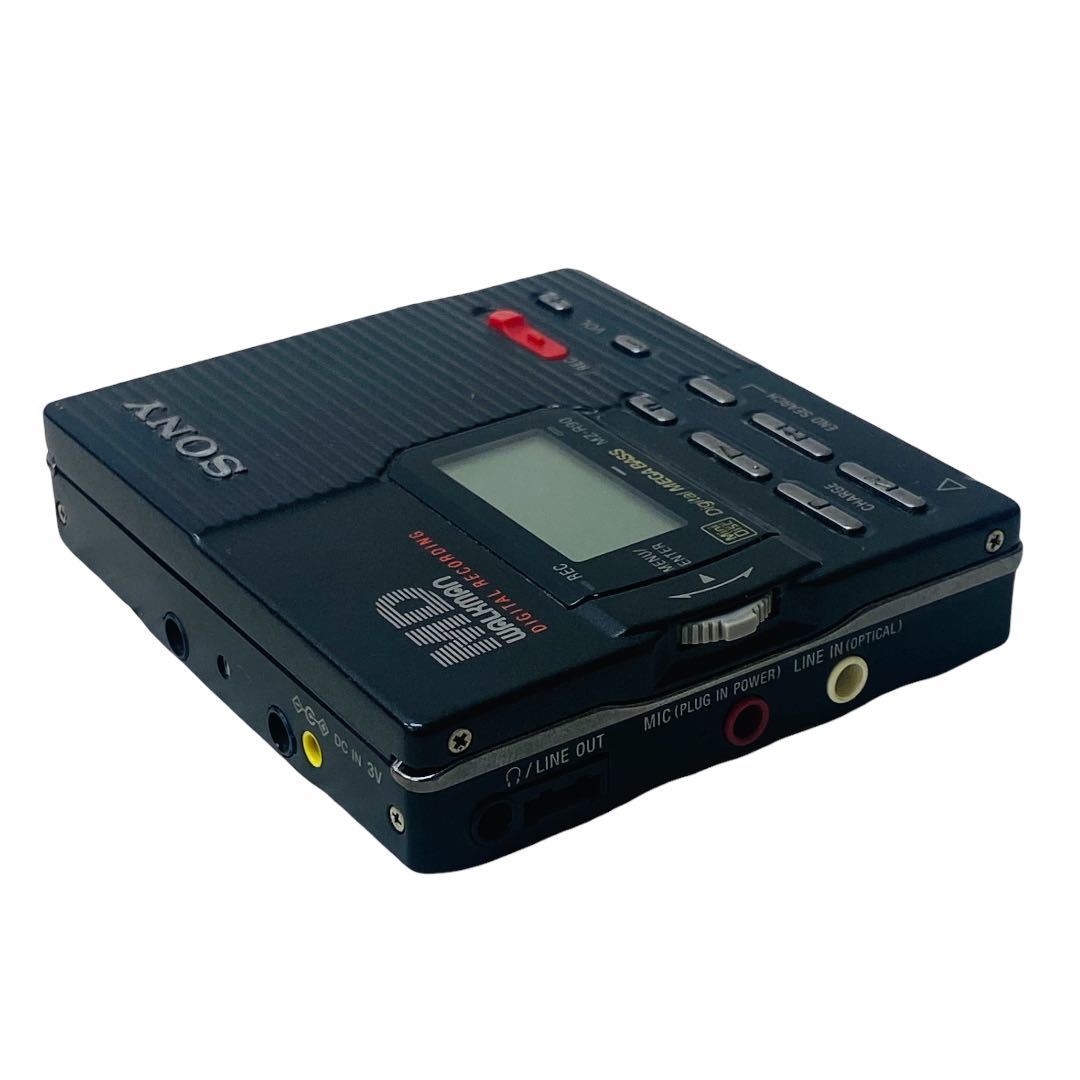
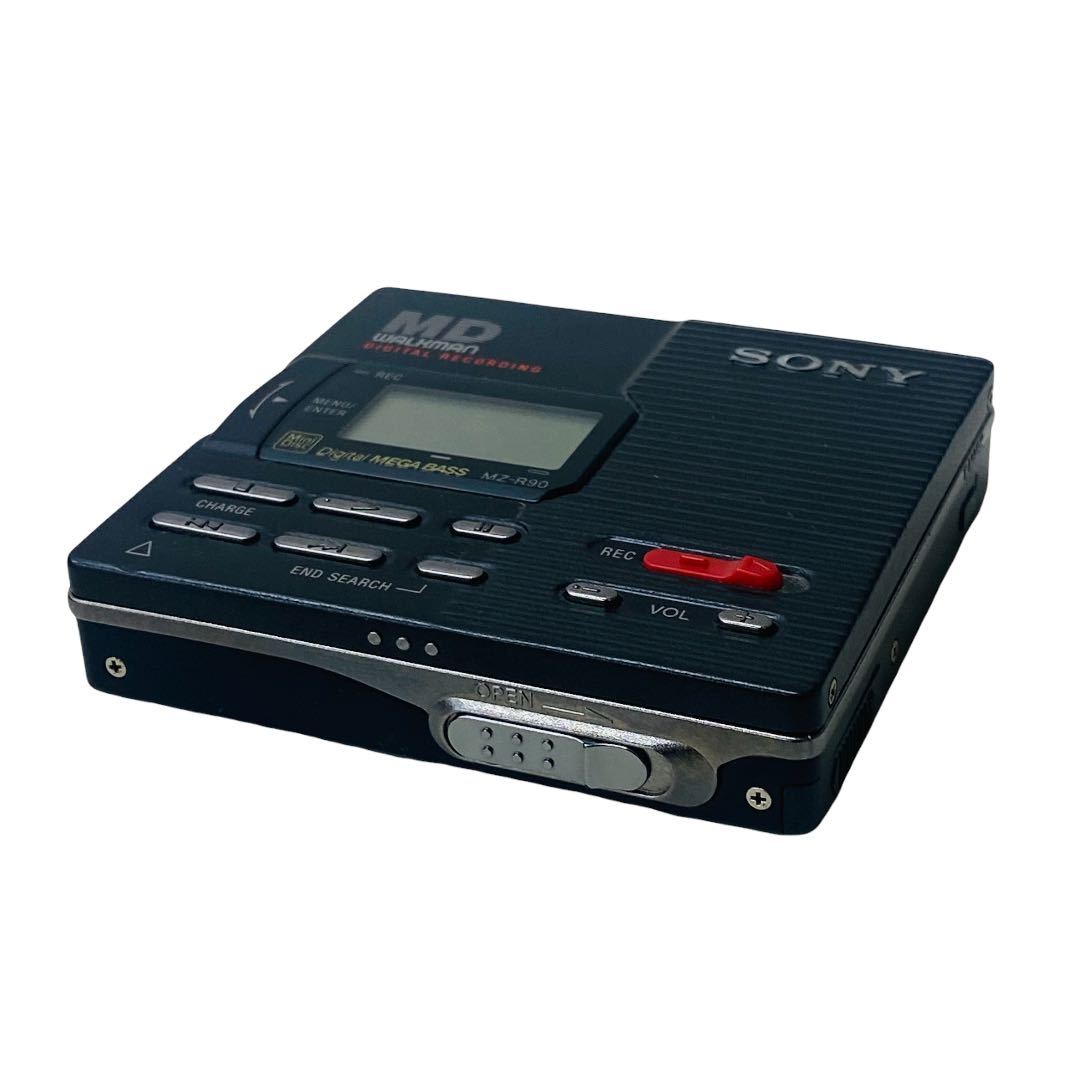
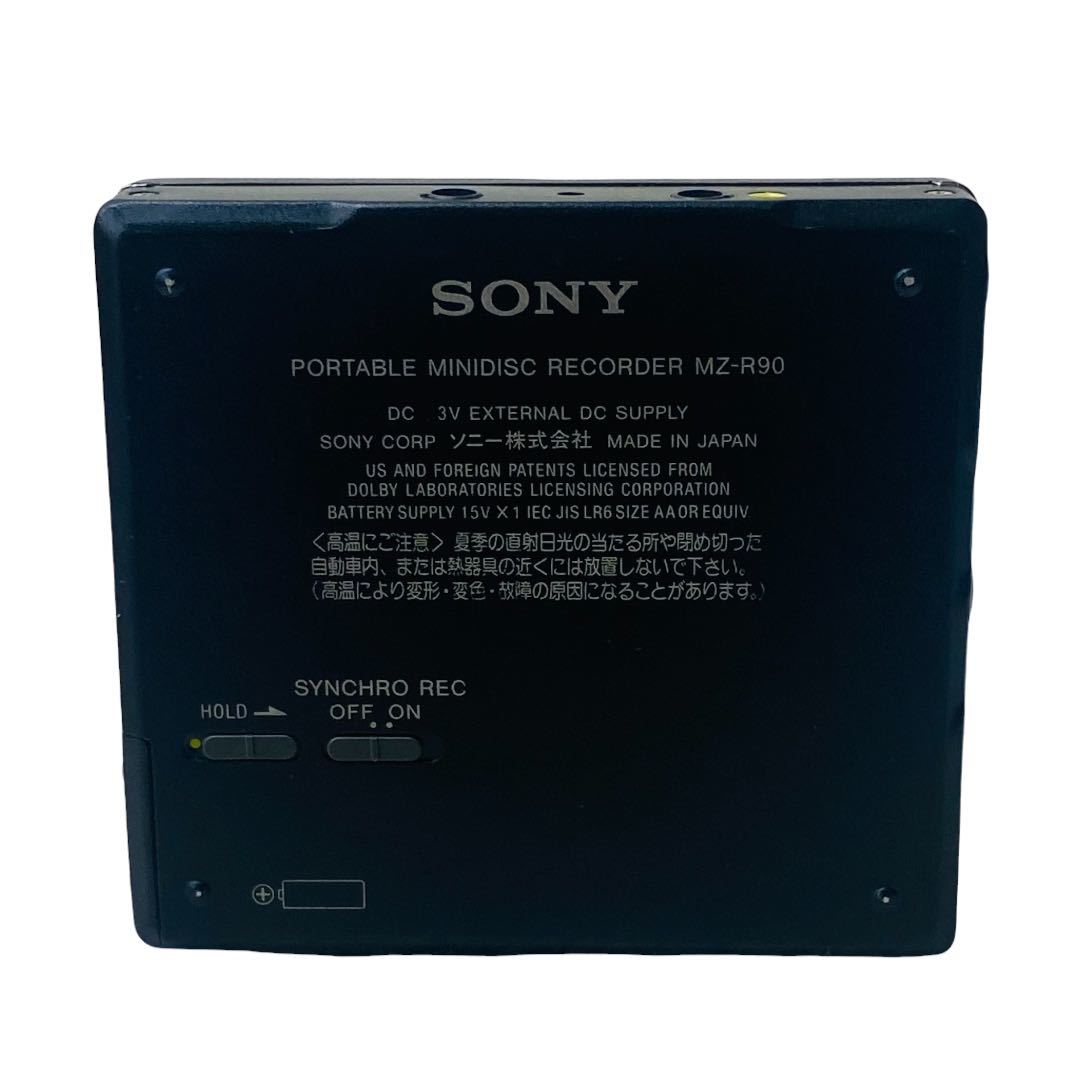
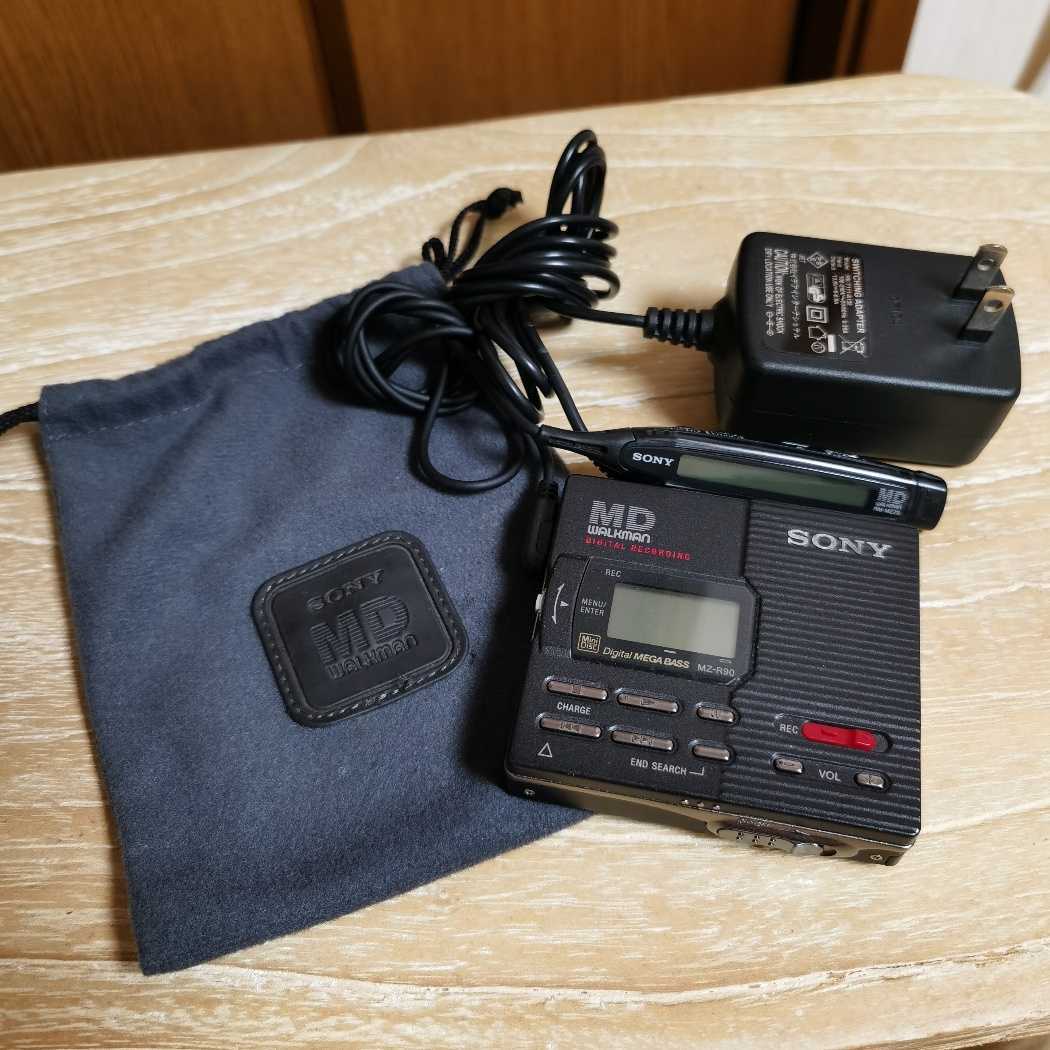
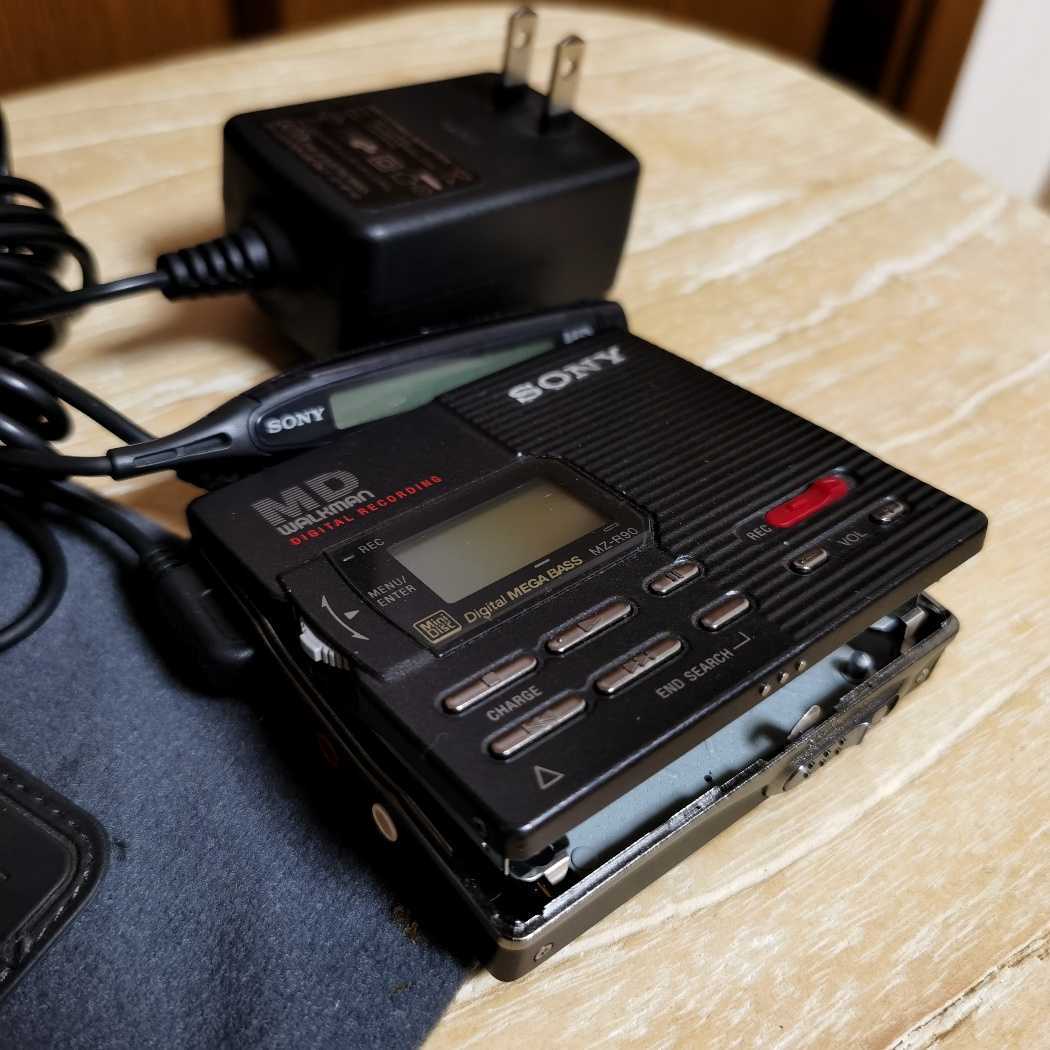
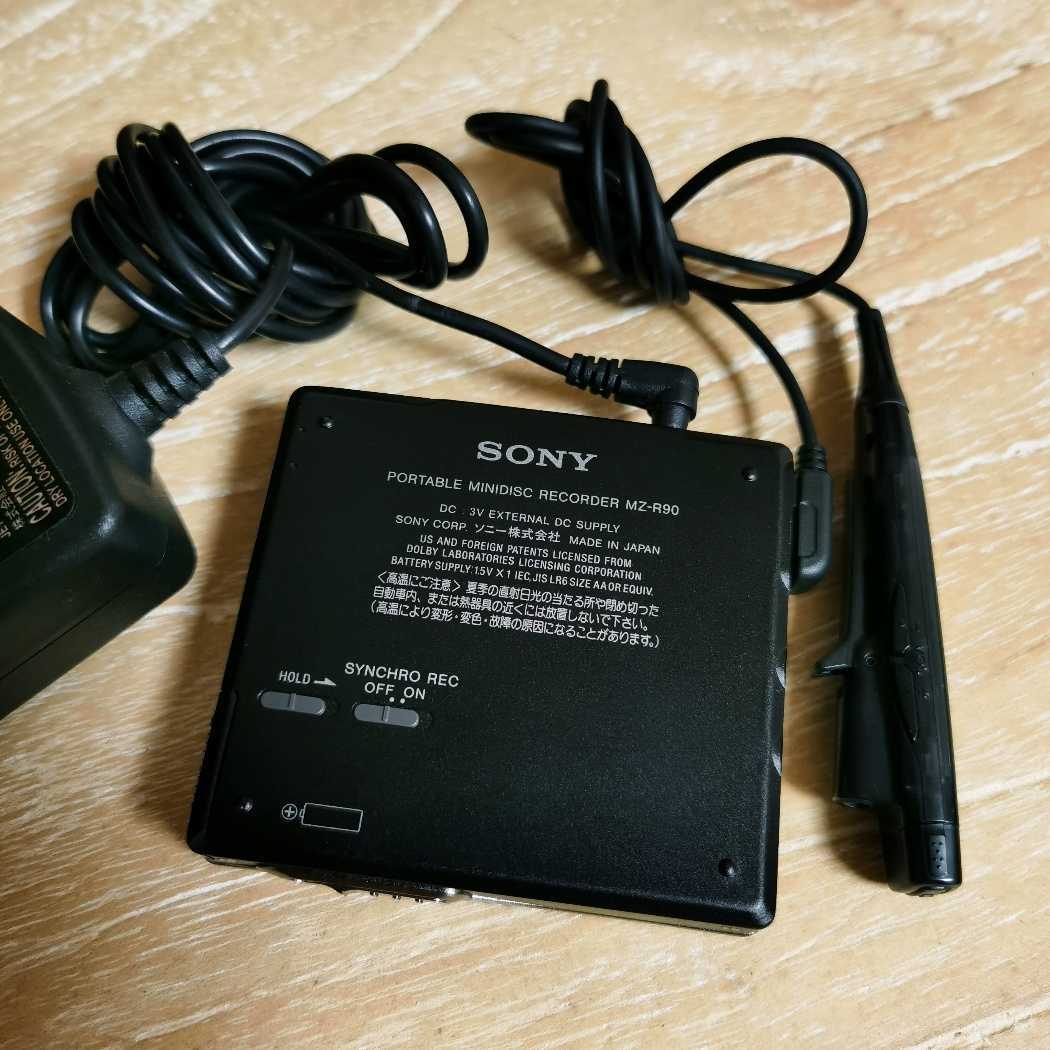
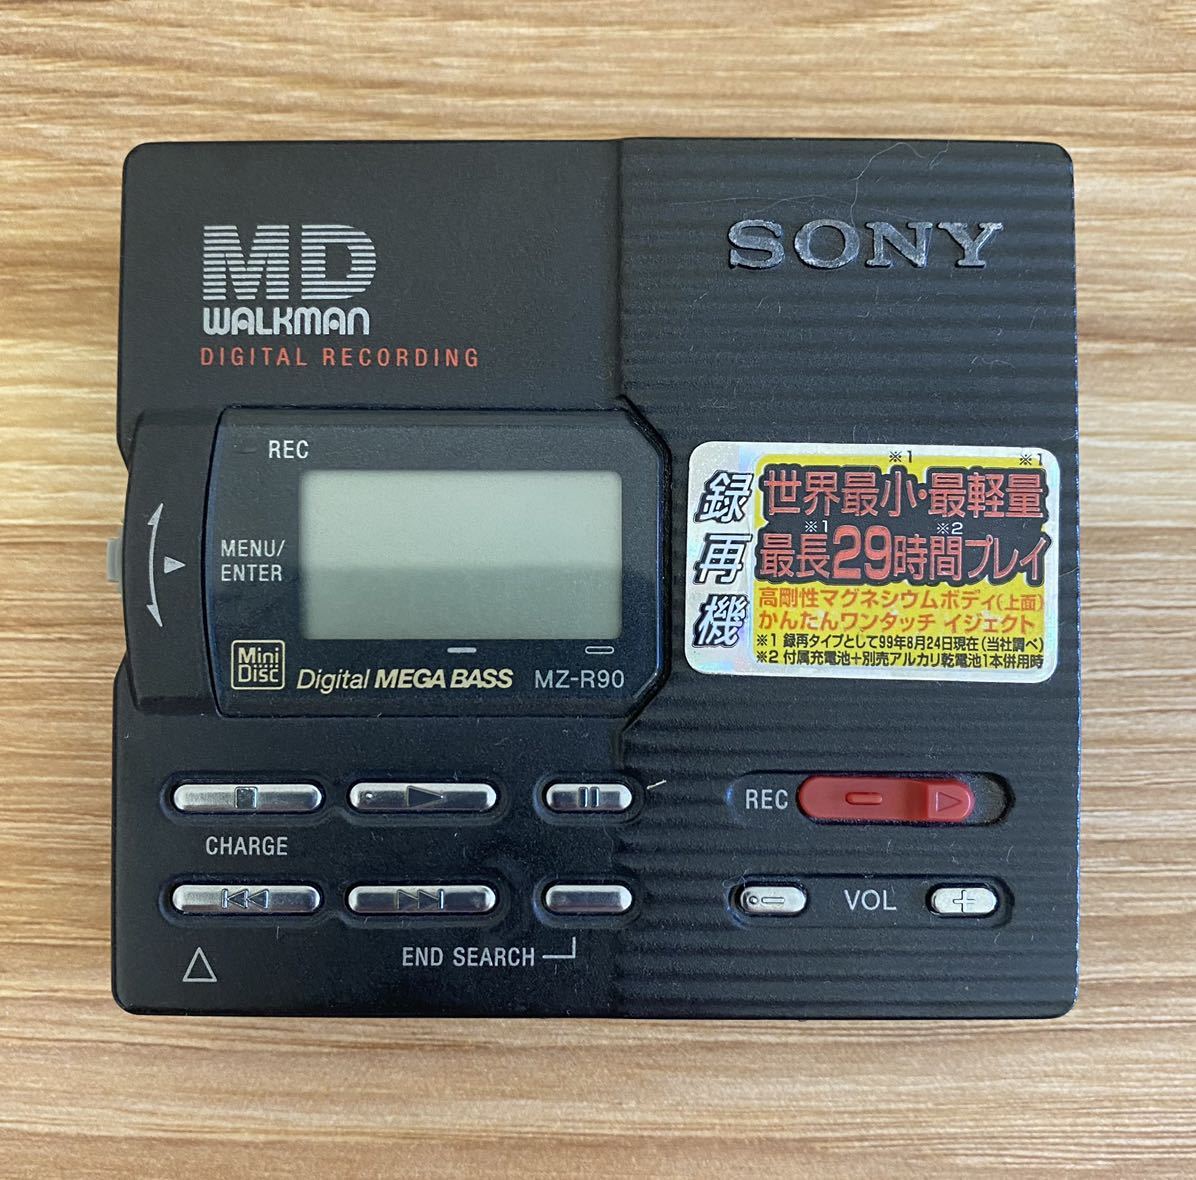 sony_mz-r90_black.webp_400 — unavailable in this snapshot
MZ-R91
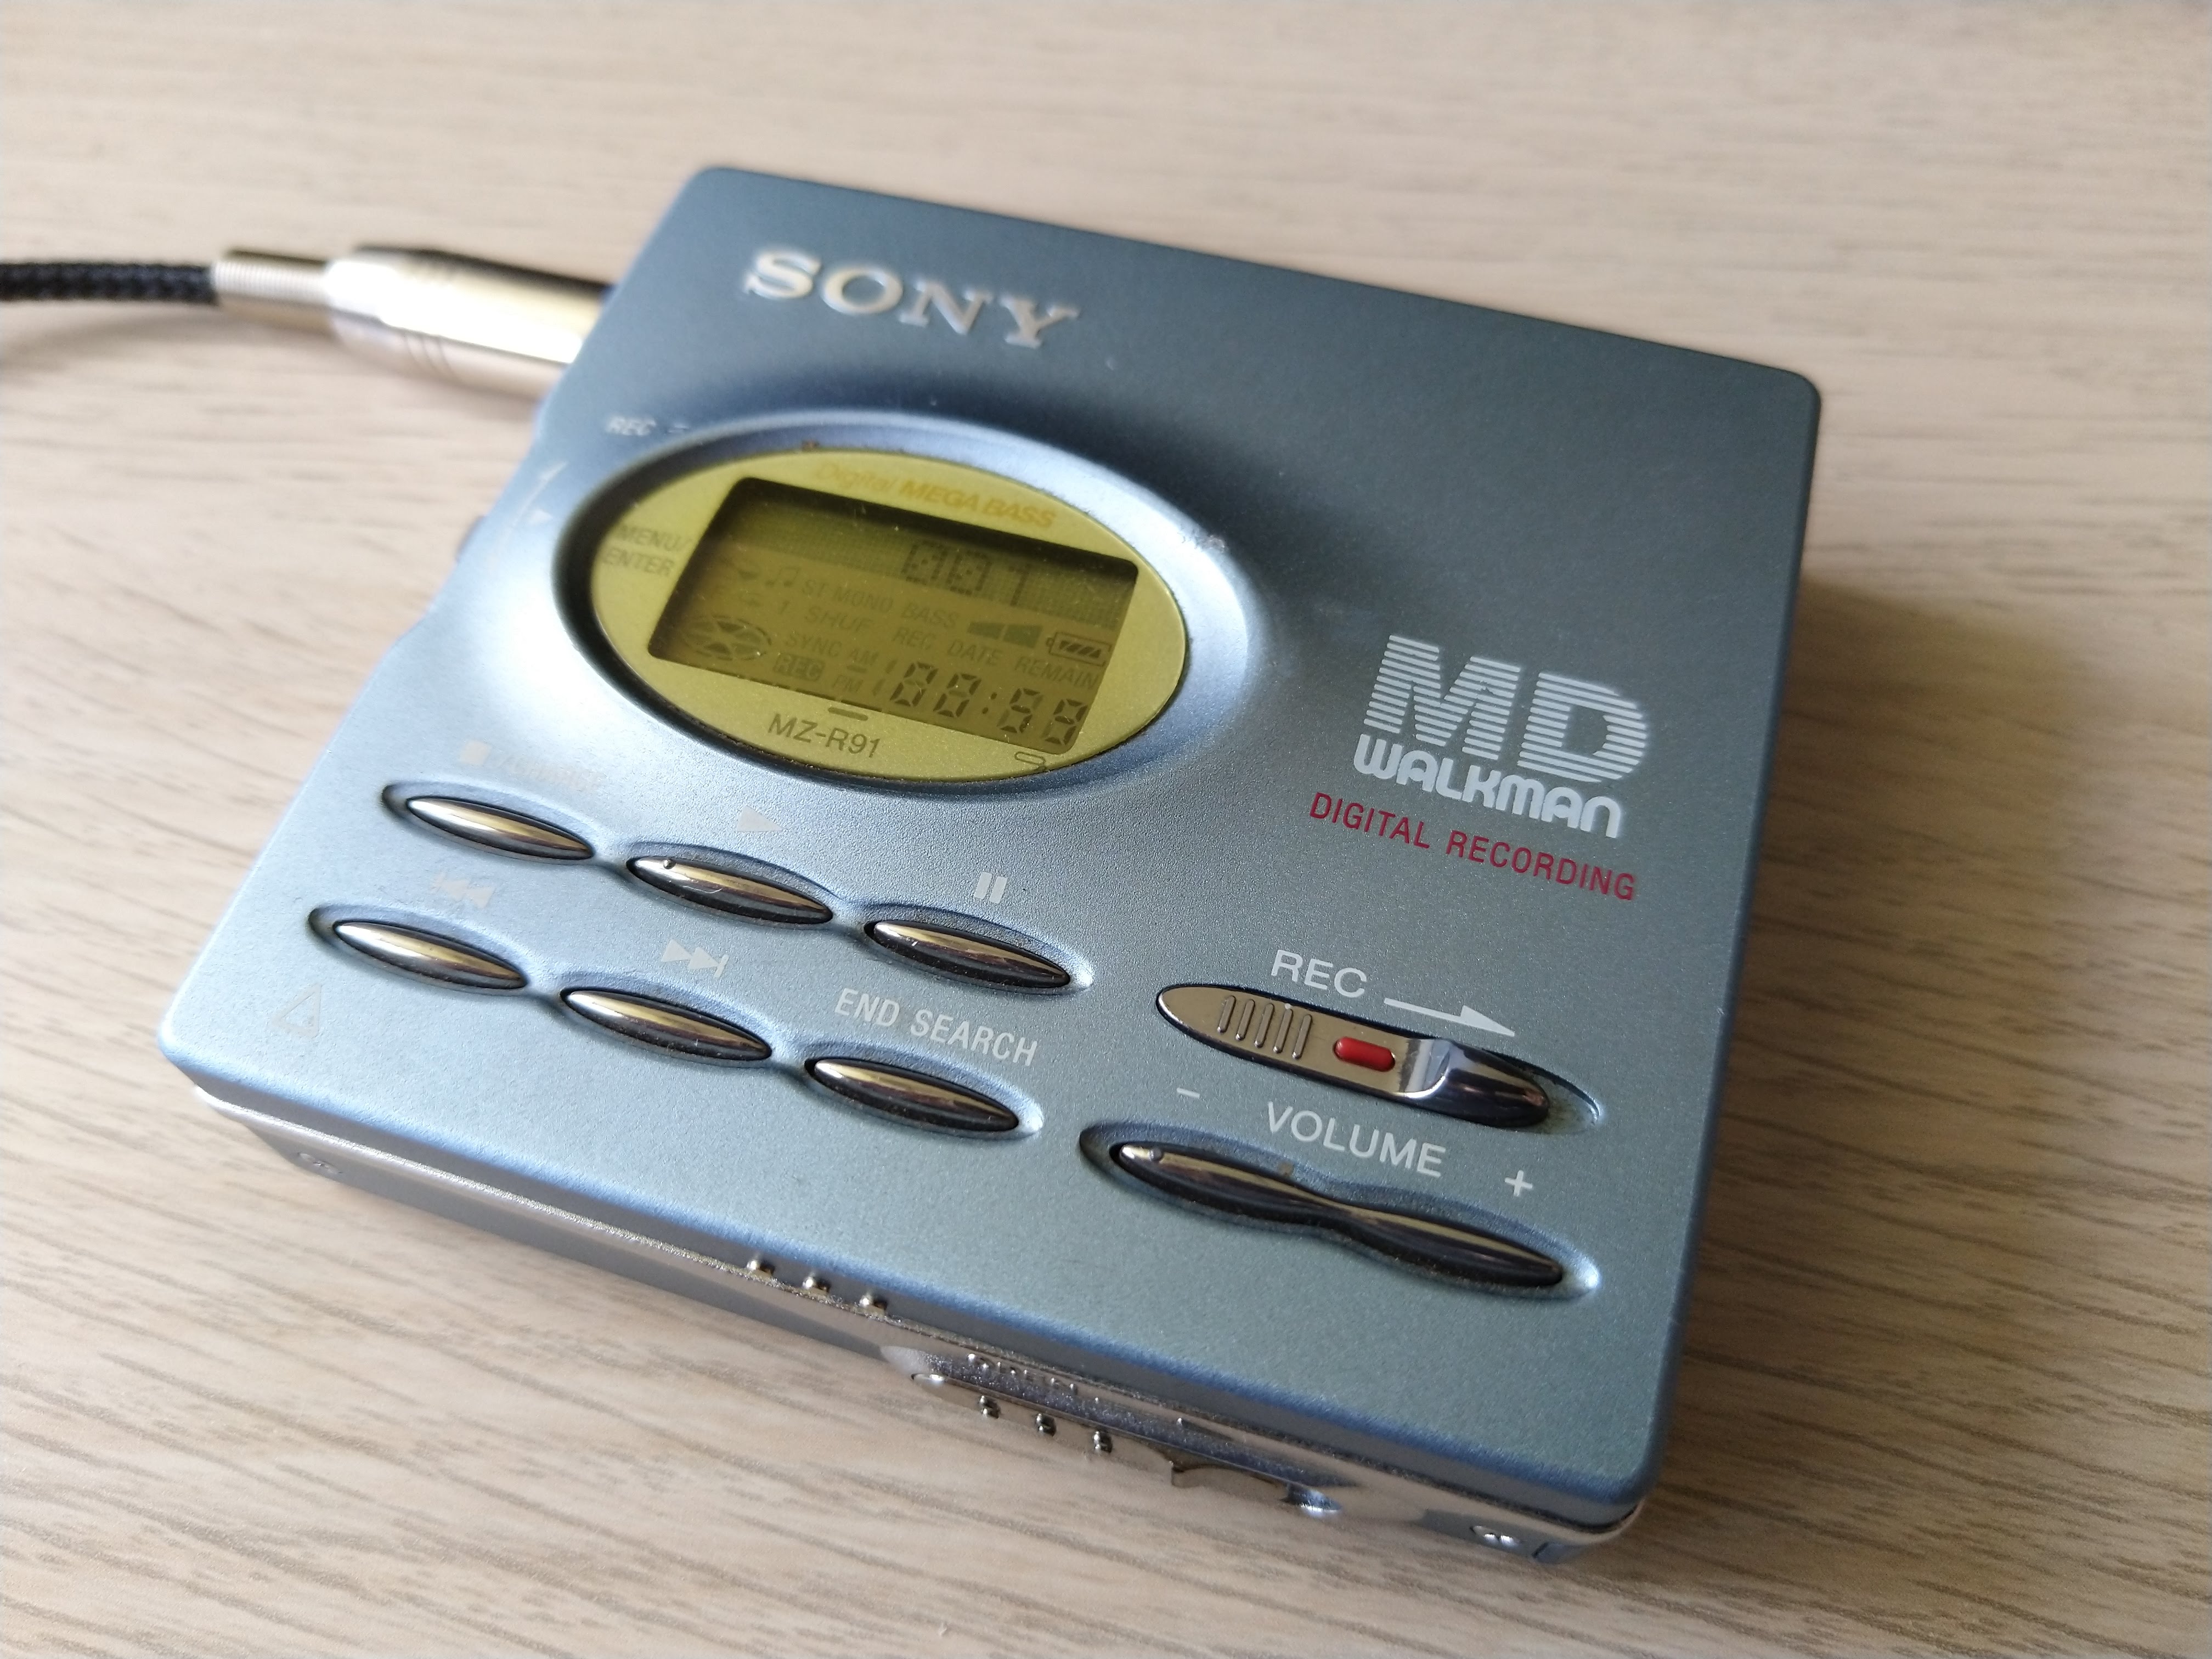
more photos
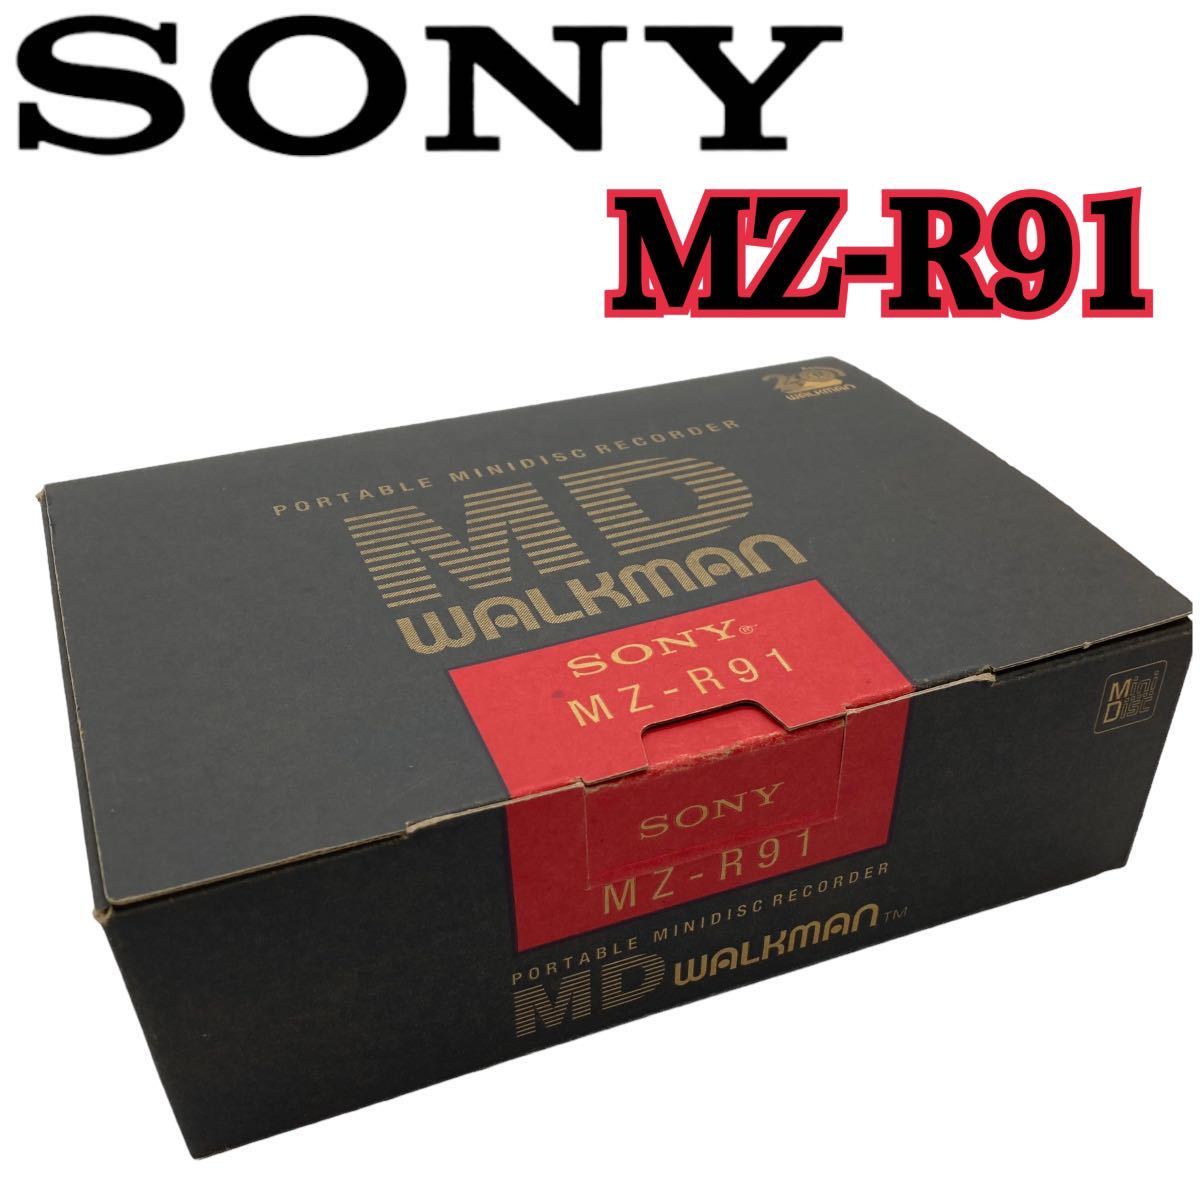
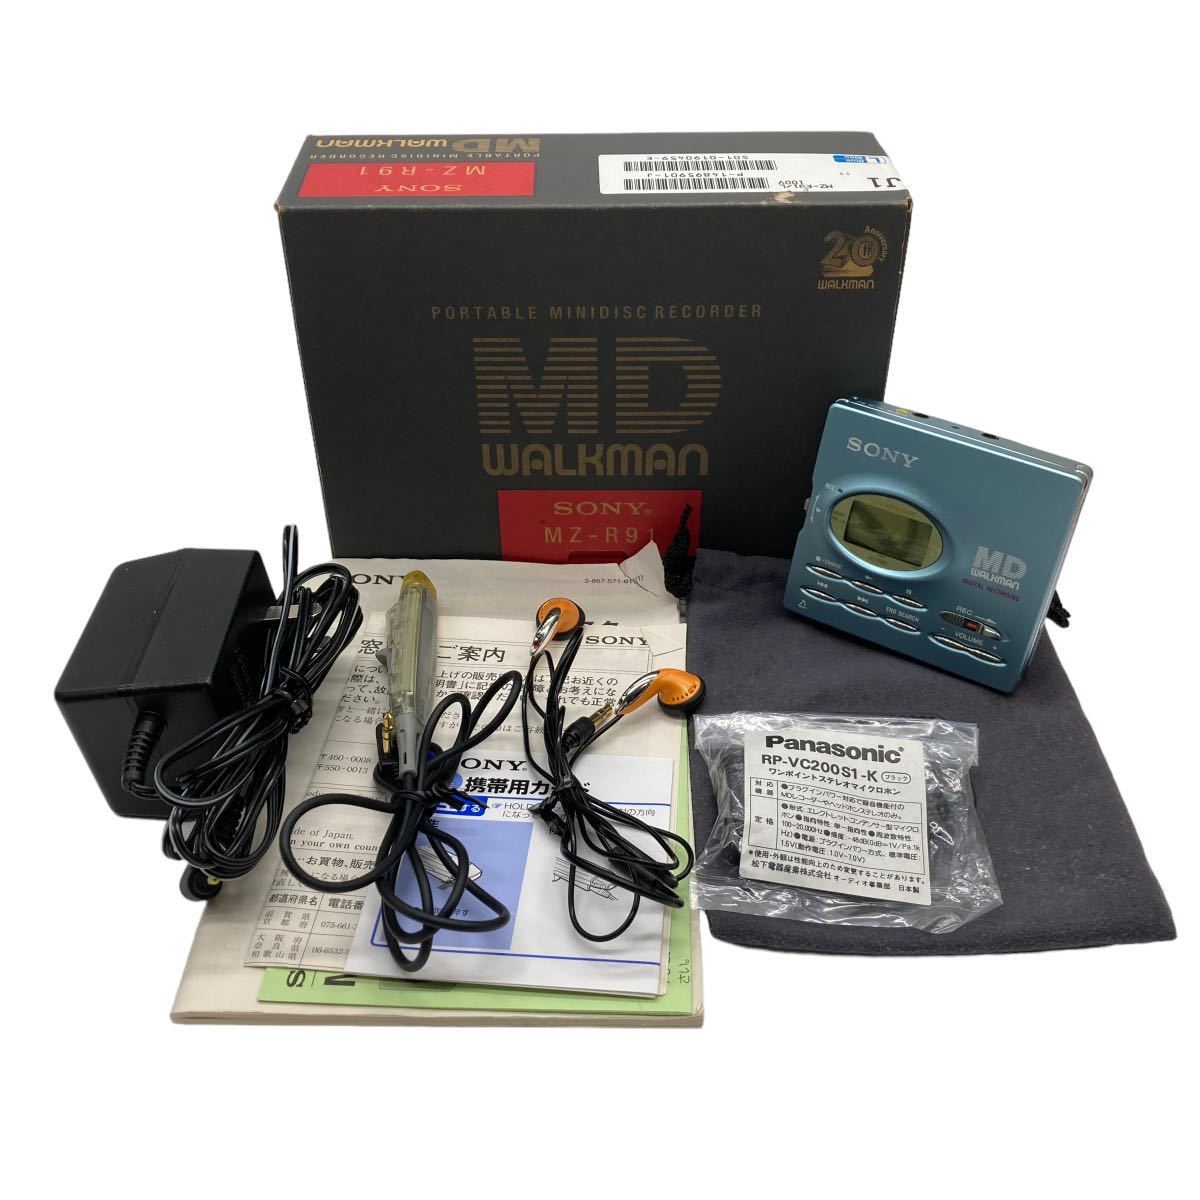
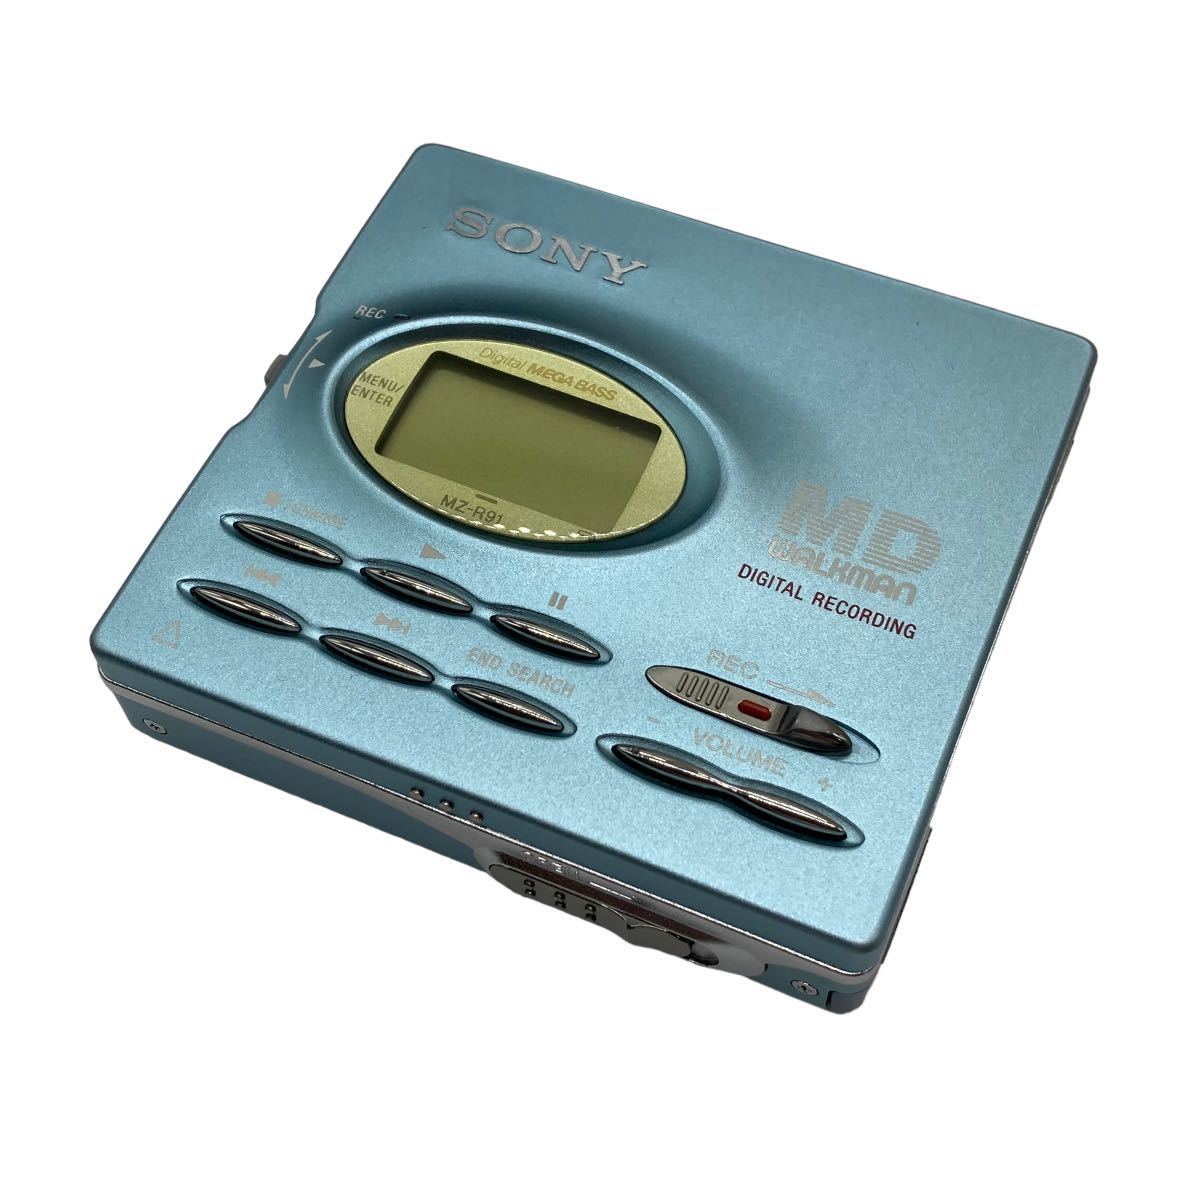
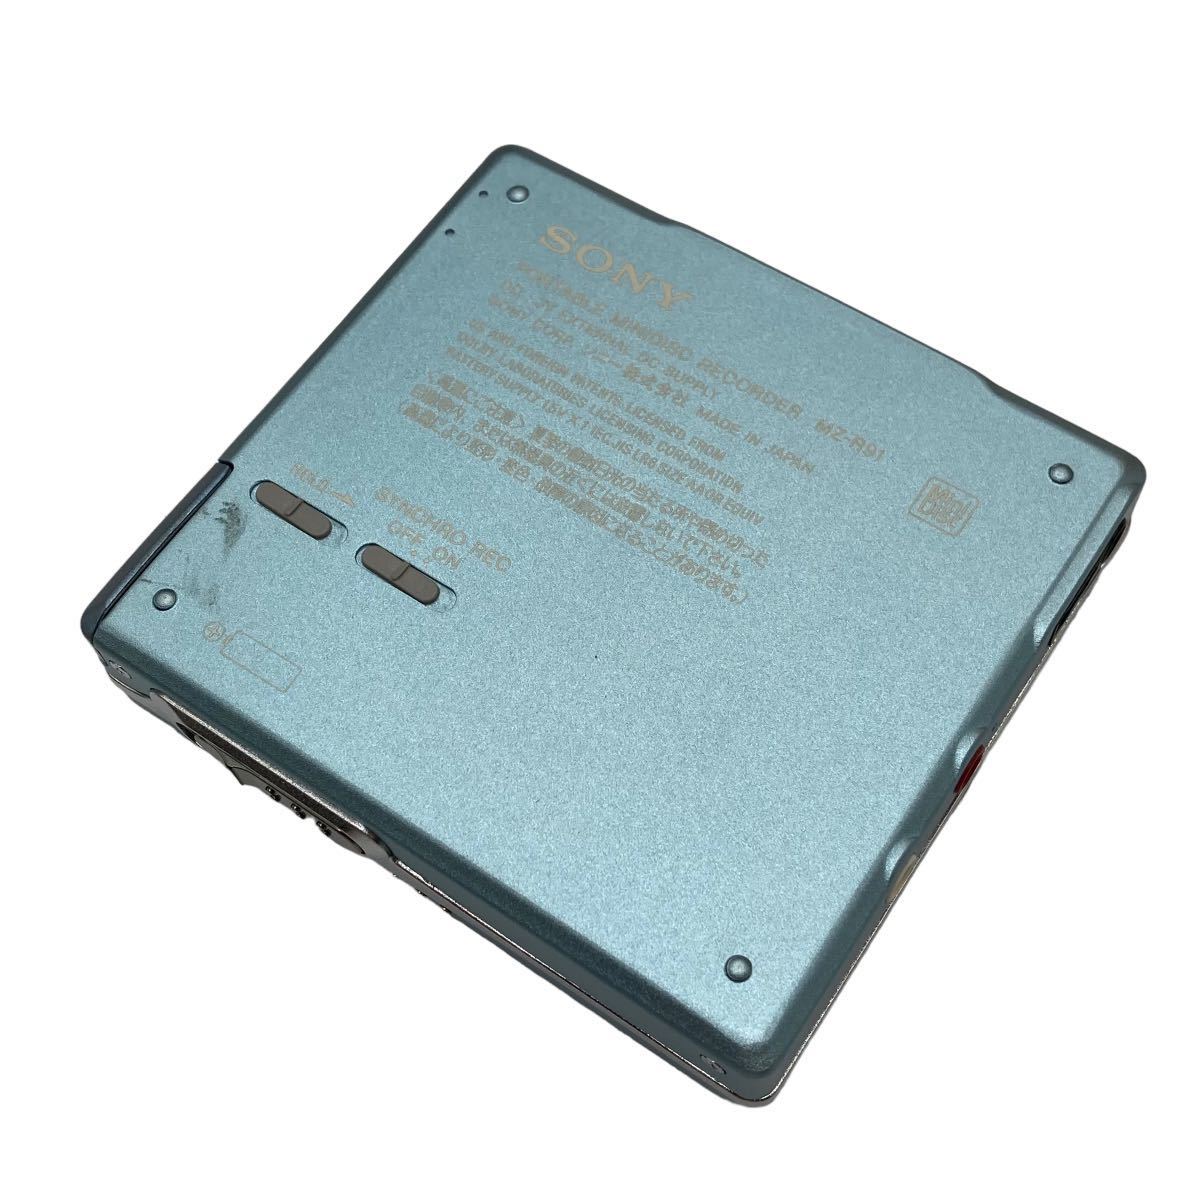
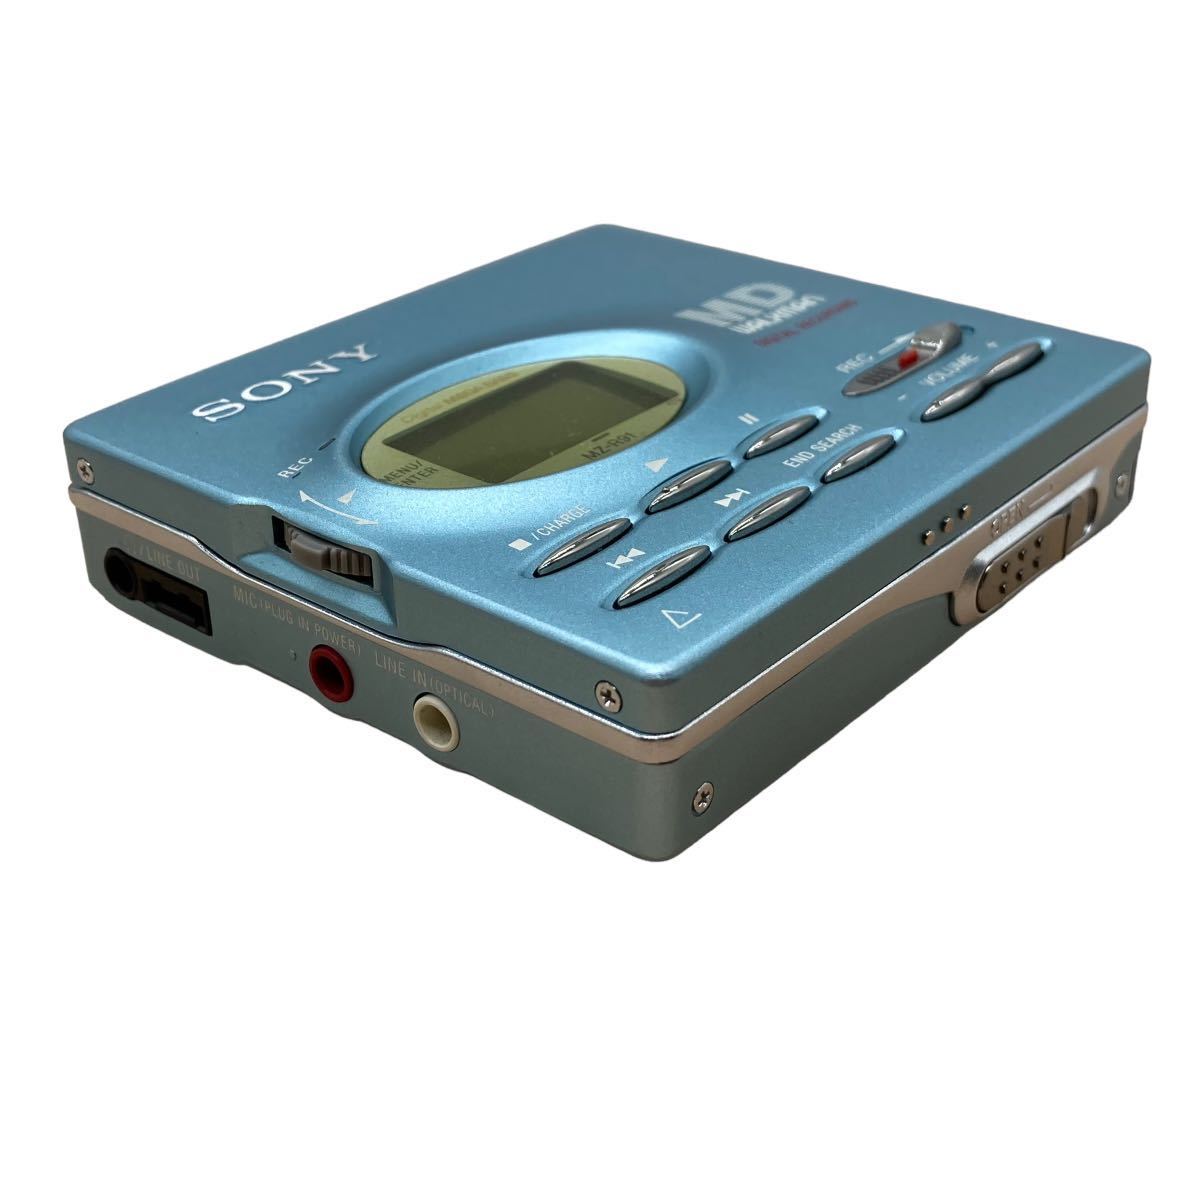
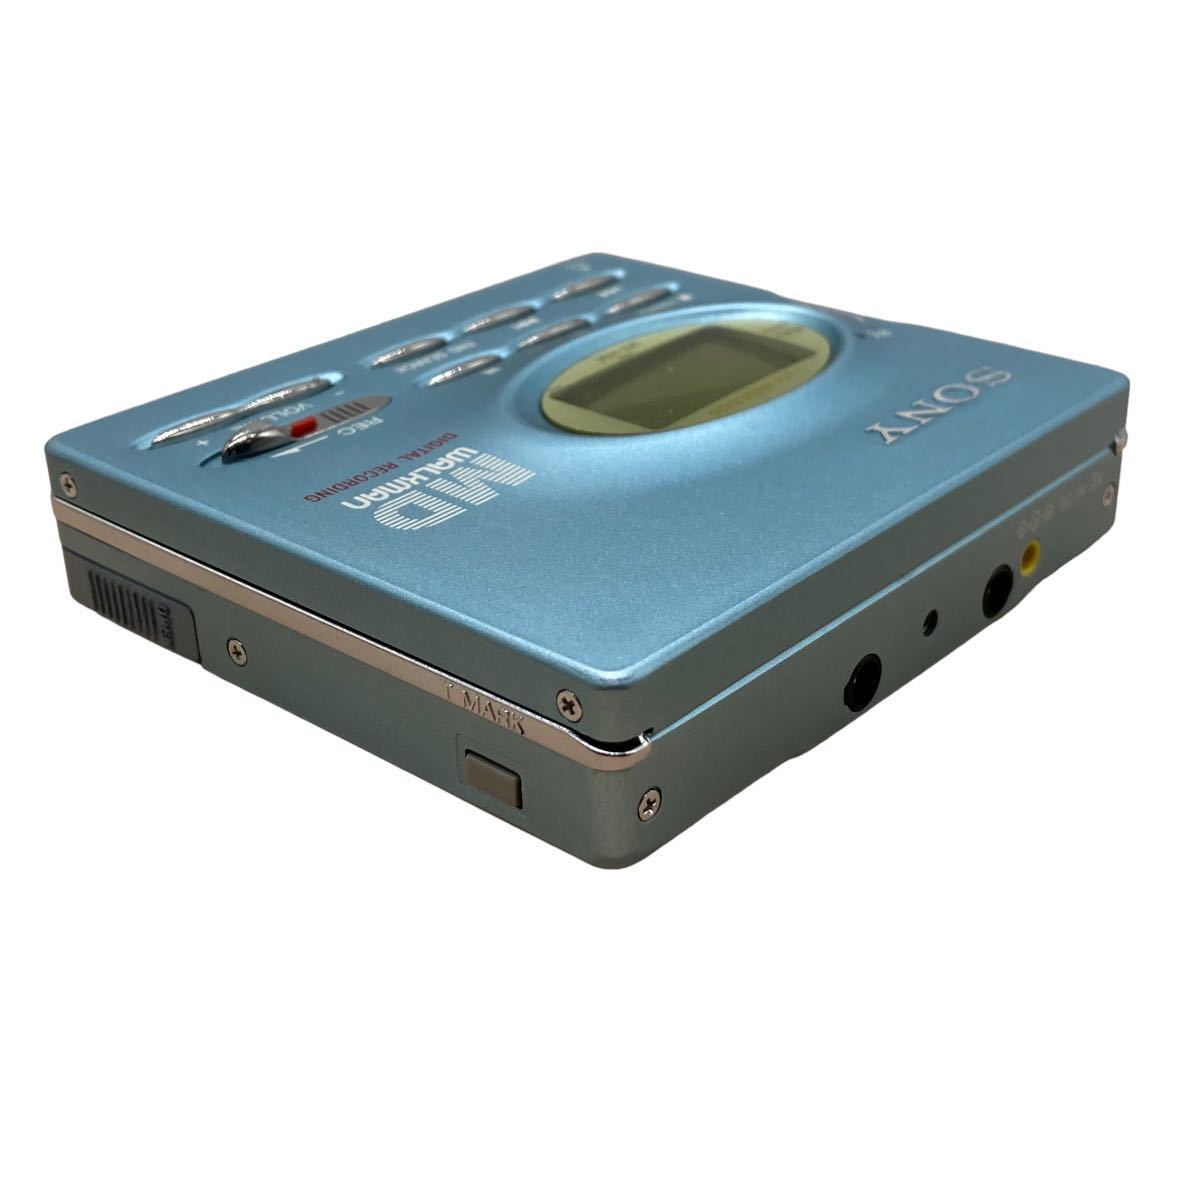
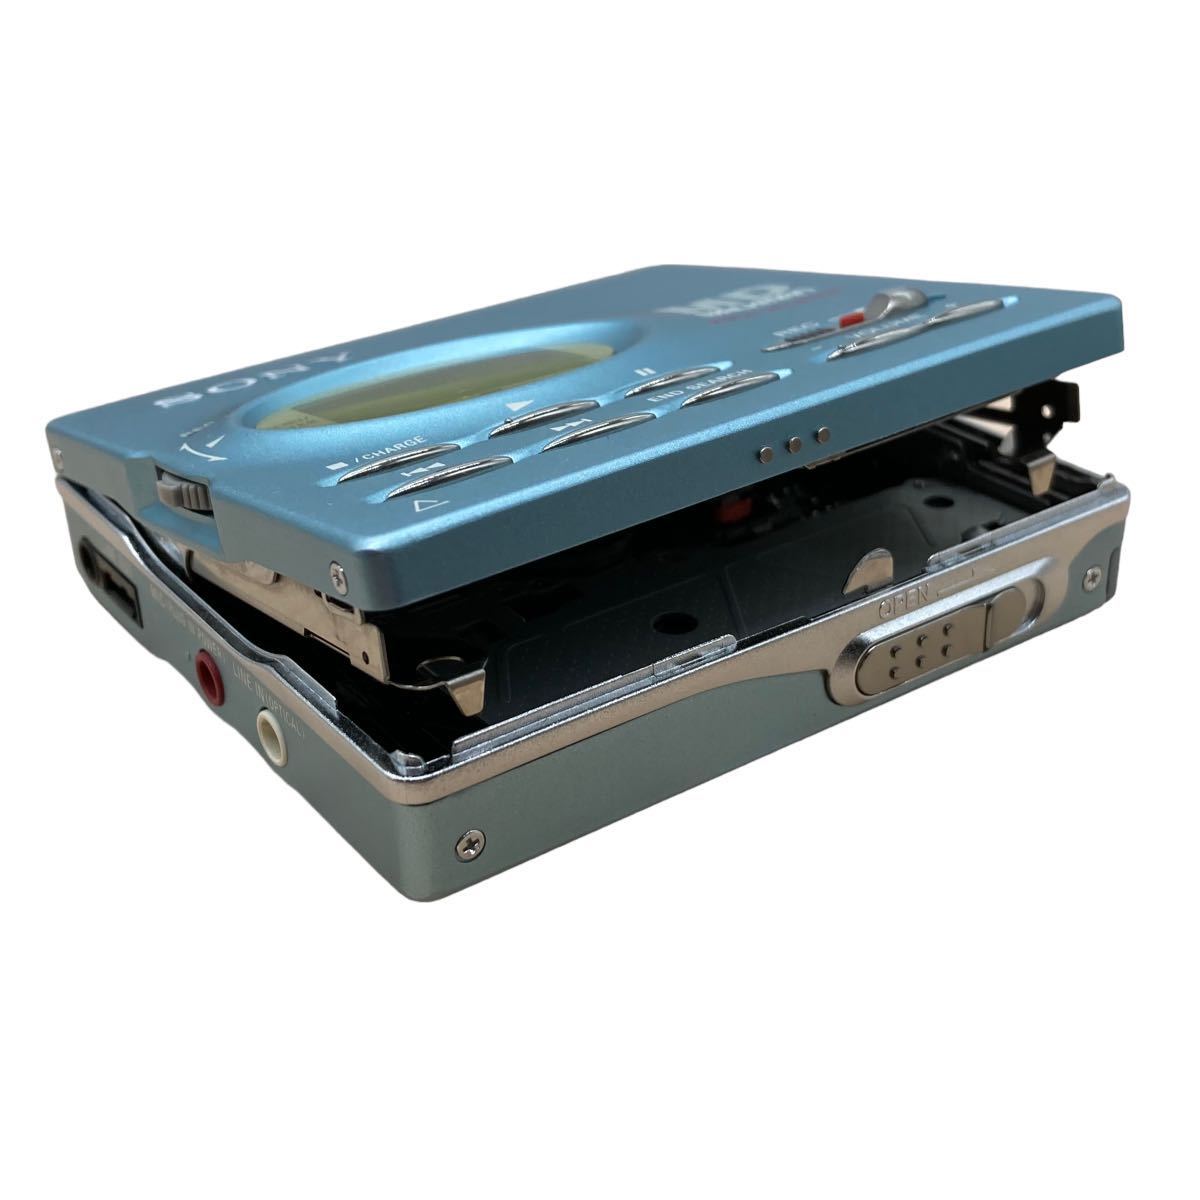
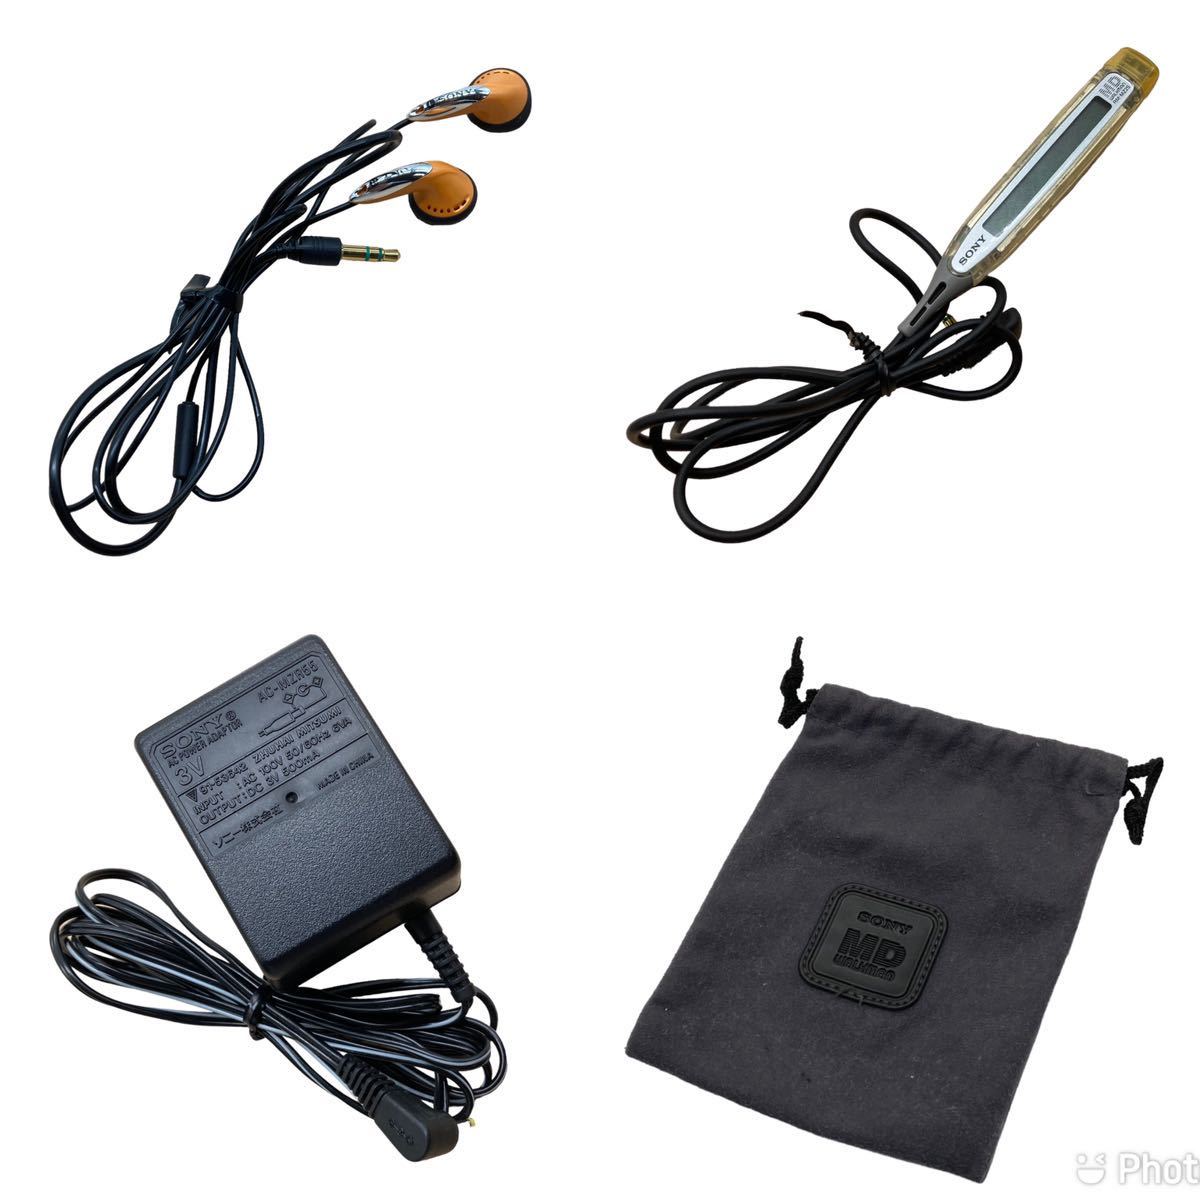 Referenced image — image unavailable in this snapshot
Referenced image — image unavailable in this snapshot
Referenced image — image unavailable in this snapshot
more photos
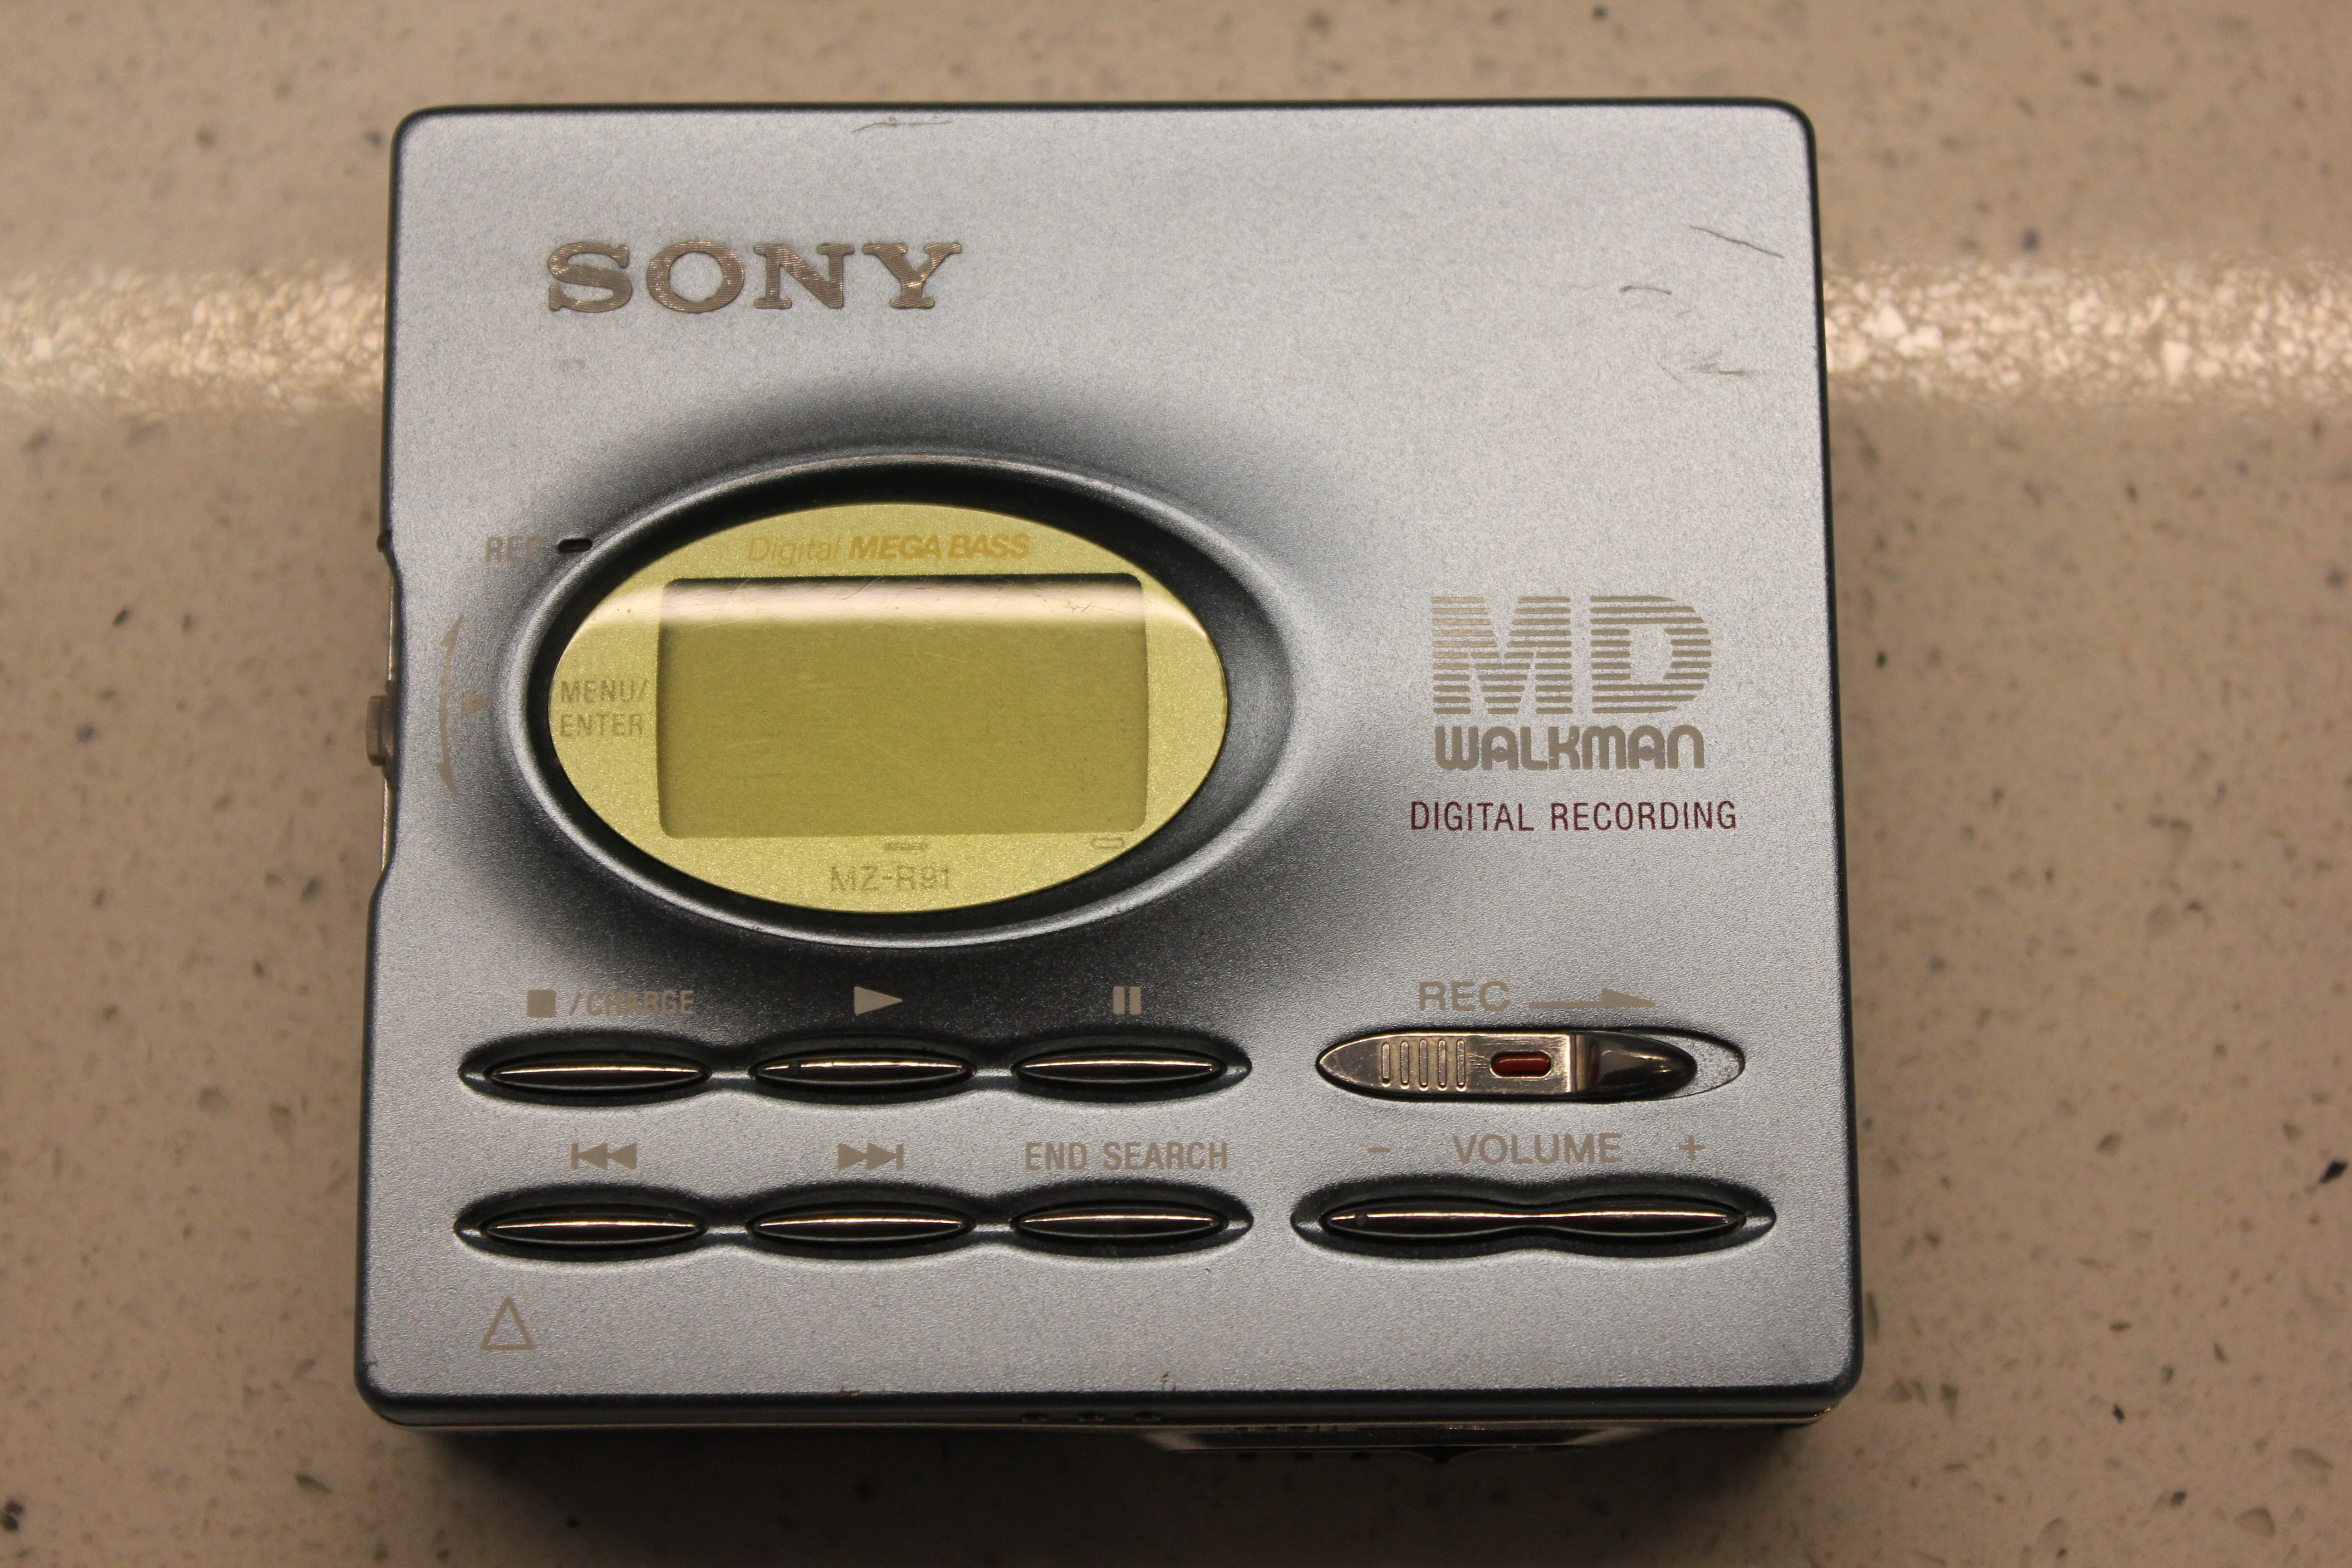
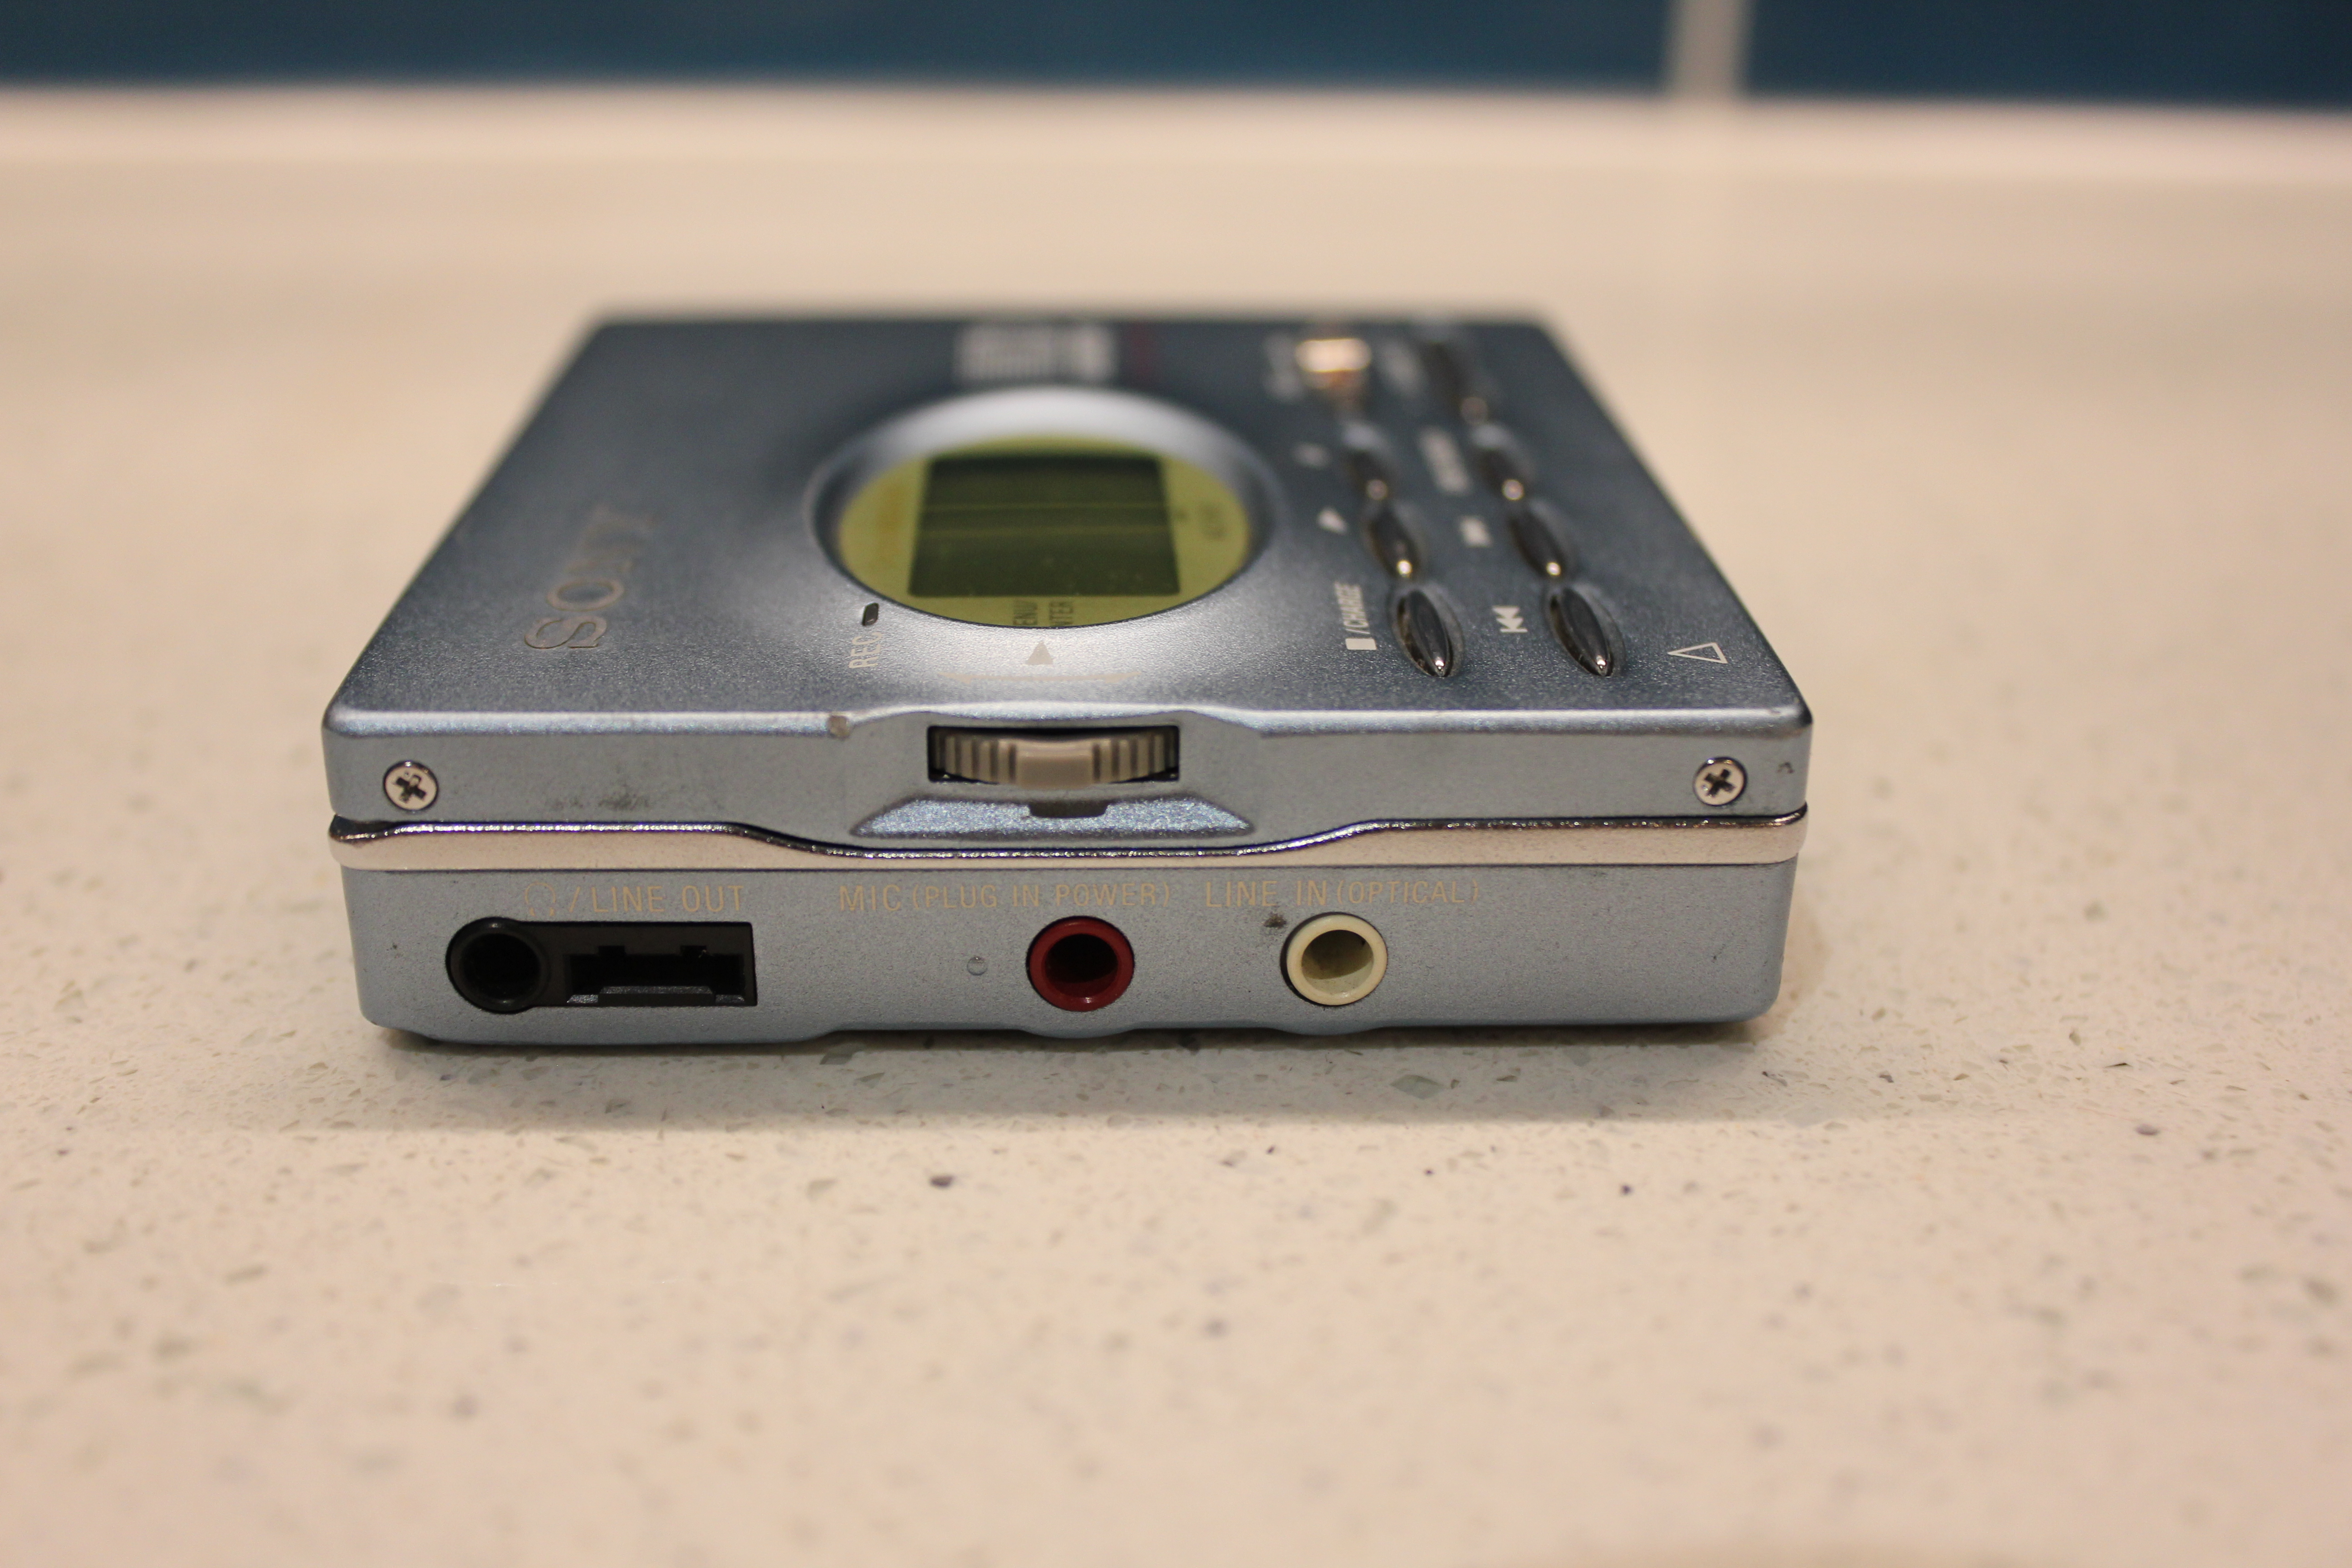
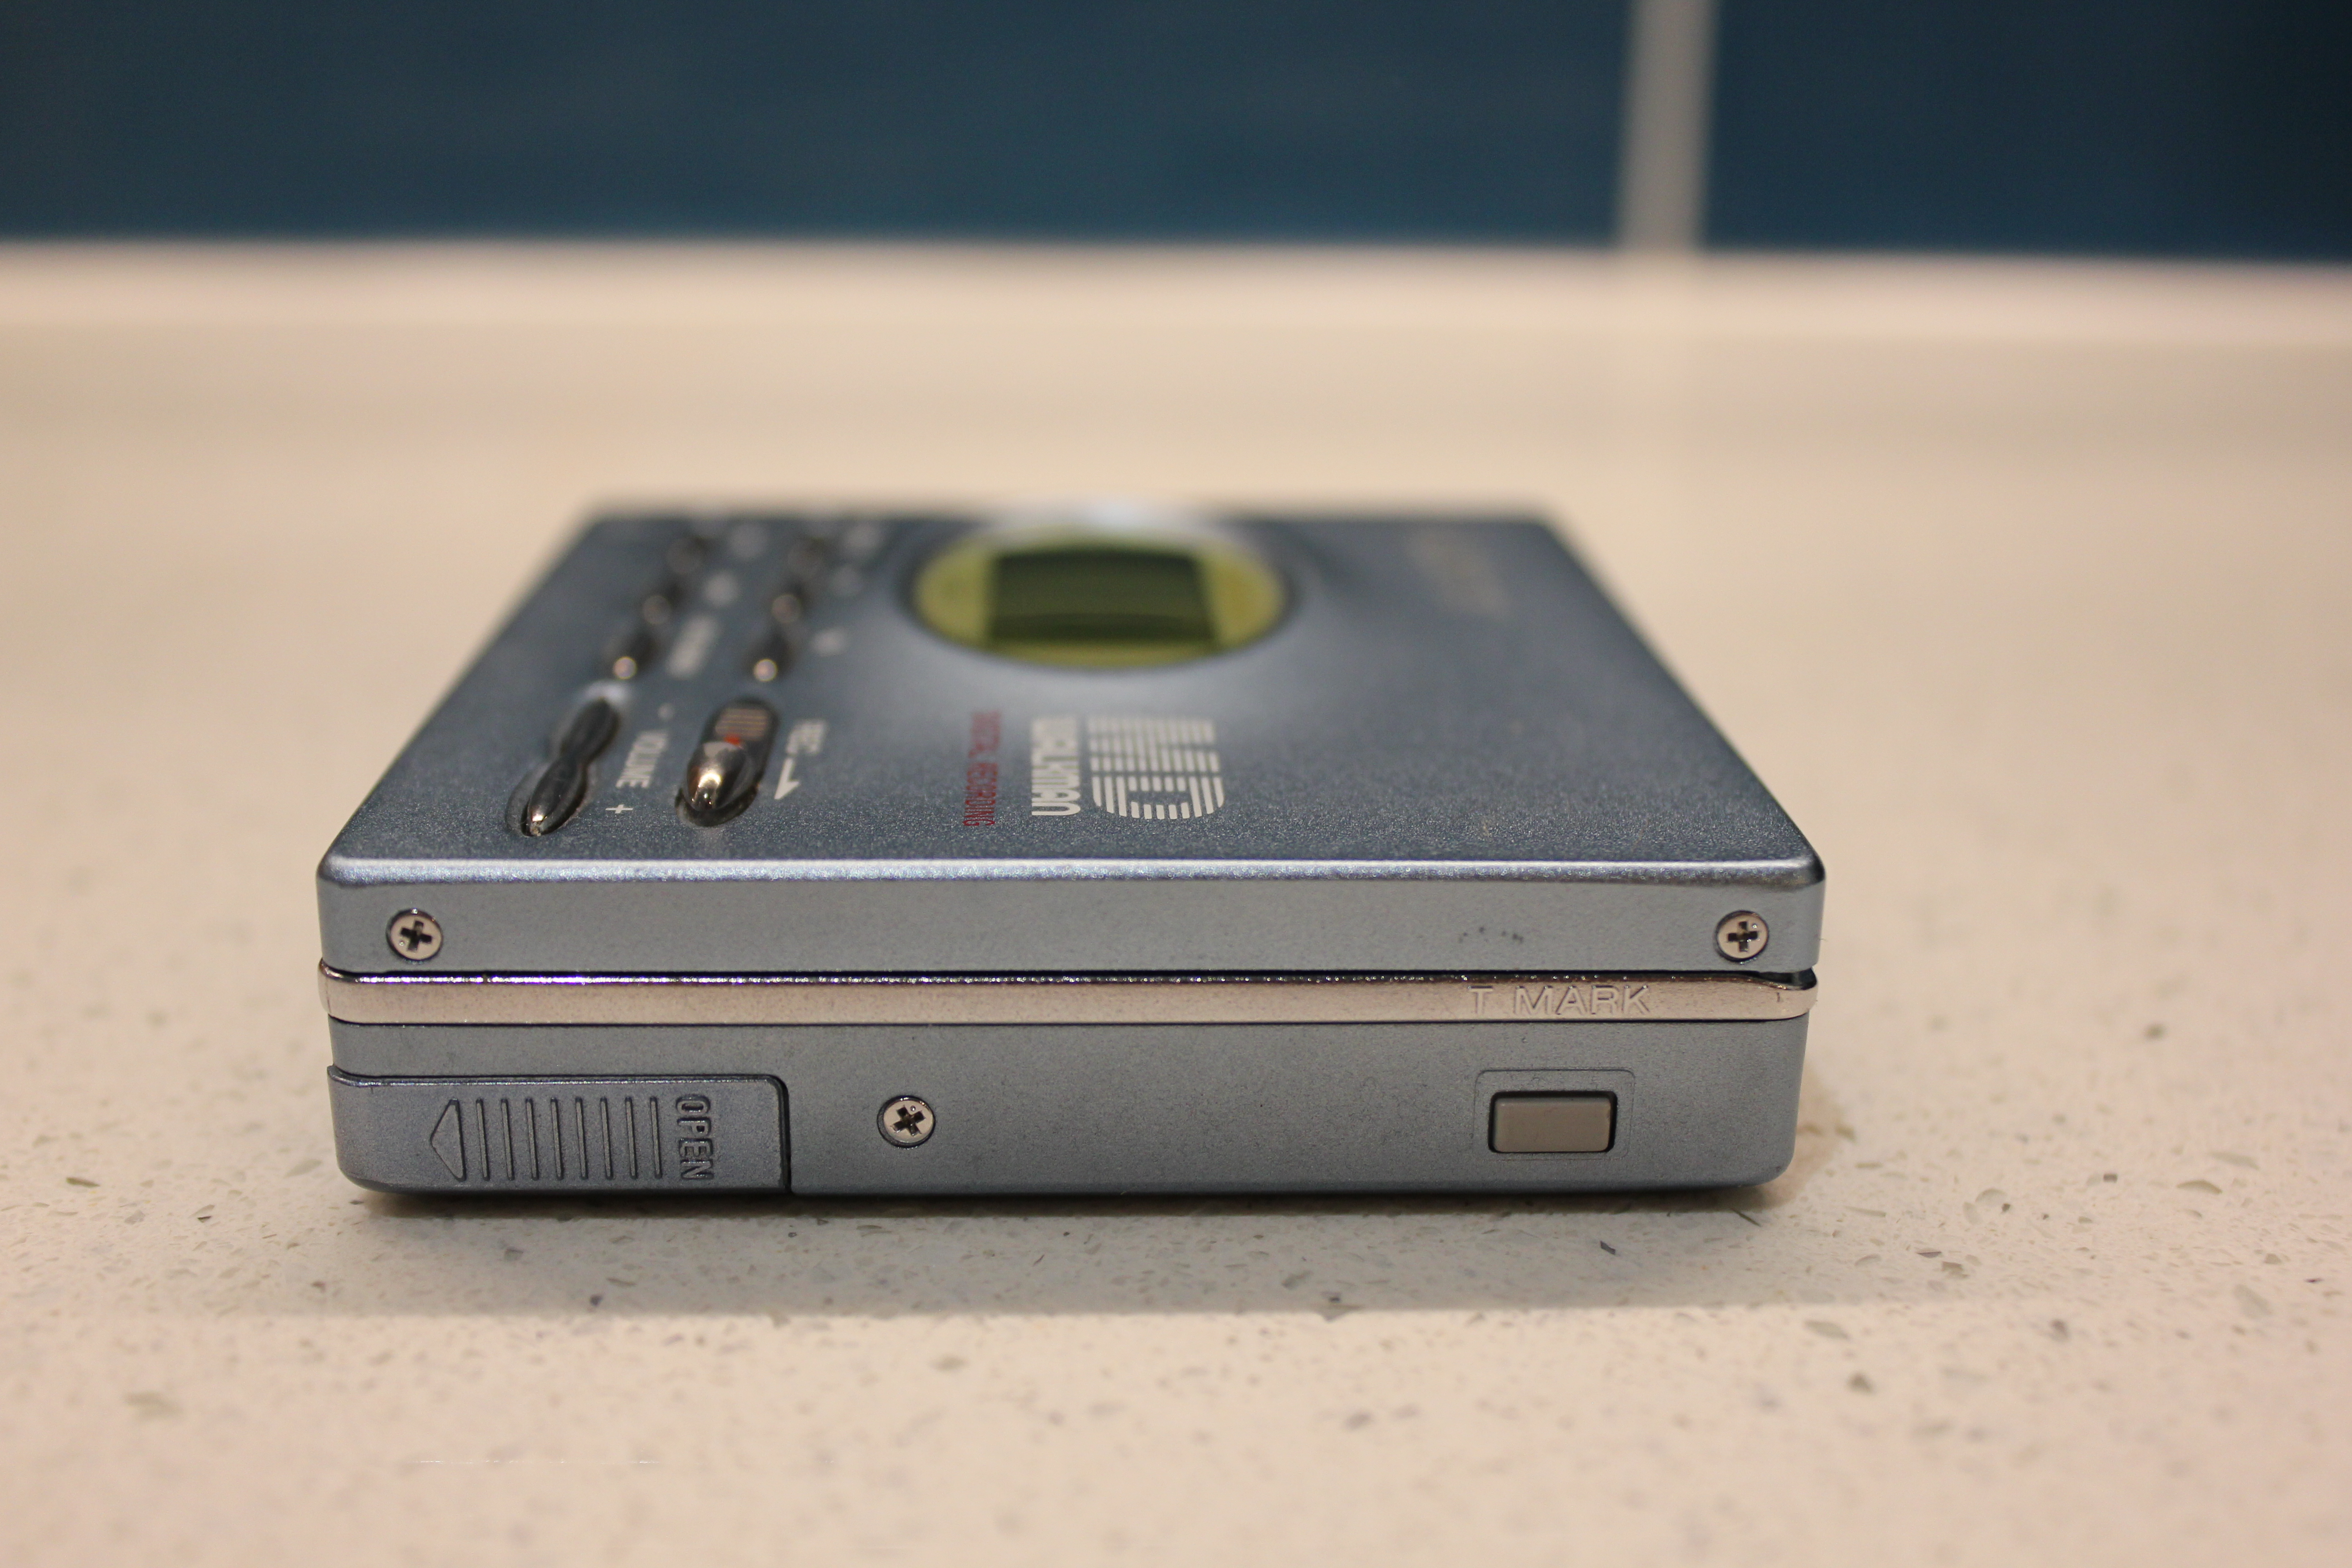
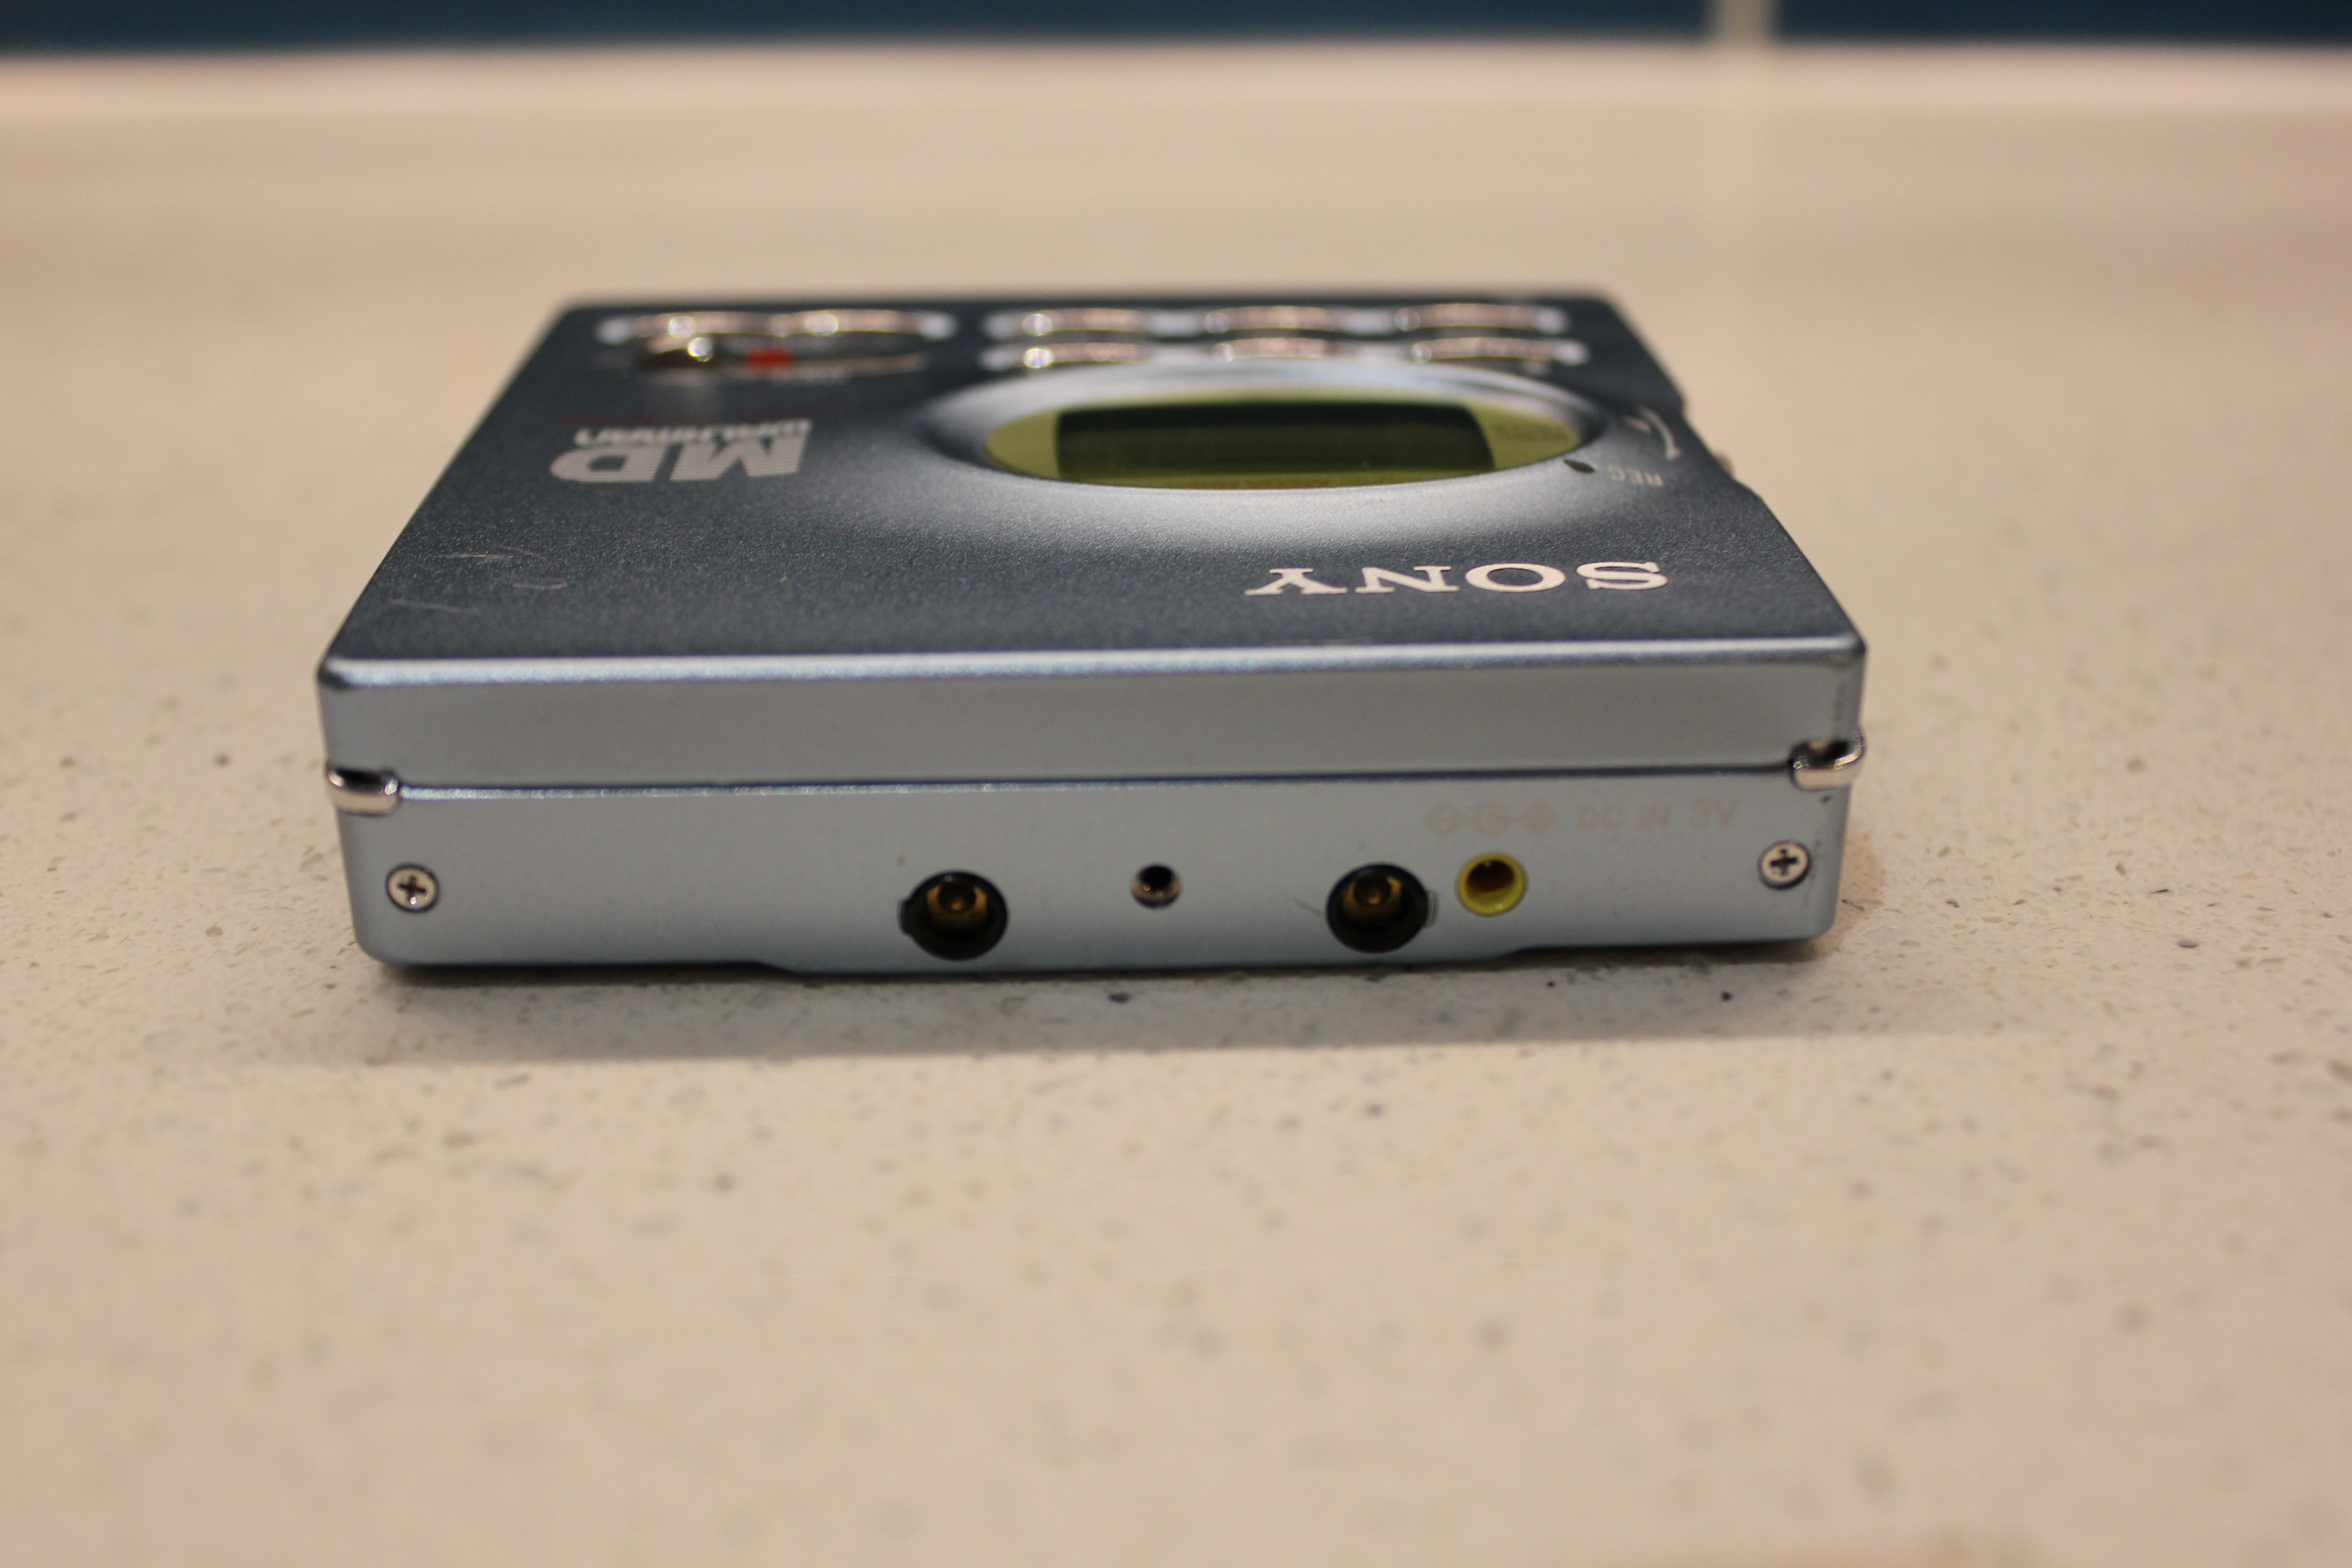
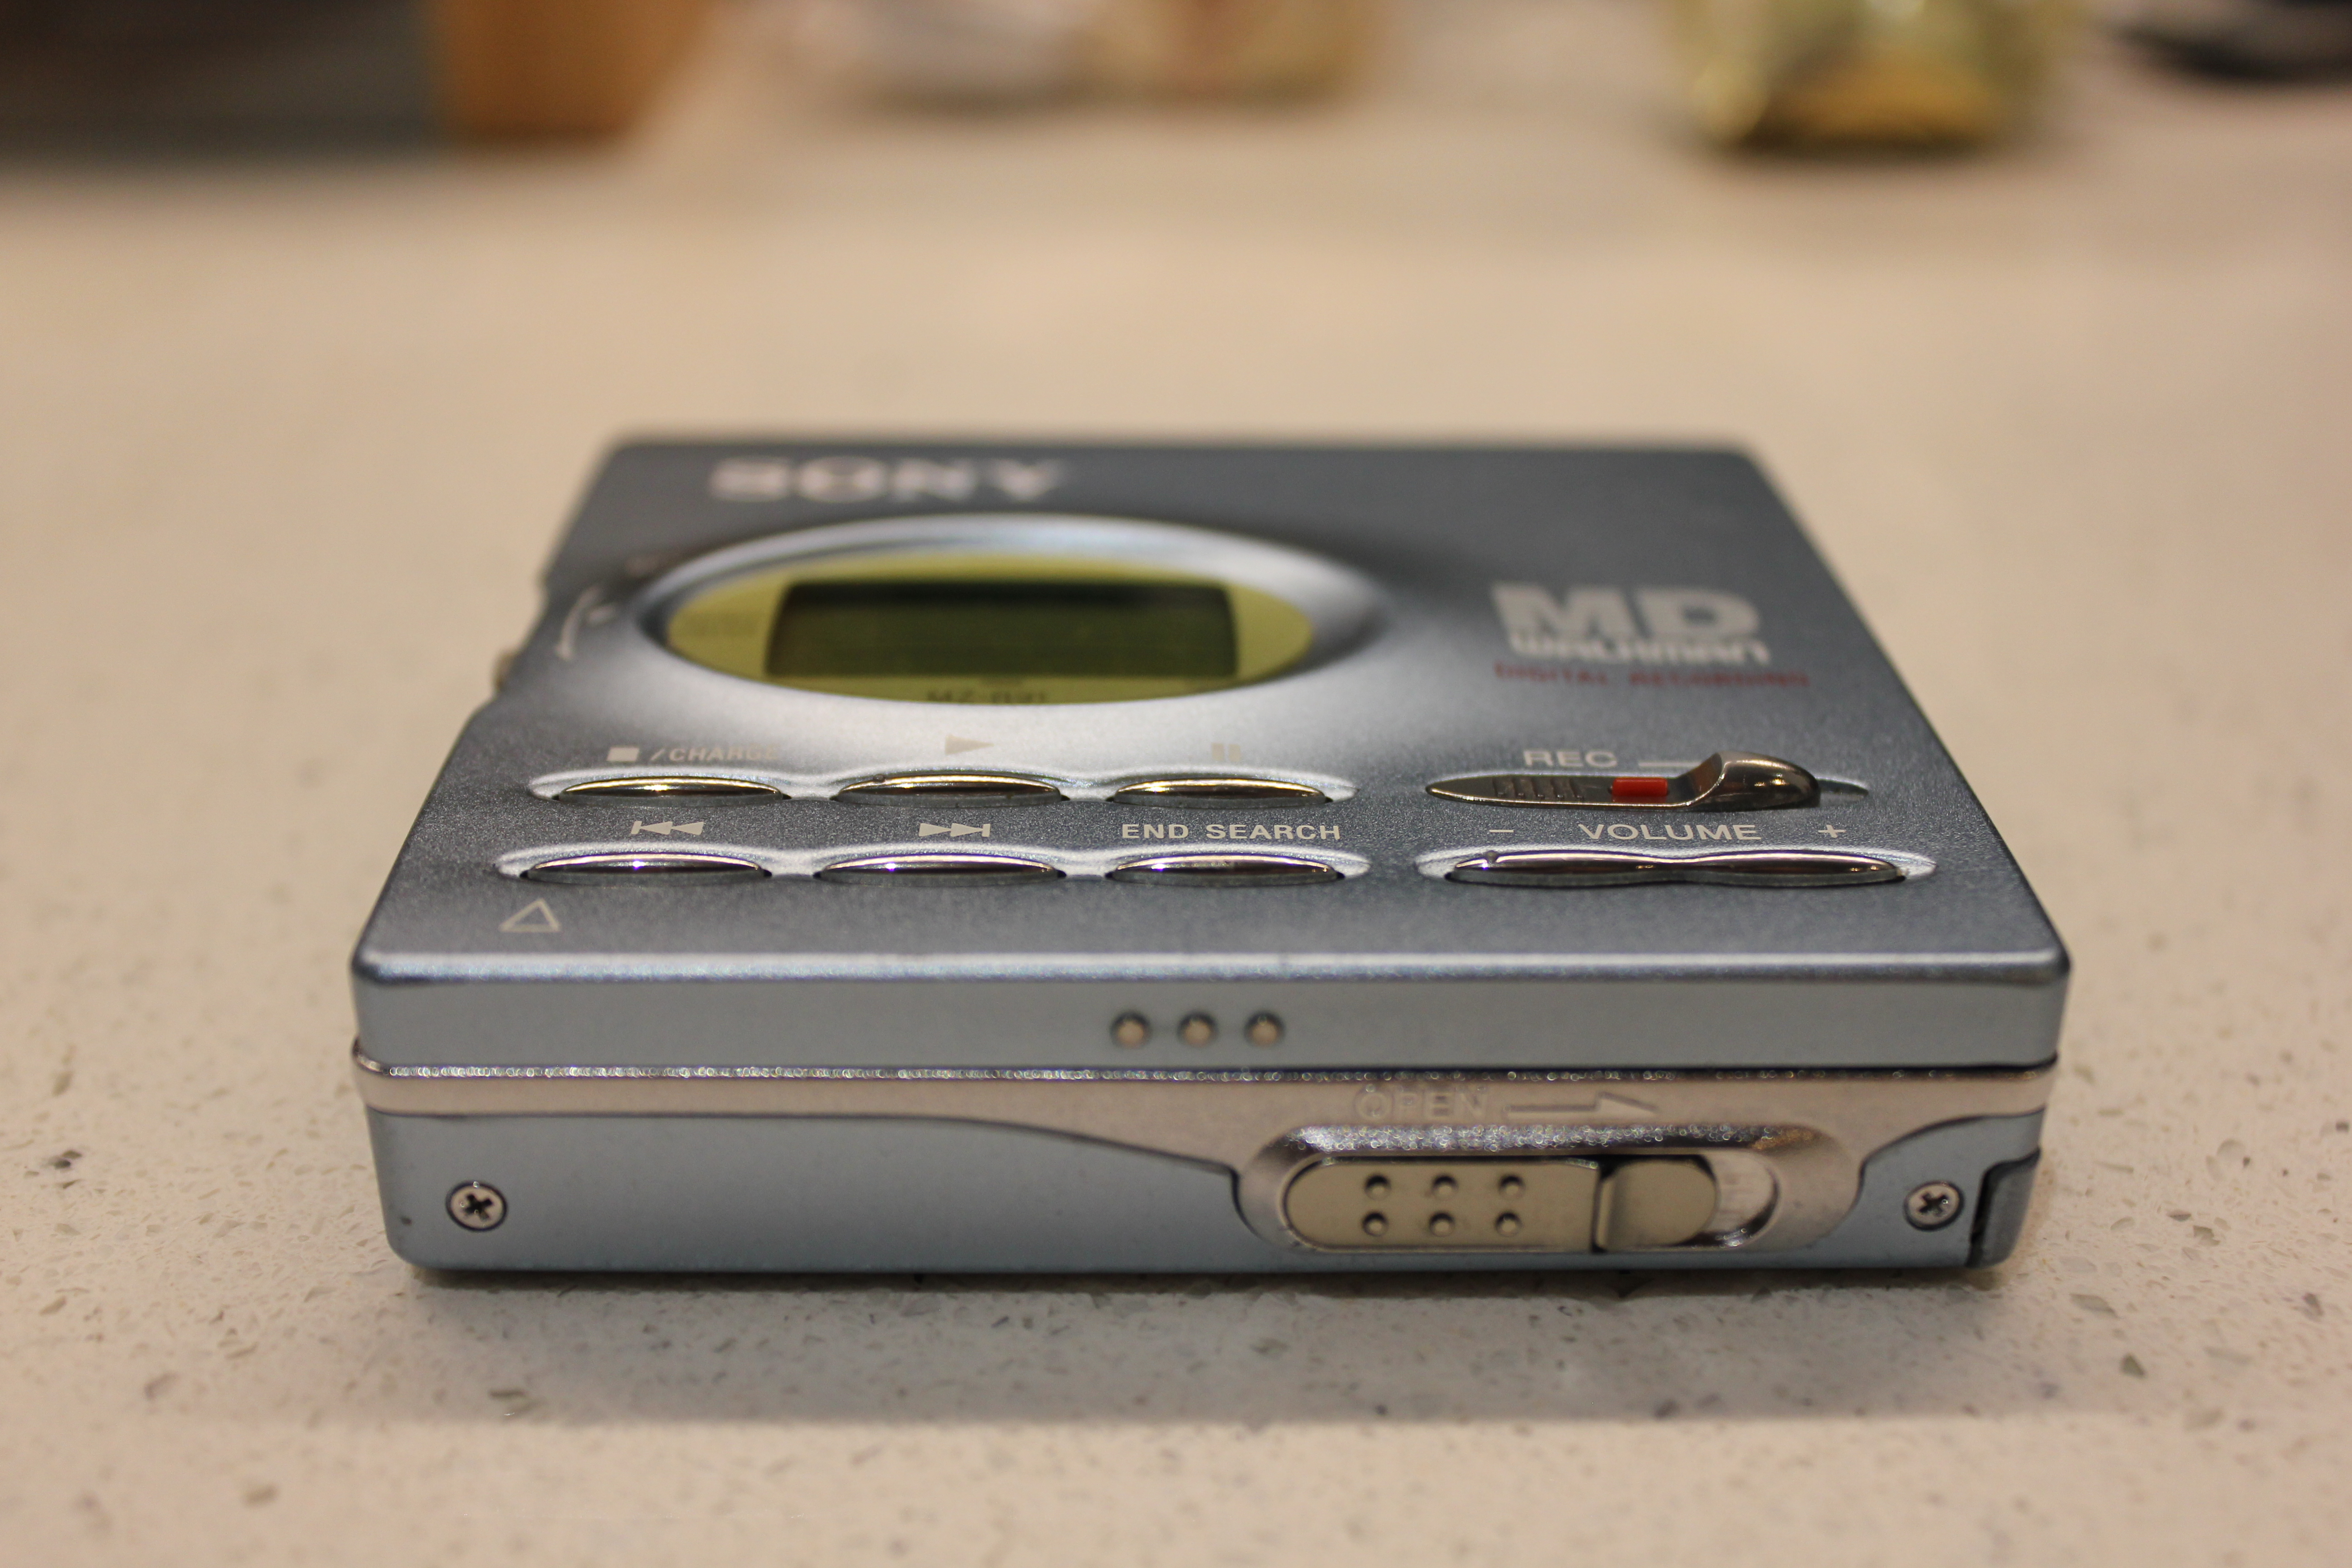
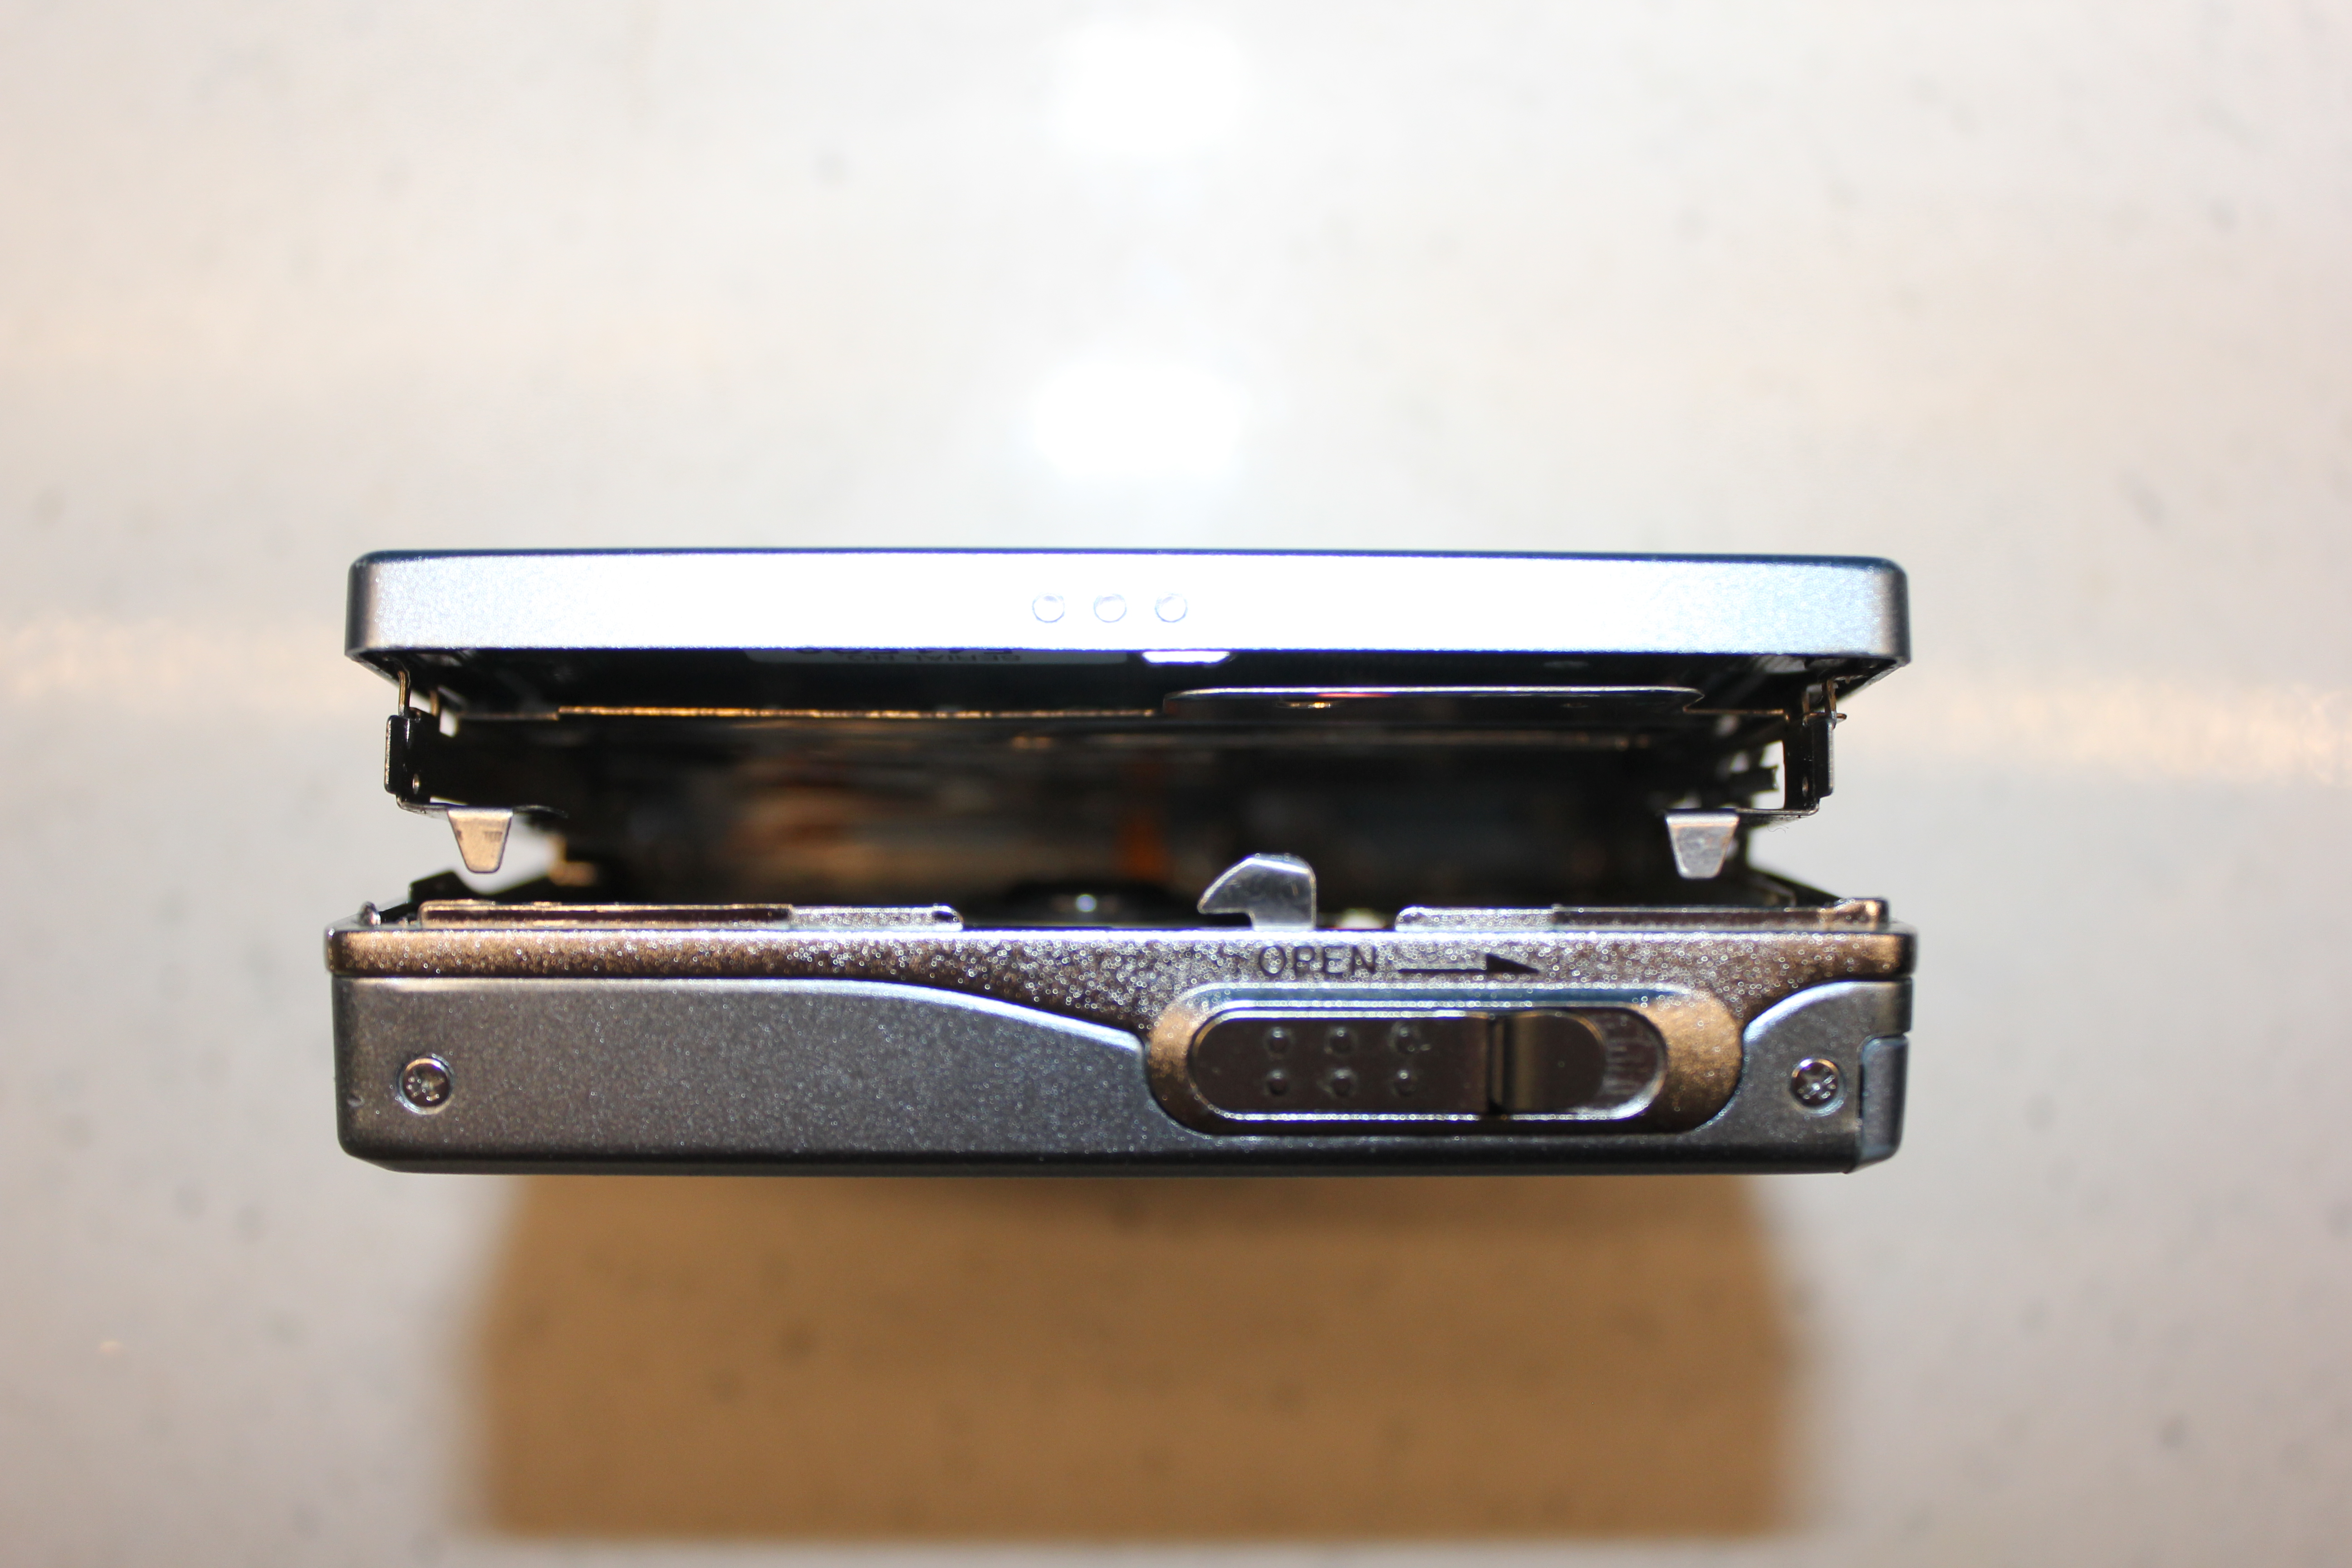
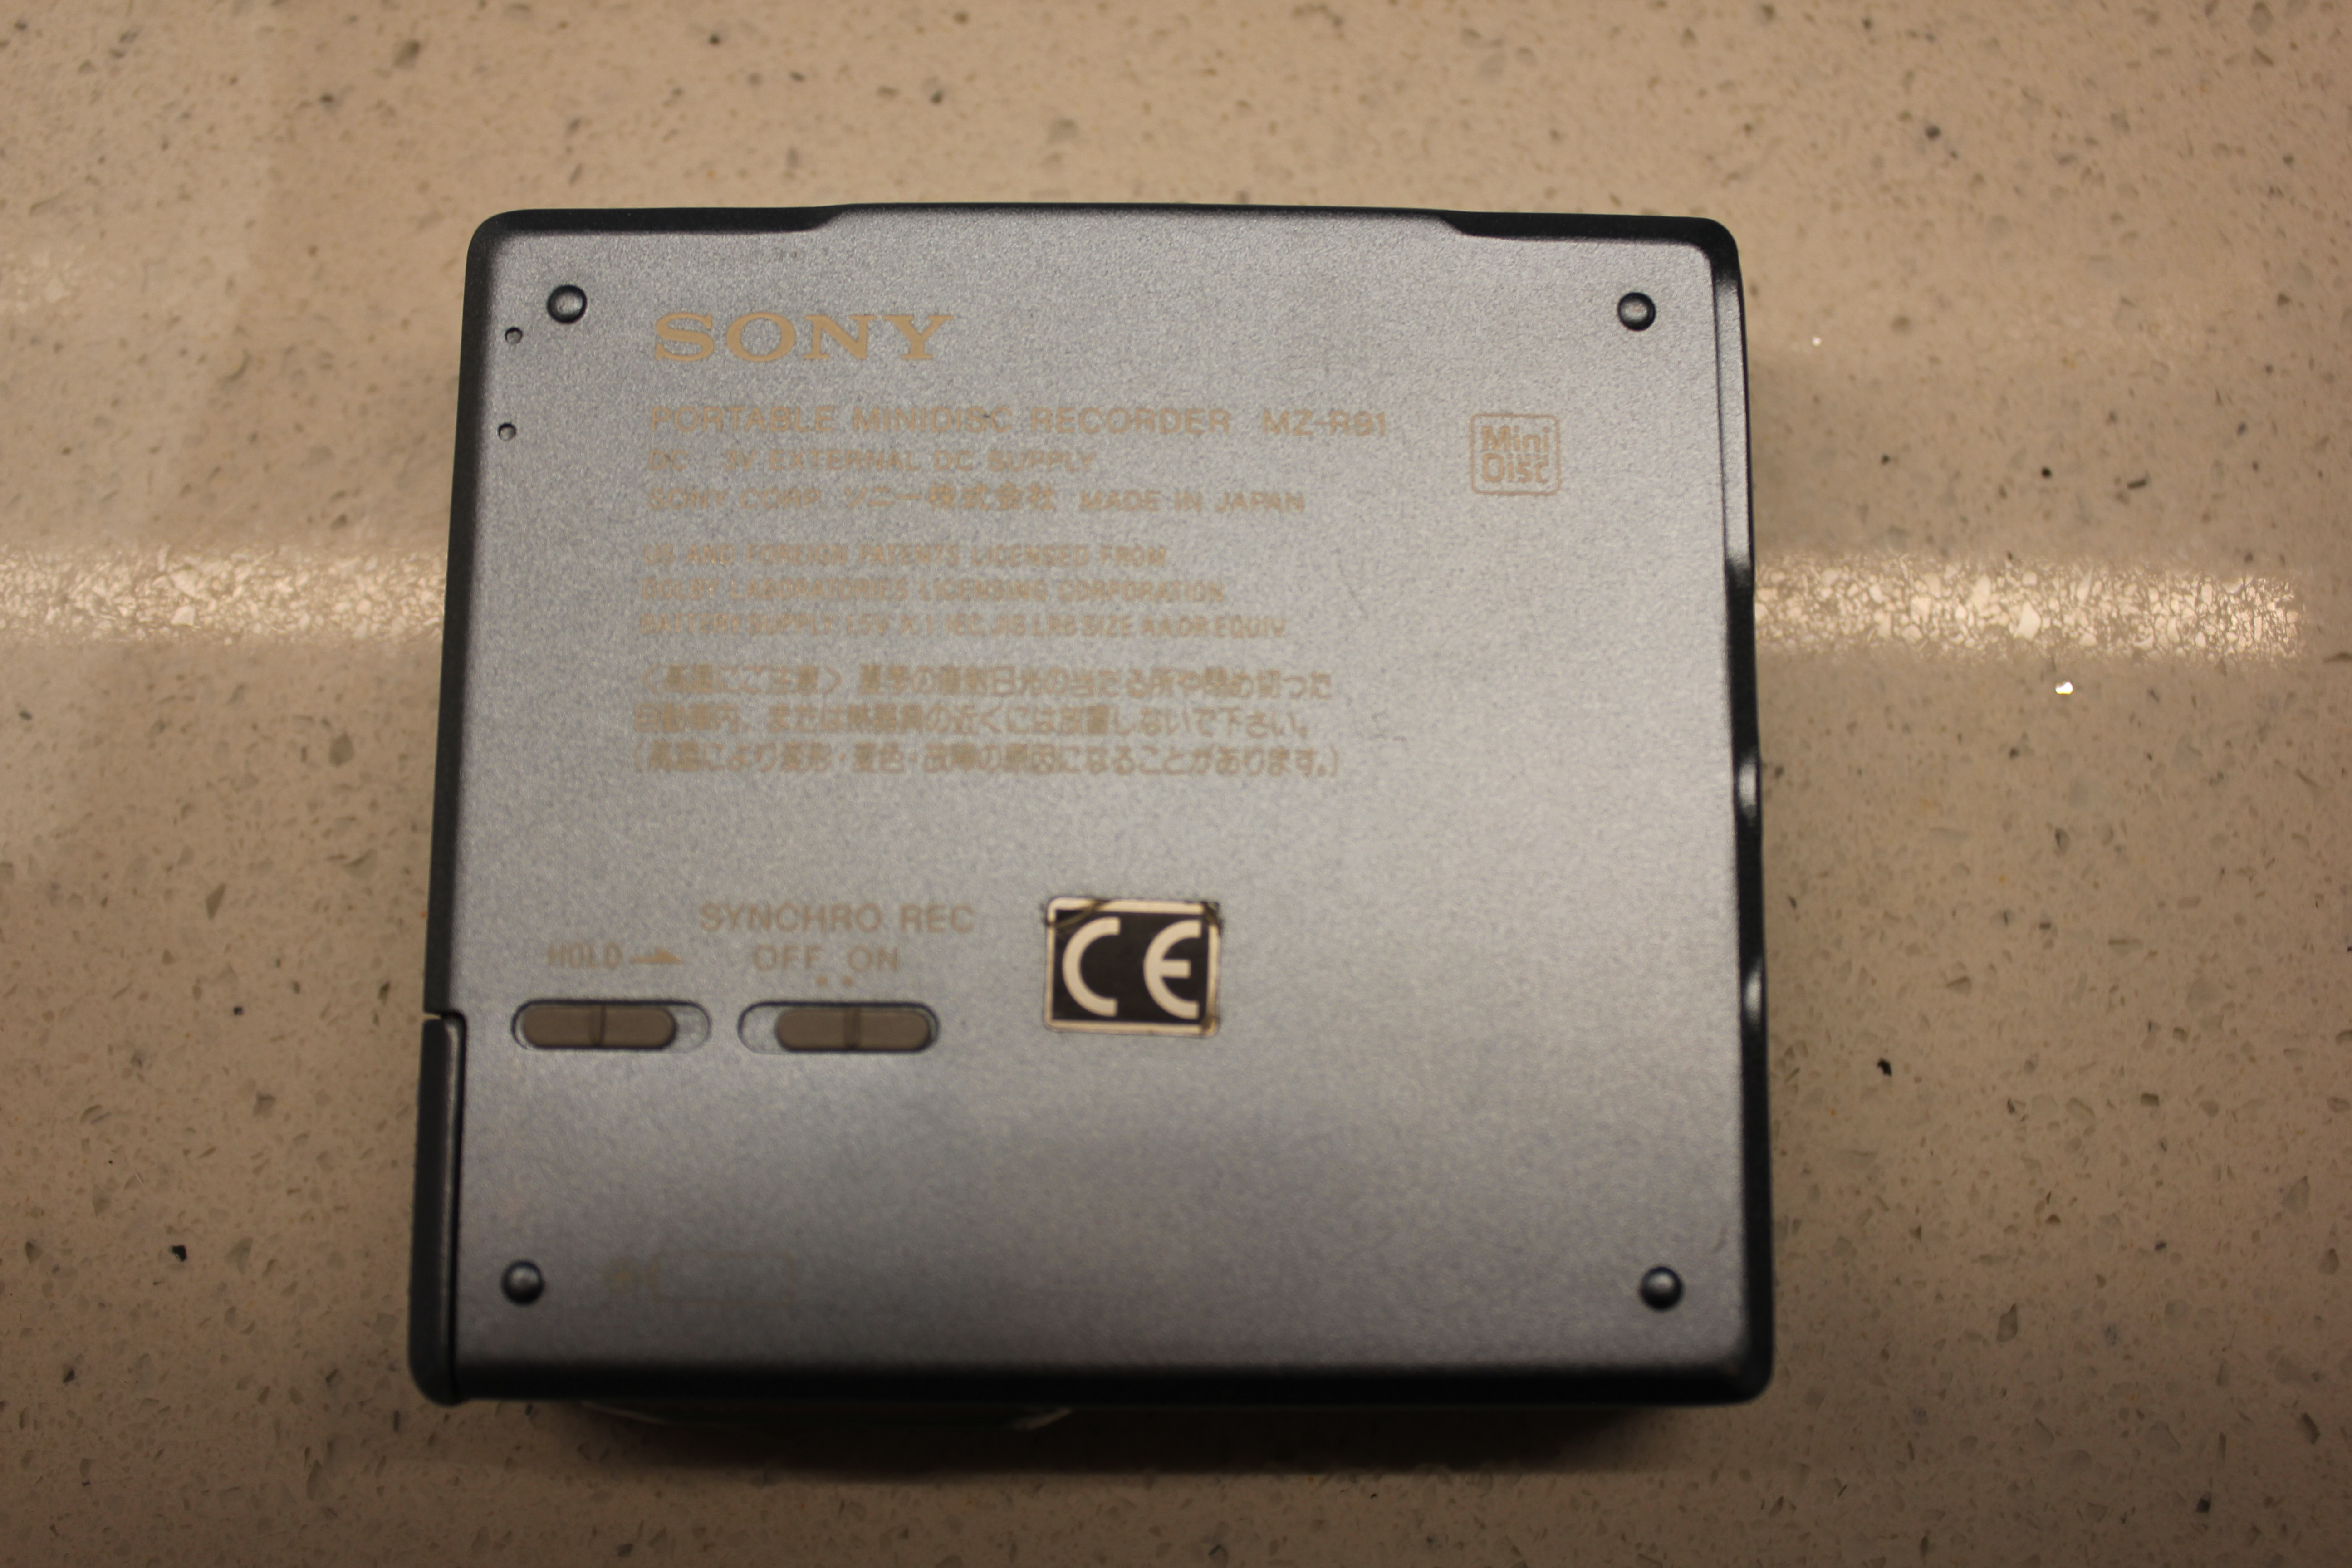
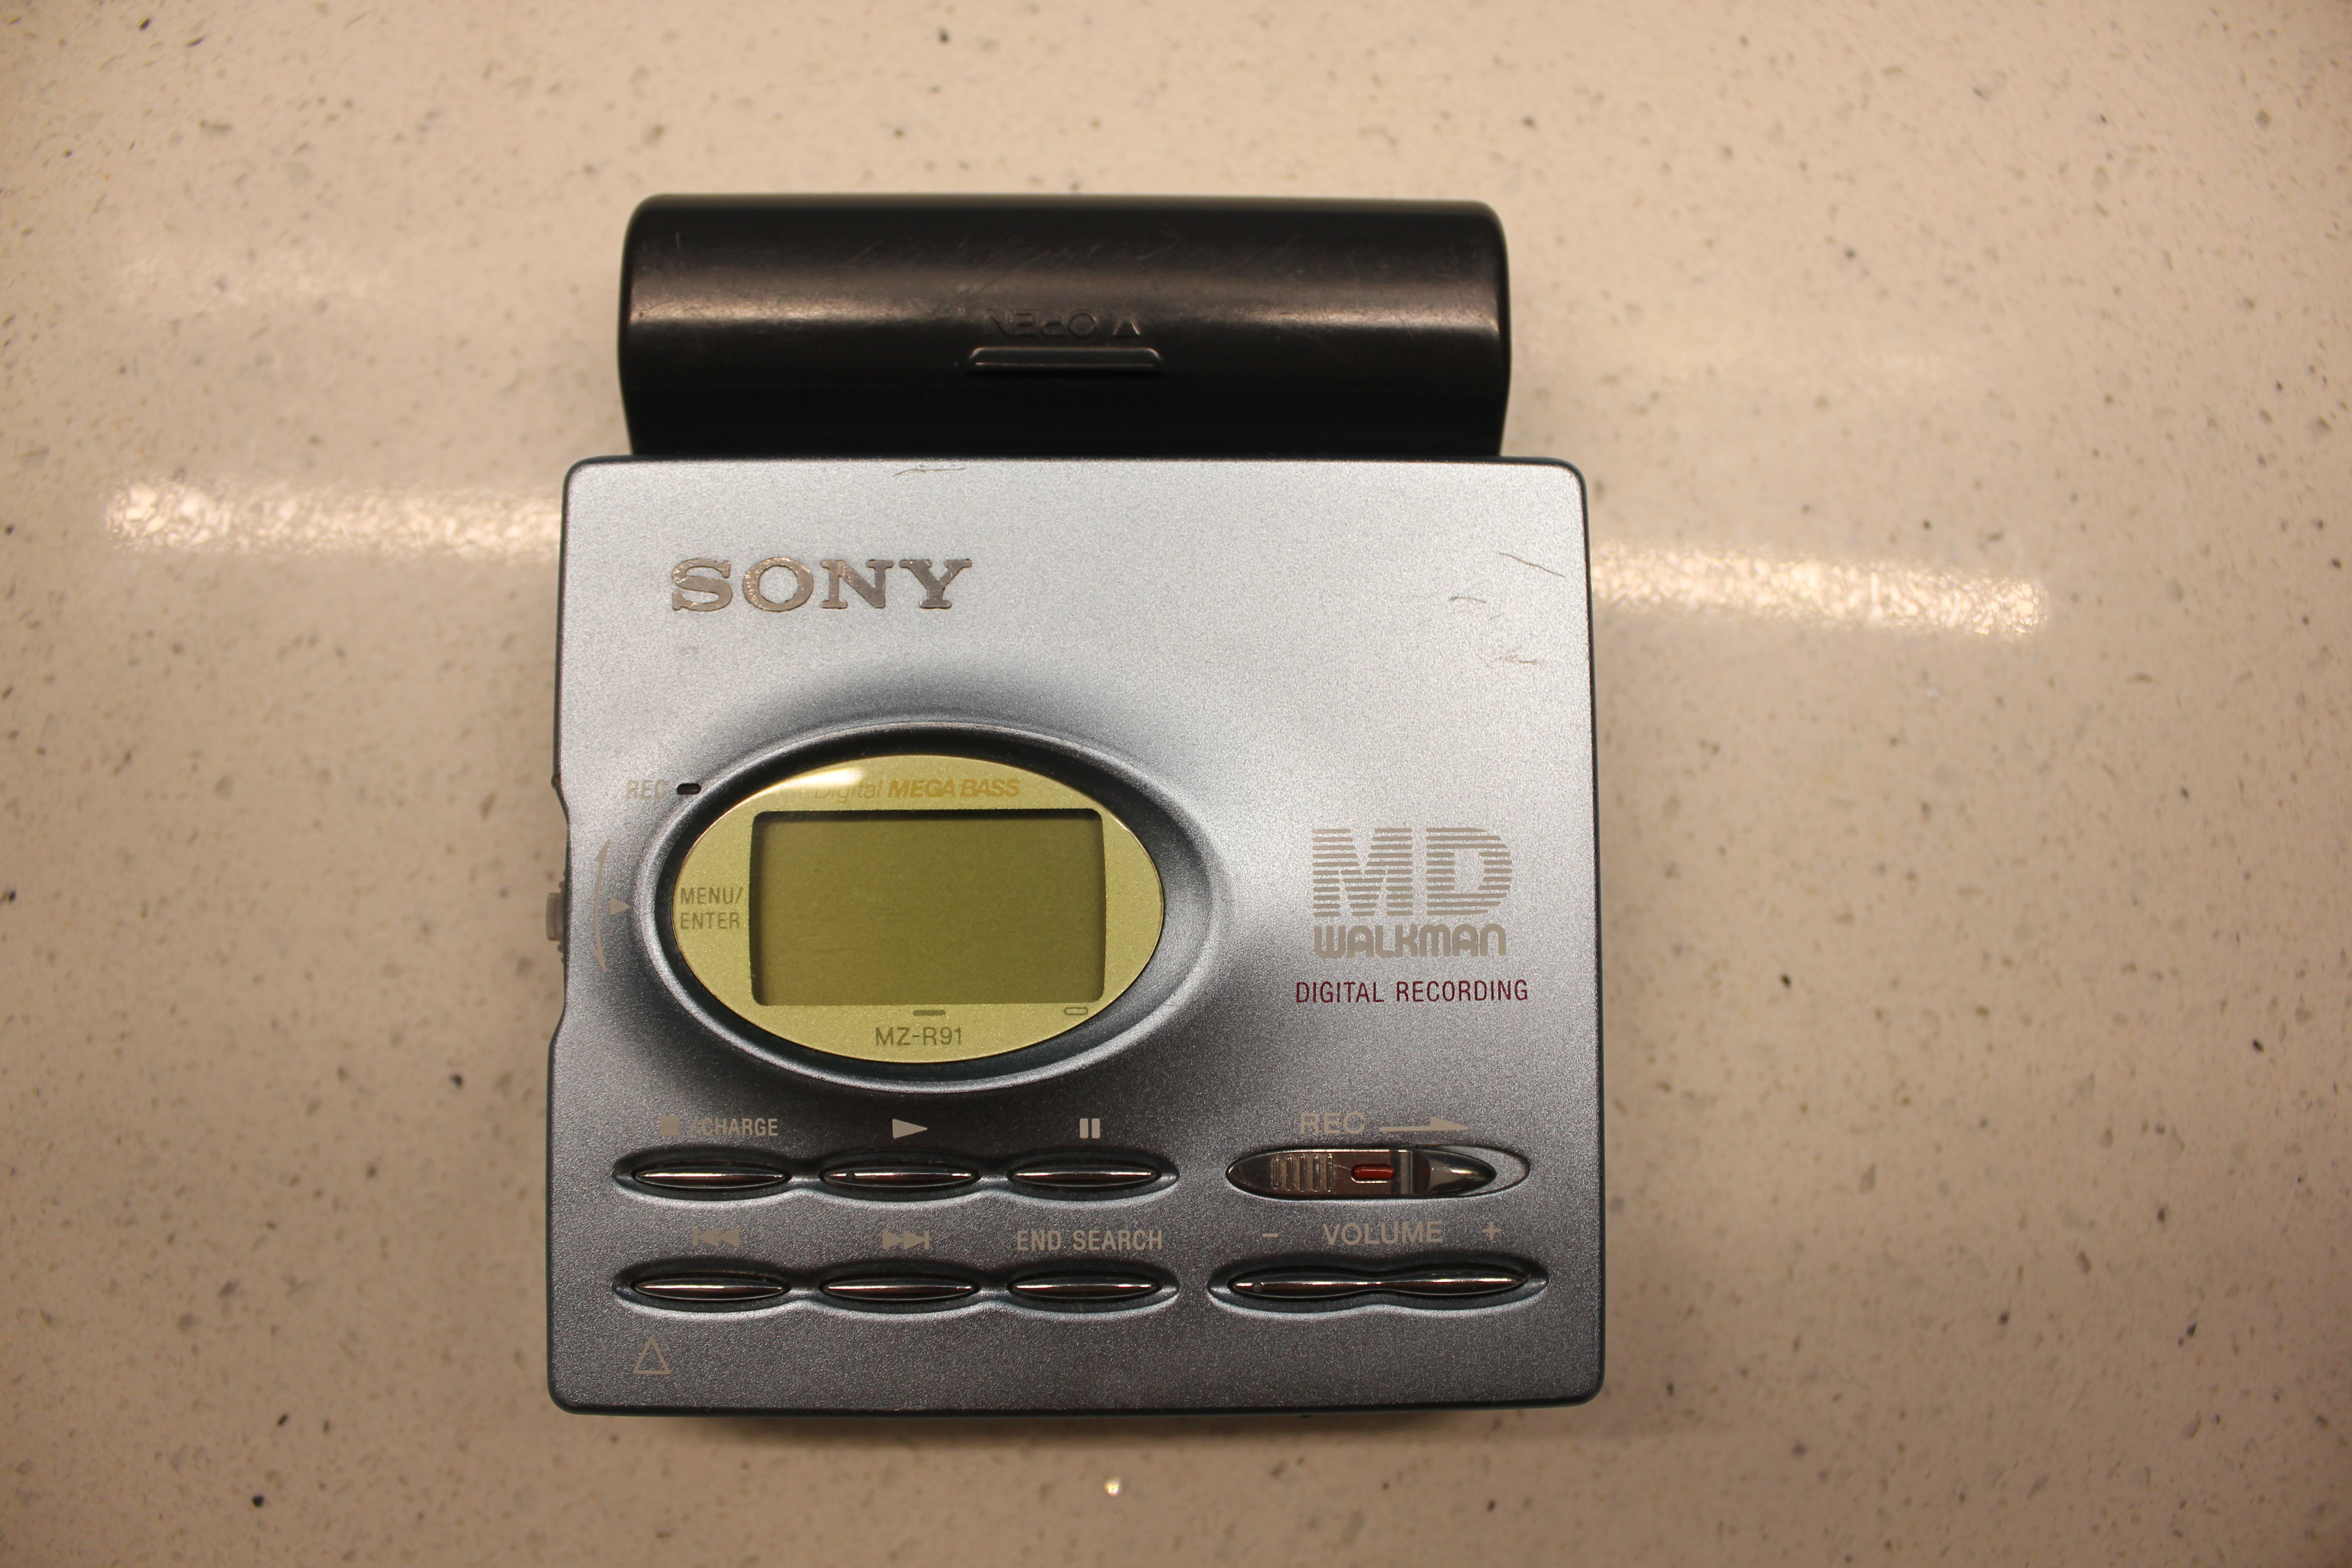
Pink MZ-R91
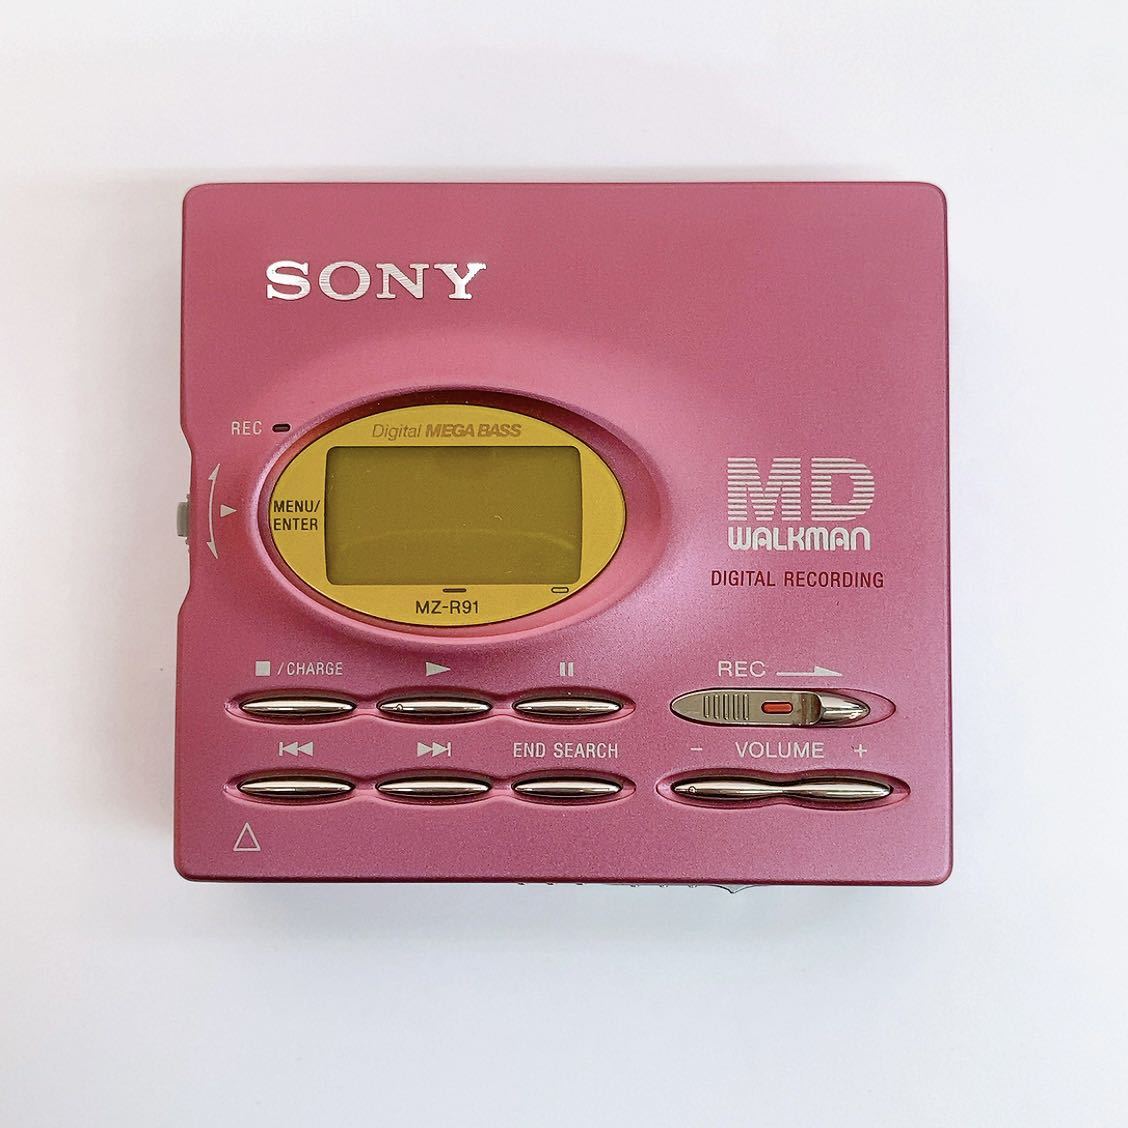
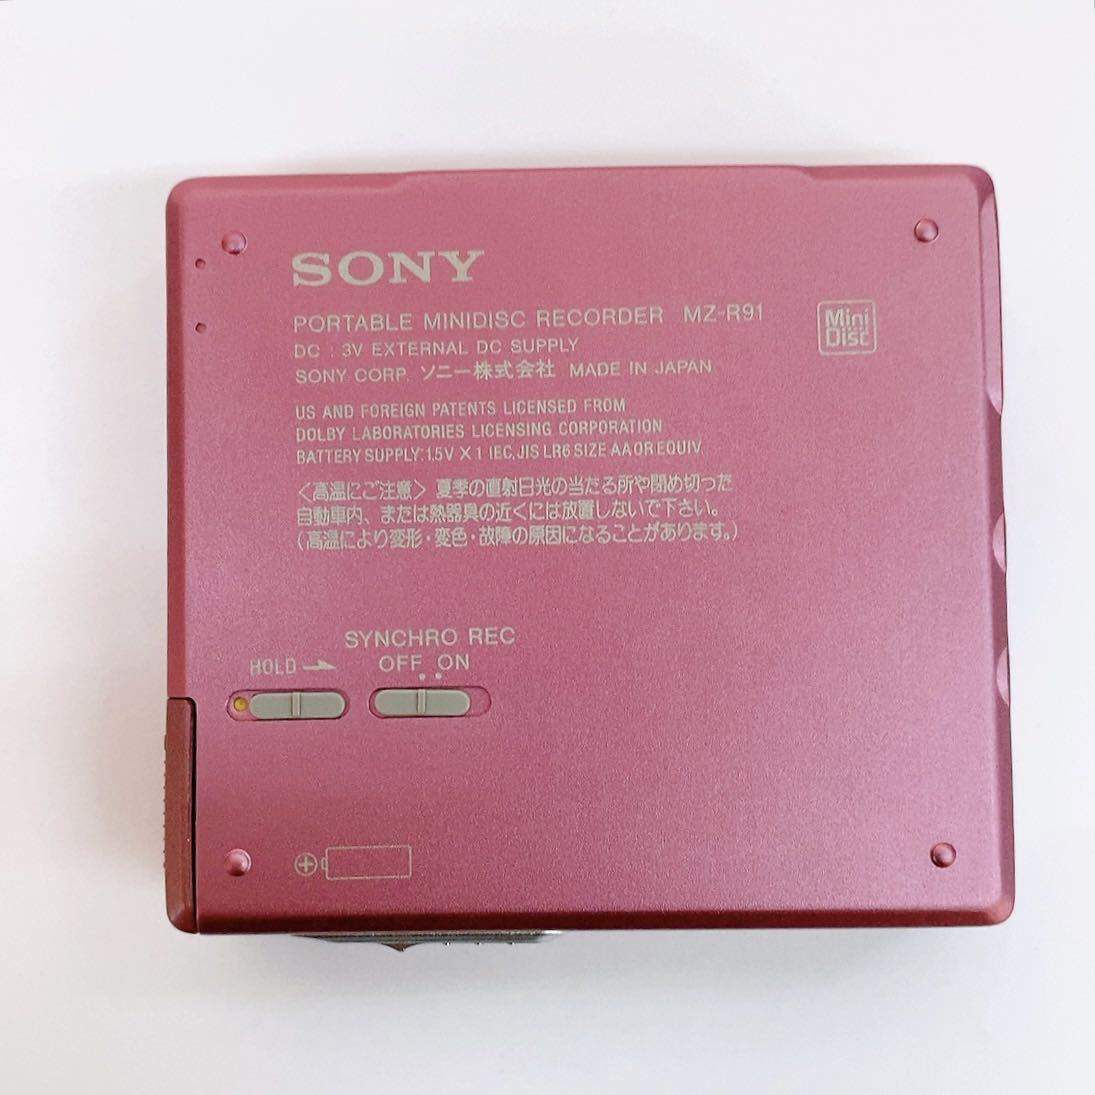
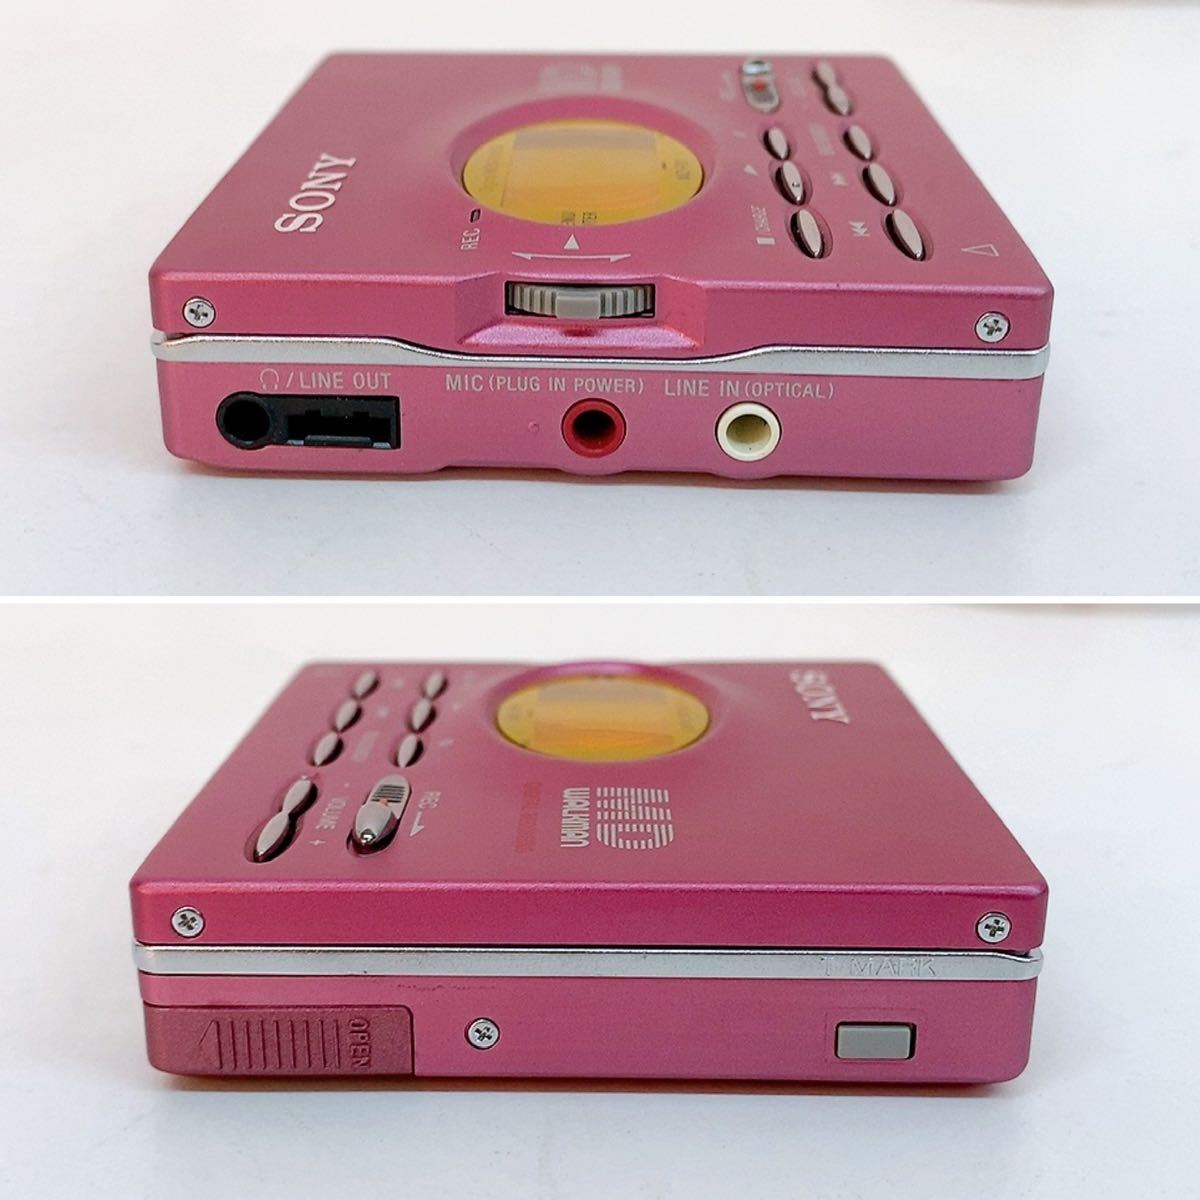
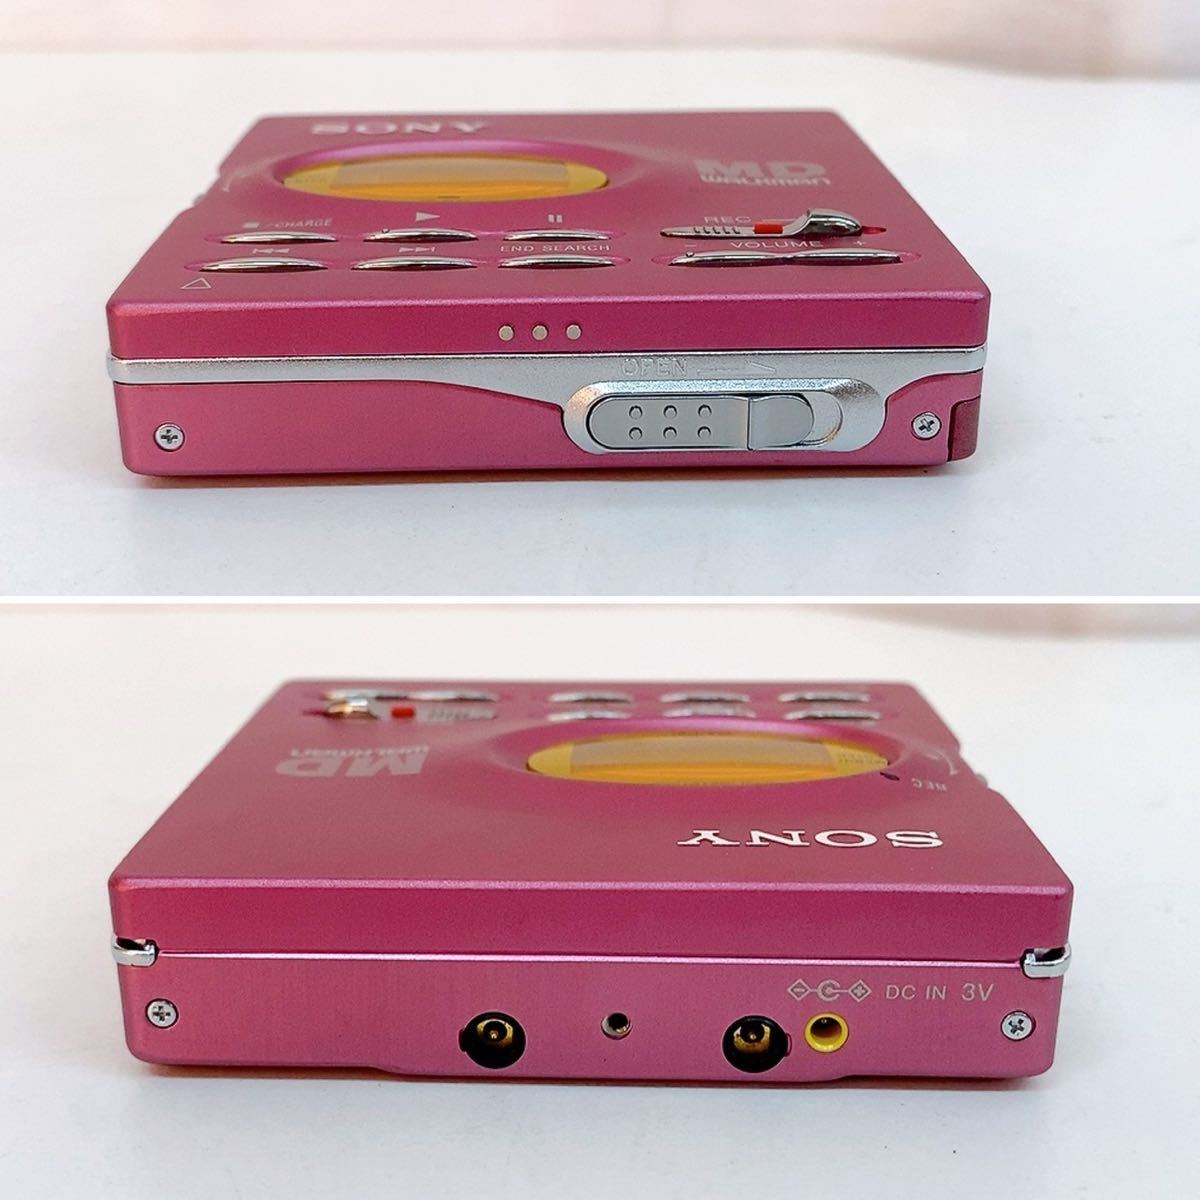
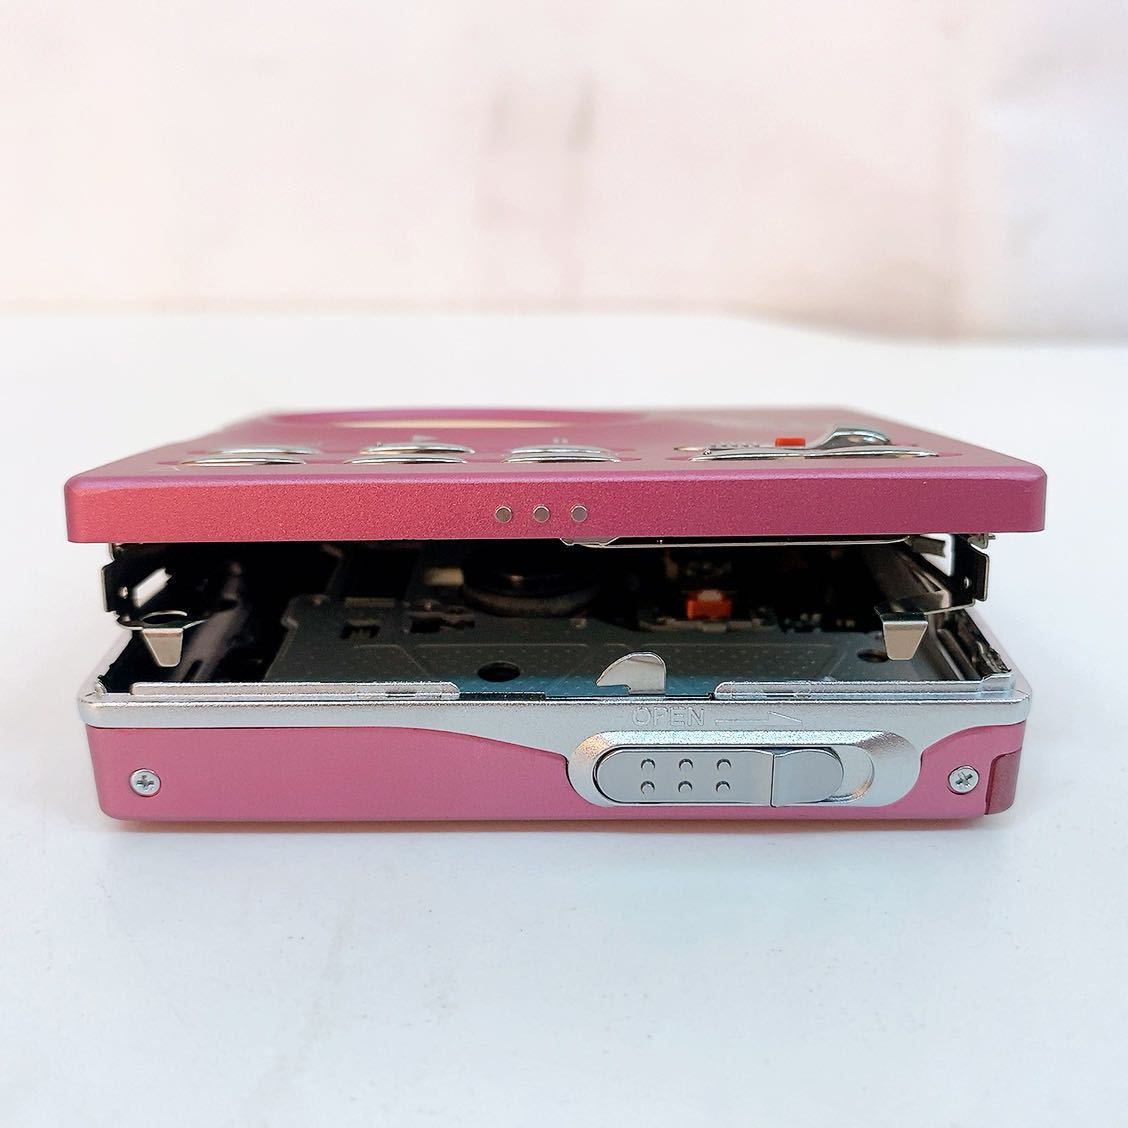
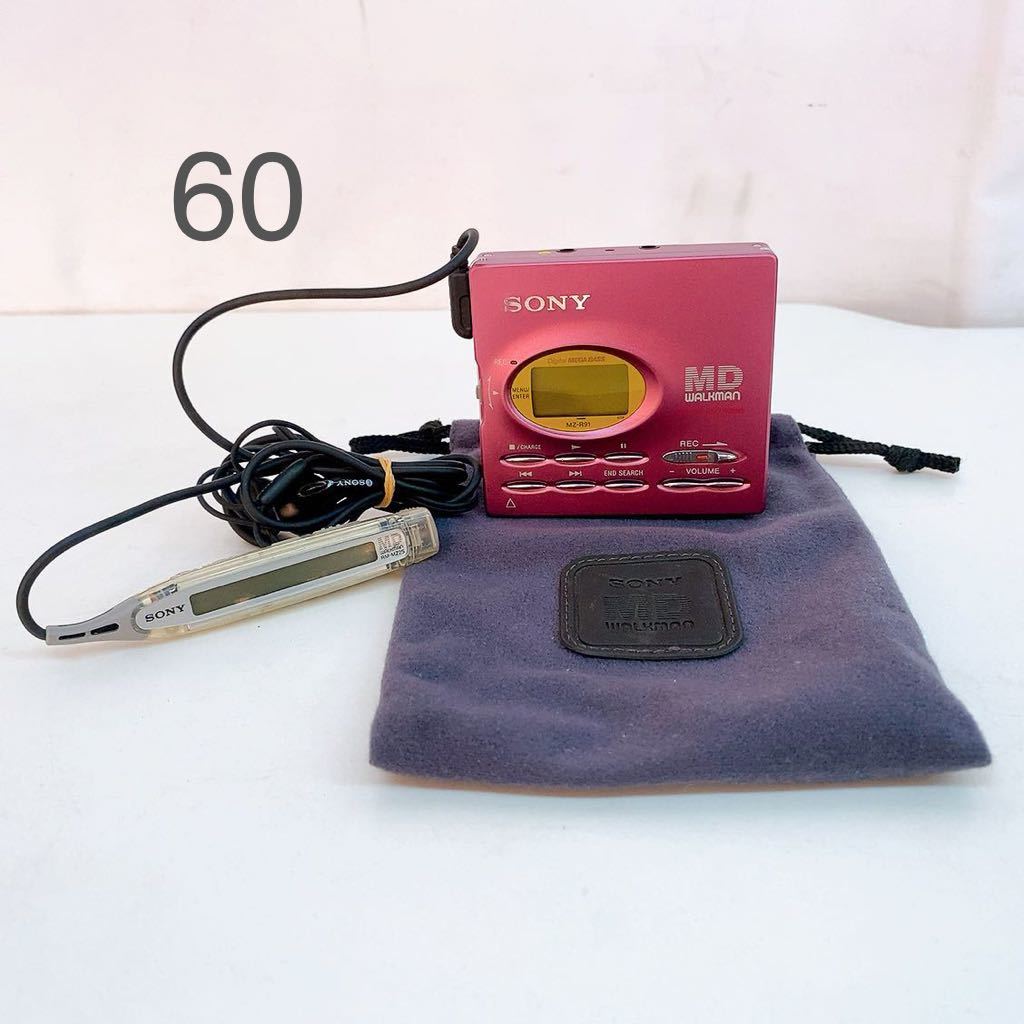
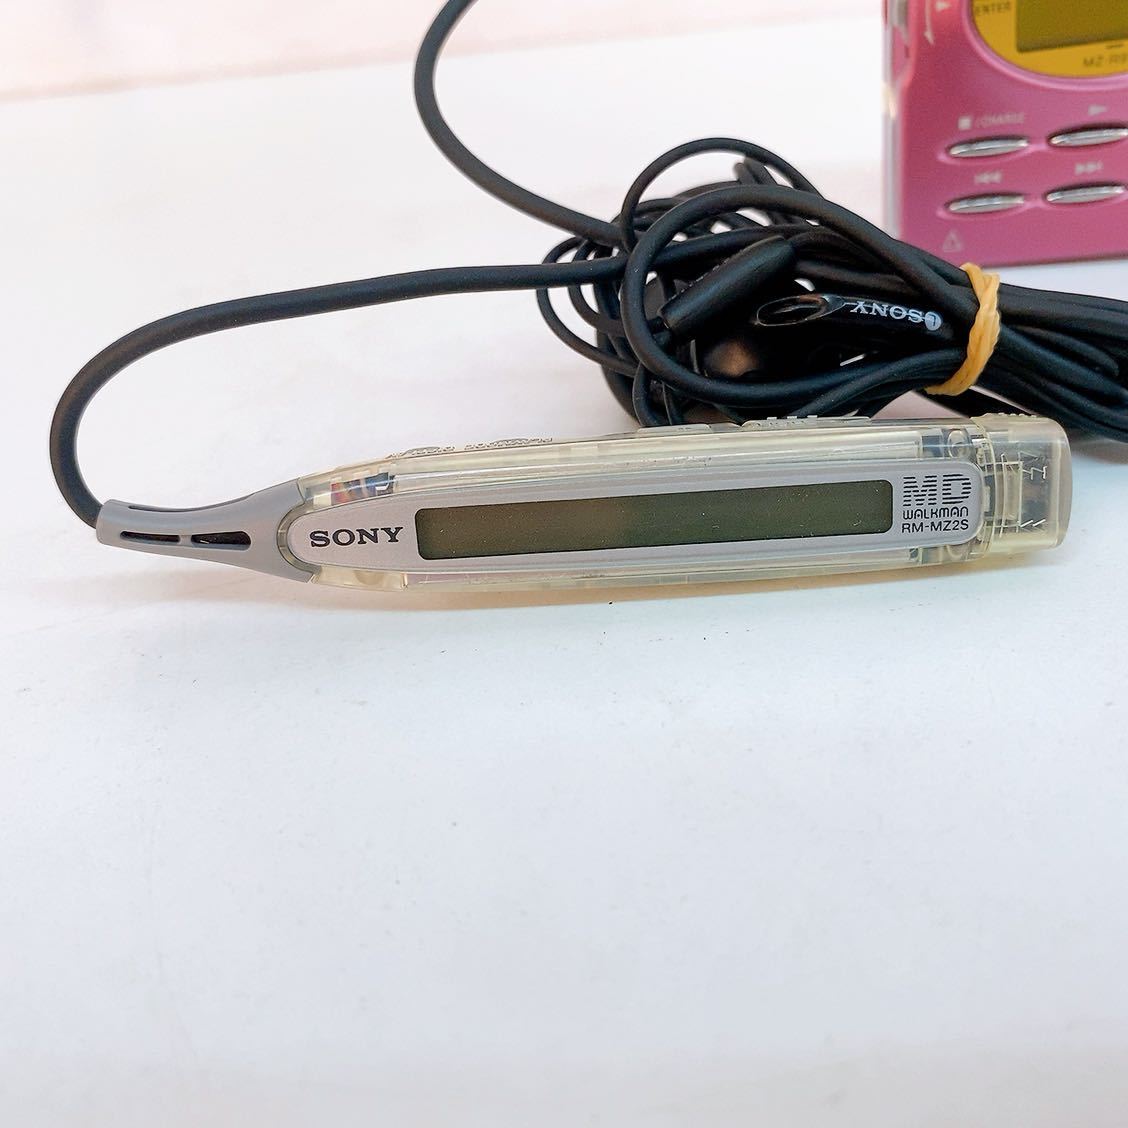
Servicing
You can enter the test mode by setting the HOLD switch to on, holding PLAY and pressing the following sequence:
Next, Next, Previous, Previous, Next, Previous, Next, Previous, Pause, Pause
Alternatively you can short the test mode pad shown below:
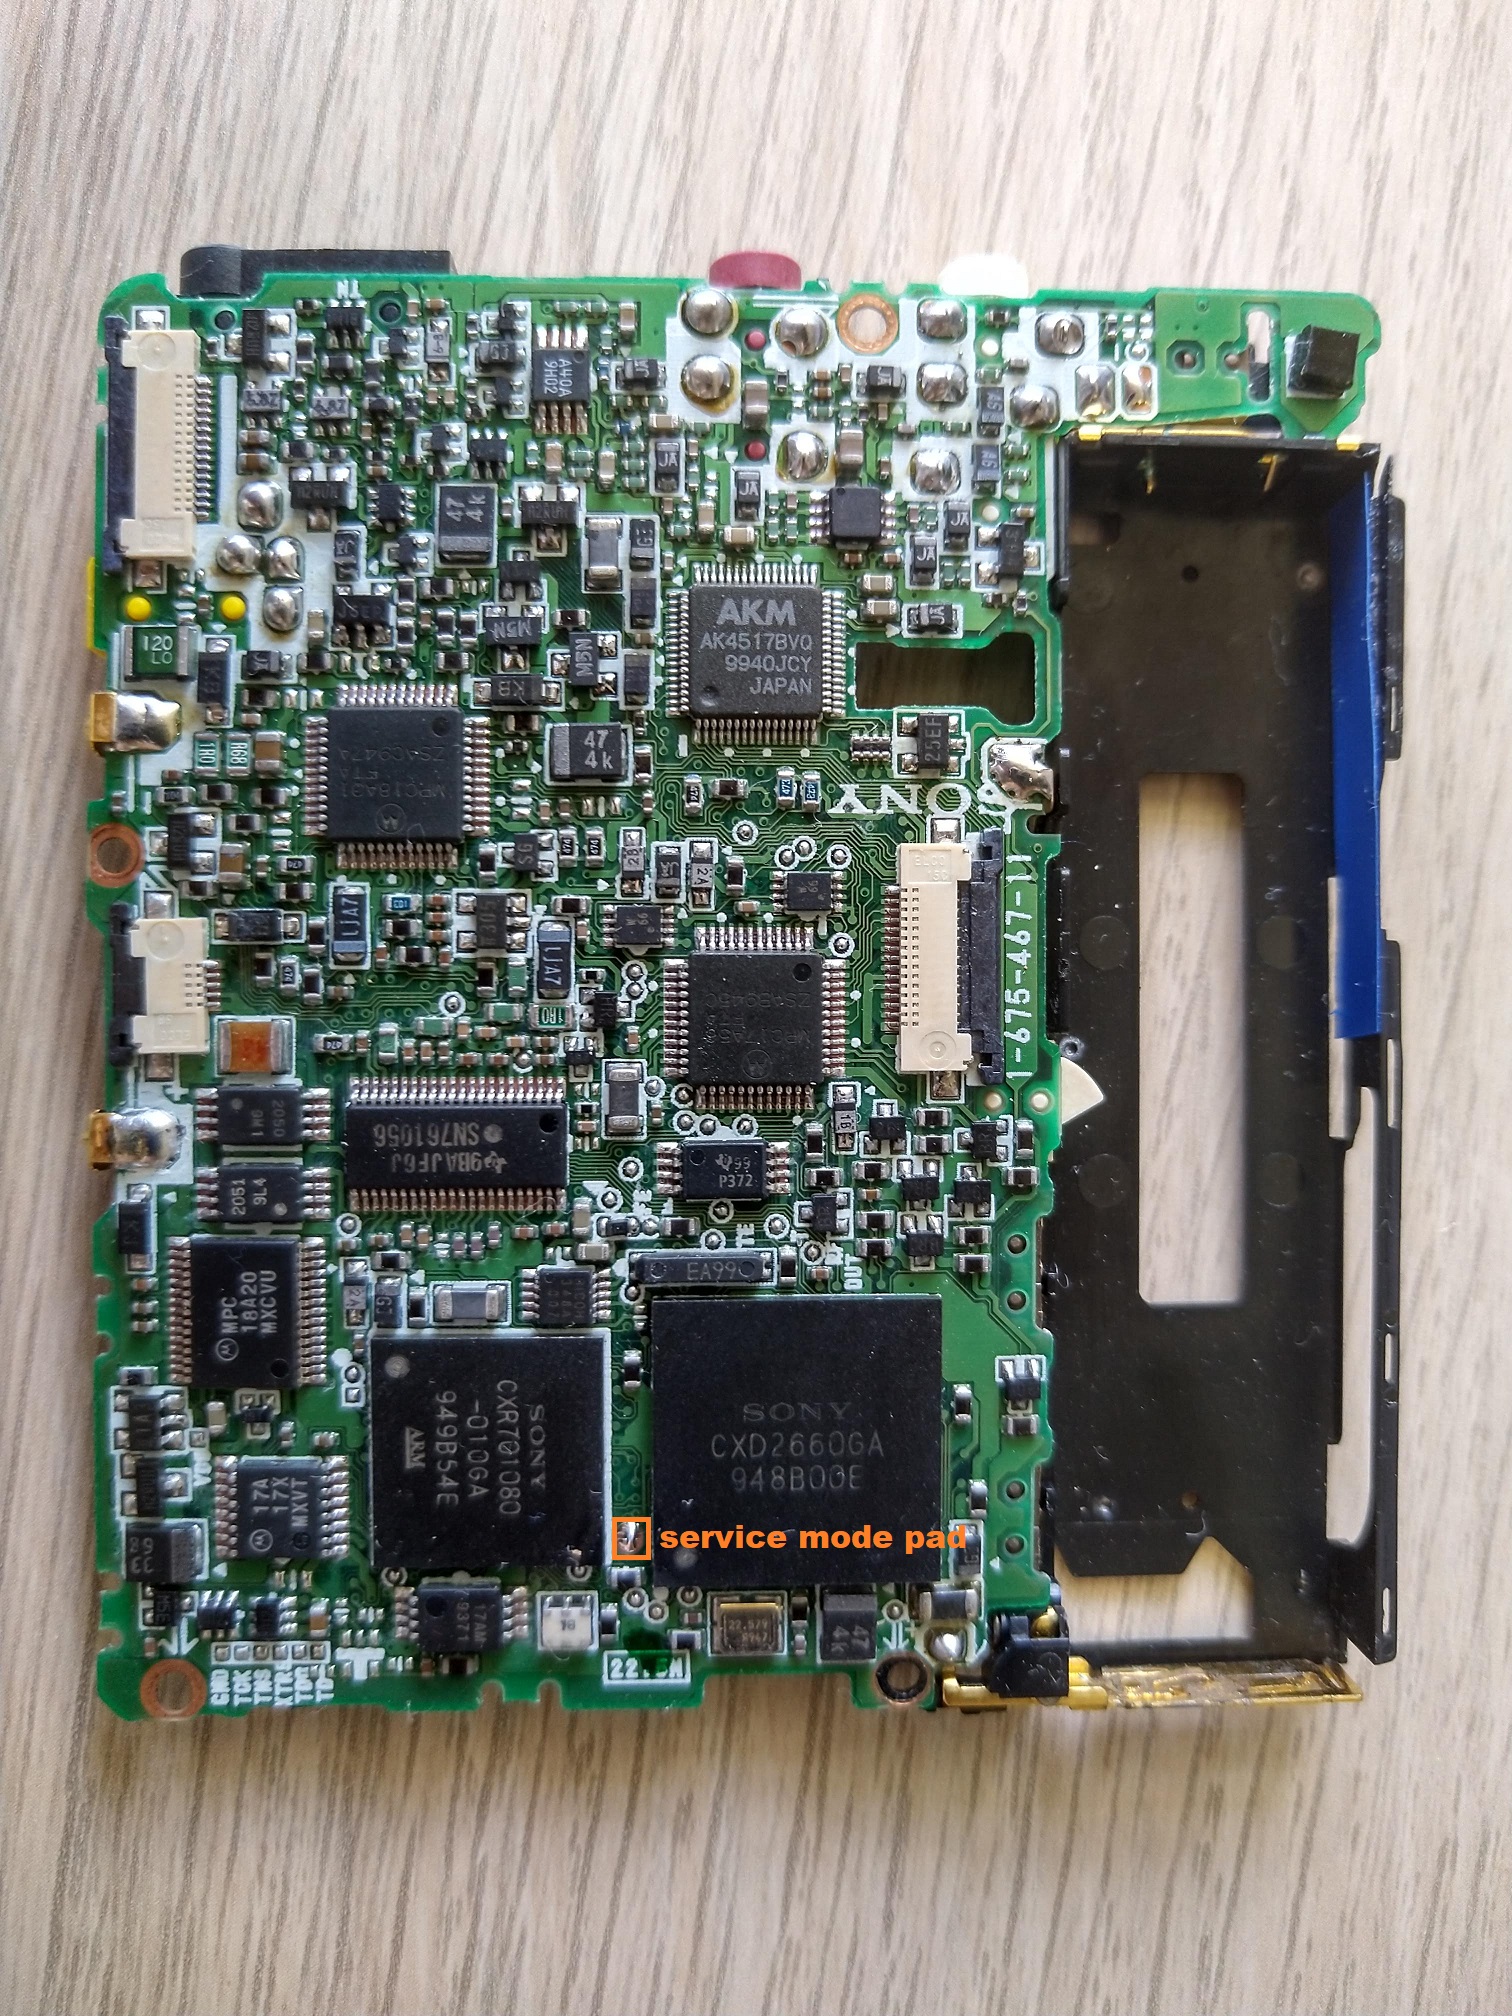
As you enter the servicing mode you will be in display check mode.
The servicing manual recommends the following steps:
- Clear settings saved in device memory (Manual mode - 021 ResNV)
- Perform electrical adjustments (Manual mode - 762 through 767)
- Calibrate temperature measurement (Manual mode - 014 SetTmp)
- Perform automatic adjustment (ASSY11)
- Clear clock (Manual Mode - 043 Resume)
Sometimes to pass automatic adjustment you may need to also use manual options 031 for CD and 034 for MO.
The locations of pads for electrical adjustment are shown below.
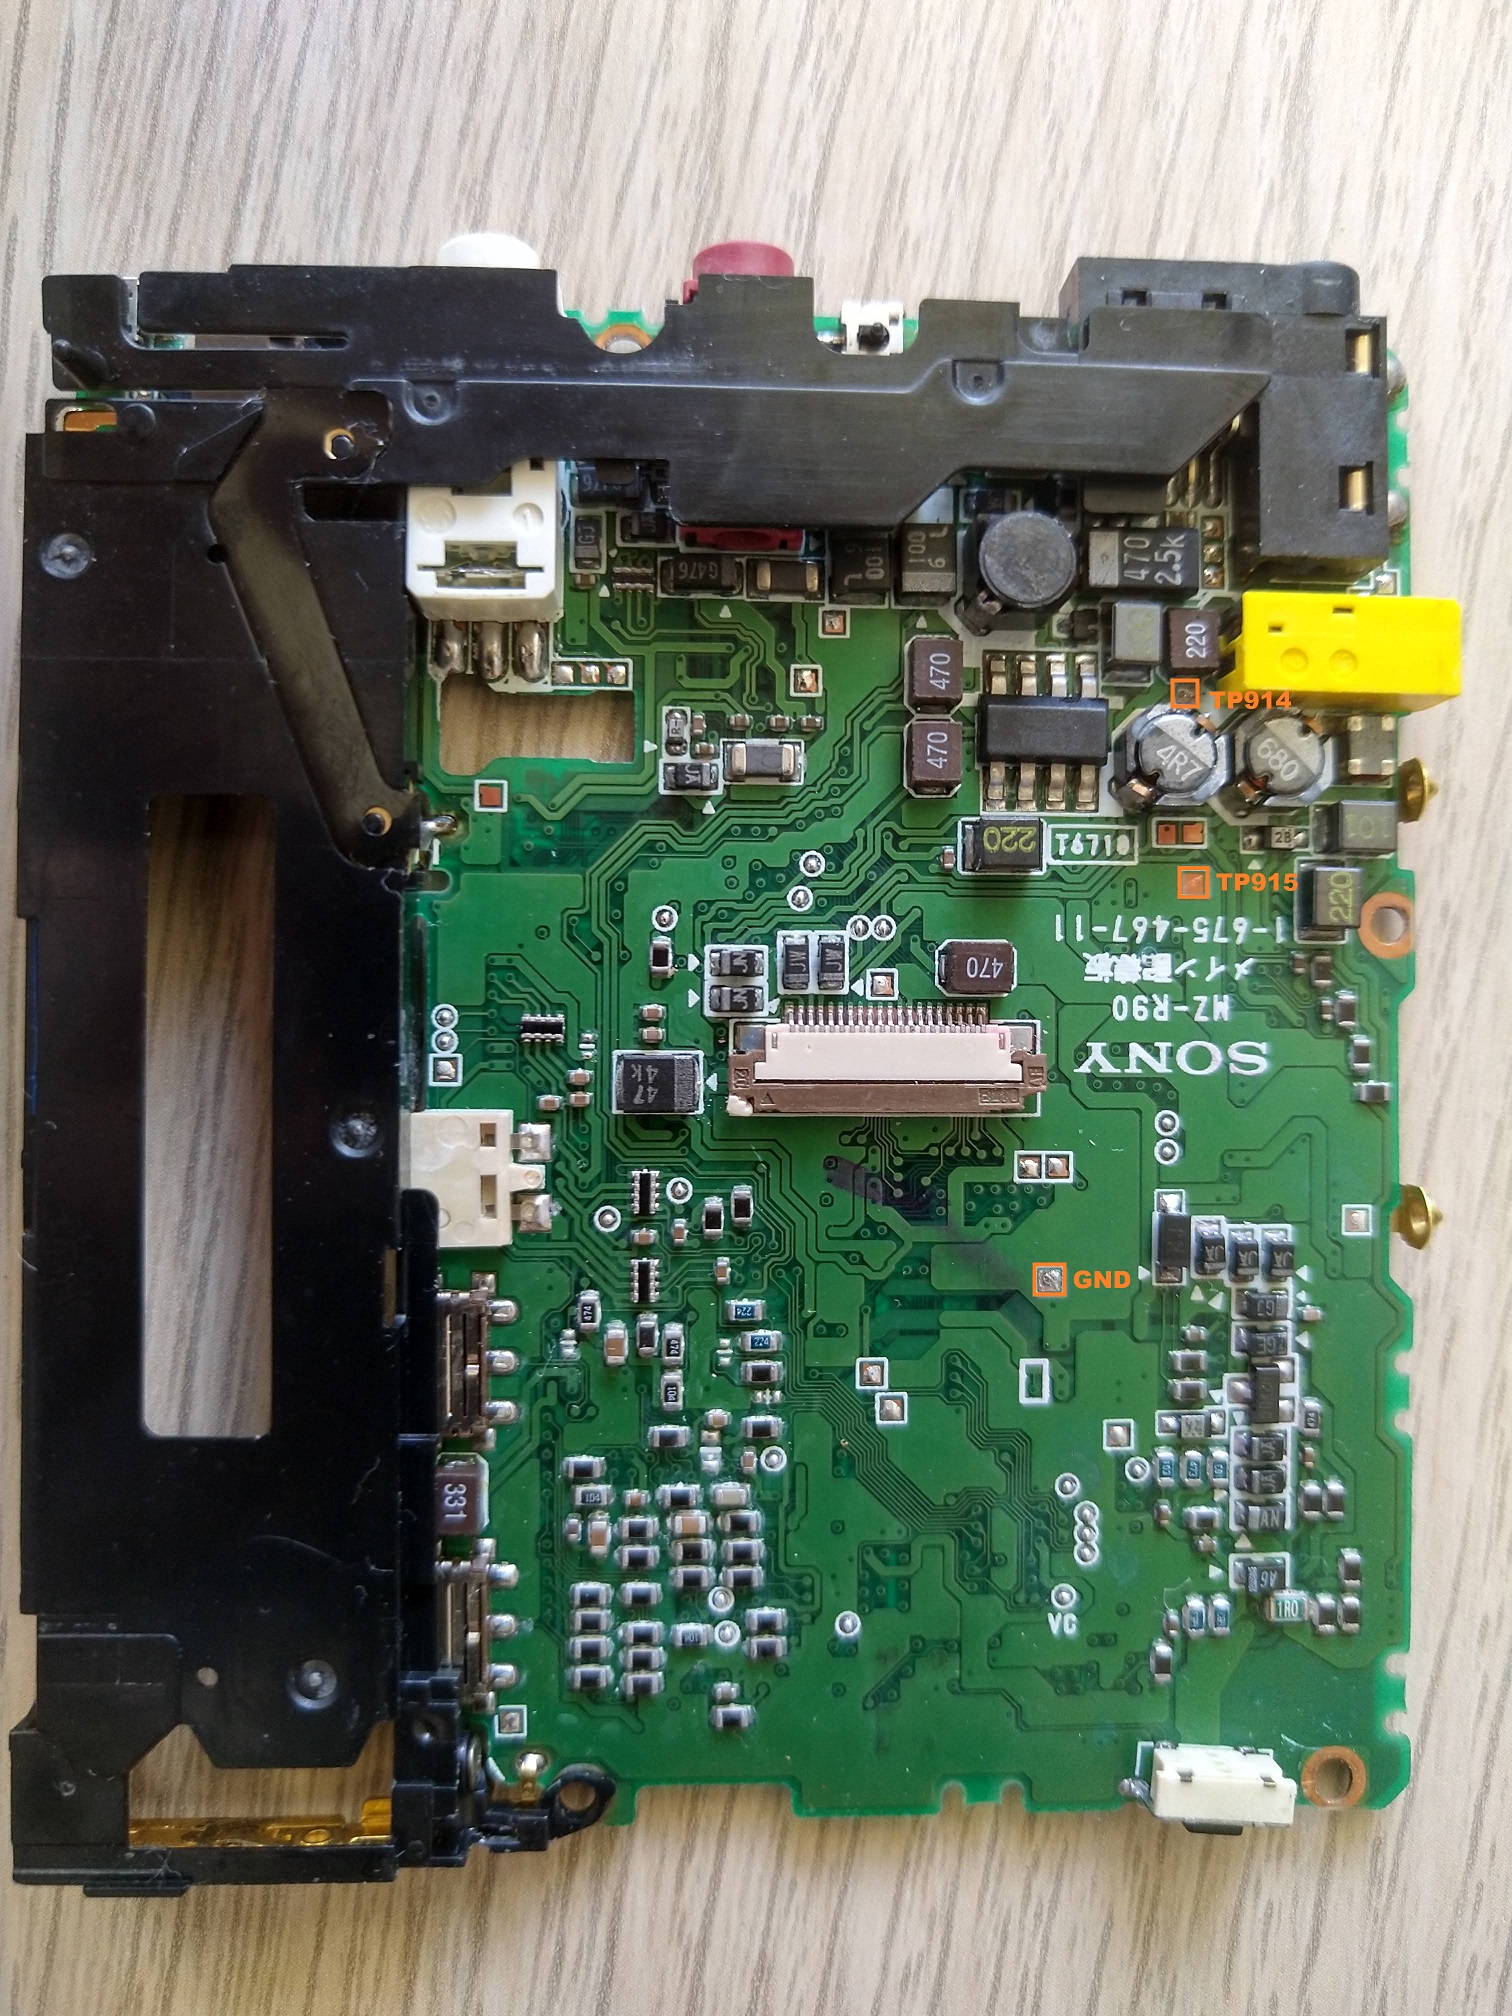
Example: adjust VC PWN duty (762):
- Vol+ - Manual mode
- Vol+ 7 times - 700 POWER
- Play - 710 PwrChk
- Vol+ 5 times - 760 V_ADJ
- Play - 761 PwrSel
- Next - 762 VclPWM
- Vol+/- to adjust voltage between TP915 and GND to 2.500V
- Pause to save
- Stop to return one level up