Source: MiniDisc Wiki contributors · September 3, 2026 snapshot · CC BY 4.0, except where otherwise credited.
Attribution and changes
Adapted from “Launching Web MiniDisc Pro”. Links, layout and file names normalized; missing database fields restored; remote embeds replaced with links. Manufacturer manuals and separately credited photographs retain their original attribution.
Insert a MiniDisc into the NetMD recorder and connect it to the computer.
Navigate to Web MiniDisc Pro.
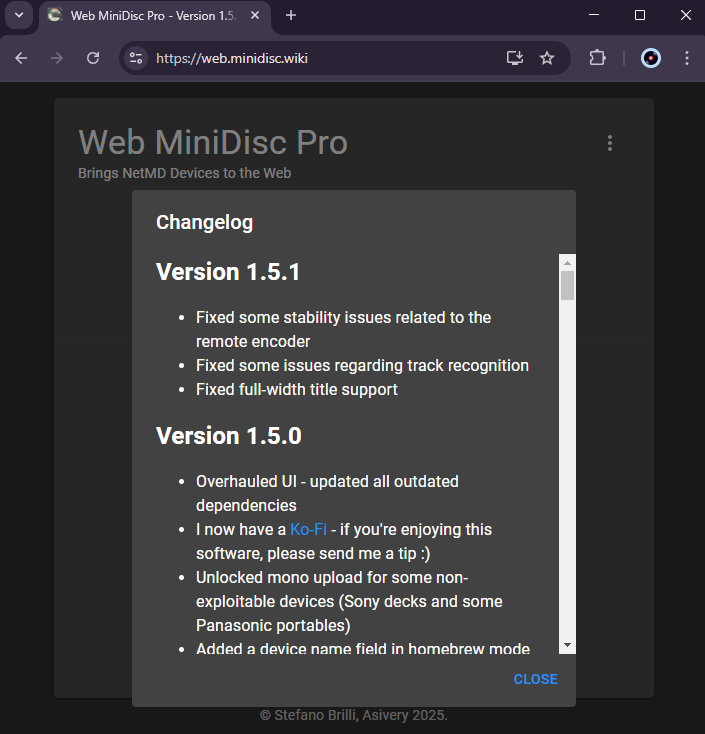
On first visit, or if there has been an update, you will see a changelog window. Quickly check if anything seems relevant to you, then dismiss the box. If the version appears out of date or if you have not used the app in some time, do a cache reload by pressing Ctrl+Shift+R - the hotkey may differ between platforms and operating systems.
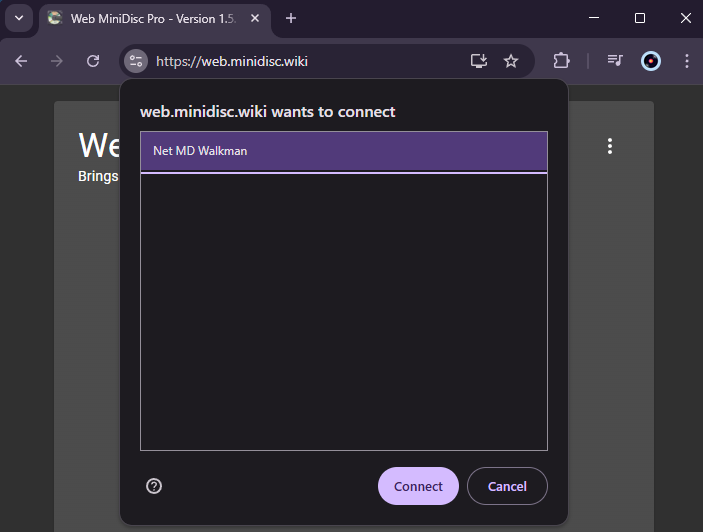
Click "Connect". A popup with "Net MD Walkman" or "Net MD" will appear in the top-left or top-right corner of the browser. If it doesn't, check your cables and try a different one. Select this and click "Connect"
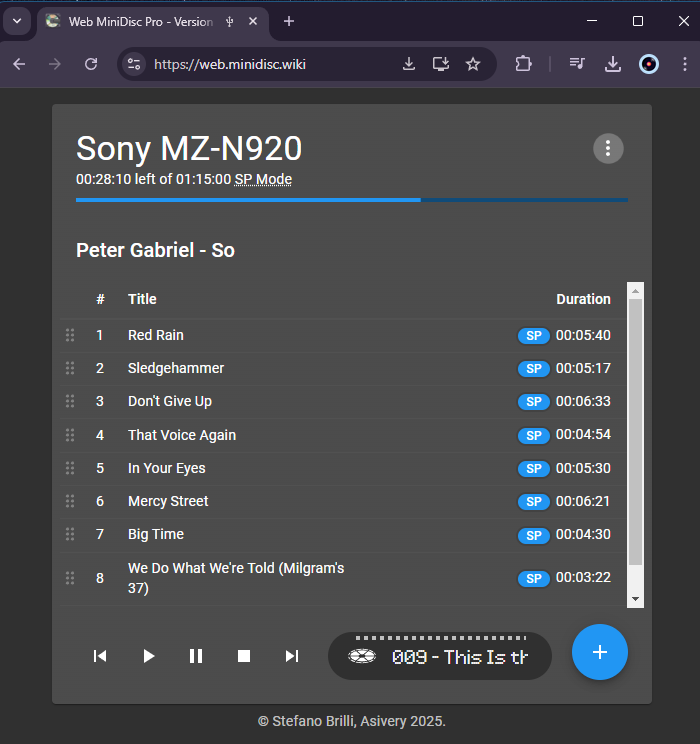
The popup will disappear. The page will show the model name of the NetMD recorder, recording time left (hover over "SP mode" to see record times for LP2 and LP4 formats) and the list of tracks on the disc (including recording mode on the right.)