Source: MiniDisc Wiki contributors · September 3, 2026 snapshot · CC BY 4.0, except where otherwise credited.
Attribution and changes
Adapted from “Converting ATRAC files to other formats”. Links, layout and file names normalized; missing database fields restored; remote embeds replaced with links. Manufacturer manuals and separately credited photographs retain their original attribution.
FFMPEG
FFmpeg is the most powerful and flexible tool for converting between different audio and video formats. The following Linux command can be used to batch convert all AEA files in the current folder that are compatible with the CD-DA format with a WAV container:
for f in *.aea; do ffmpeg -i "$f" -vn -hide_banner -c:a pcm_s16le -ar 44100 "${f%.aea}.wav"; done
This will keep all the audio information in the WAV file as is. To create FLAC files with better tag and error correction support, use this command instead:
for f in *.aea; do ffmpeg -i "$f" -vn -hide_banner -c:a flac -sample_fmt s16 -ar 44100 "${f%.aea}.flac"; done
FFMPEG and FLAC
Although ffmpeg can handle these files and convert them directly to FLAC, it is possible to keep the lossless part of FLAC and save even more space by using the option --lax from the FLAC tool. Make sure flac is installed on your system and use the command bellow:
for f in *.aea; do ffmpeg -i "$f" -vn -hide_banner -c:a pcm_s16le -ar 44100 -f wav - | flac - --lax -8Vl32 --replay-gain -o "${f%.aea}.flac"; done
This is the main difference between files converted to FLAC with and without the "–lax" option:
du -h lax.flac no-lax.flac
  27M     lax.flac
  30M     no-lax.flac
It won't save much space for individual files, but it can save gigabytes if you have a lot of them.
See FFmpeg's extensive documentation for variations and instructions for other platforms.
WINDOWS
The same automation can be done in Windows using drag-and-drop features. Using a spare partition, hard disk drive (HDD), USB drive, etc., create a folder named "Tools" outside of the C:\ drive. Inside this folder, create another one named "bin". Download the binaries for ffmpeg ( ffmpeg-release-full.7z) and flac and decompress inside the "bin" folder by using 7-zip or any other decompression tool.
At the root of your Tools folder, save this script as any-to-flac-lax.bat:
REM Created by wtuemura 05/08/2025
REM CC by 4.0
REM Drag and drop the files over this batch script
REM Check the link bellow for flac lax options
REM https://sound.stackexchange.com/a/50126

@echo off
setlocal
cls

Title ANY audio file to FLAC LAX

if exist %~dp0\bin\ffmpeg.exe (

set FFMPEG=%~dp0\bin\ffmpeg.exe
set FFMPEG_CONFIG=-vn -hide_banner -c:a pcm_s16le -ar 44100 -f wav

) else (
  echo Could not find ffmpeg!
  echo Download from https://www.videohelp.com/software/ffmpeg
  echo.
  pause
  echo Quiting...
  goto :end
)

if exist %~dp0\bin\flac.exe (

set FLAC=%~dp0\bin\flac.exe
set FLAC_CONFIG=--lax -8Vl32 --replay-gain

) else (
  echo Could not find Flac!
  echo Download from https://www.videohelp.com/software/FLAC-Encoder
  echo.
  pause
  echo Quiting...
  goto :end
)

if not exist converted (
goto :dir

) else (
goto :command
)

:dir
mkdir converted
goto :command

:command
for %%A in (%*) do %FFMPEG% -i %%A %FFMPEG_CONFIG% - | %FLAC% - %FLAC_CONFIG% -o "converted\%%~nA.flac"

:end
endlocal
exit /B
Simply drag and drop your AEA files onto the script, and it will take care of the rest. All your converted files will be inside the converted folder.
Dealing With Audio Files With Excessive Dynamic Range Compression
Unfortunately, in some cases, the audio has been over-compressed, a practice commonly associated with the loudness war. Over-compression happens when the volume is pushed so high that it forces sound levels to remain unnaturally high, eliminating the natural dynamic range that distinguishes quiet and loud sections of a recording and flattening the music's dynamics. This causes the waveform to reach its maximum limit, resulting in a clipped and distorted signal.
When an audio signal is clipped, its peaks are cut off and the fine details that give the sound clarity and richness are lost forever. Those peaks carry important information about the natural shape of the waveform. Once removed, the result is a flattened, less dynamic sound. No filter, plug-in, or audio tool can rebuild what has been lost because the original data no longer exists.
The method described here does not restore missing details; rather, it is a workaround to make clipped audio less unpleasant. For this purpose, I use a free plug-in called ReLife from Analog Obsession. ReLife reshapes the waveform and try to expands the dynamic range whenever possible, reducing harshness and bringing back some sense of depth. While it cannot recreate the original peaks, it makes the audio feel more natural and easier to listen to. Nevertheless, this should be seen as damage control only, since clipped signals remain unrecoverable.
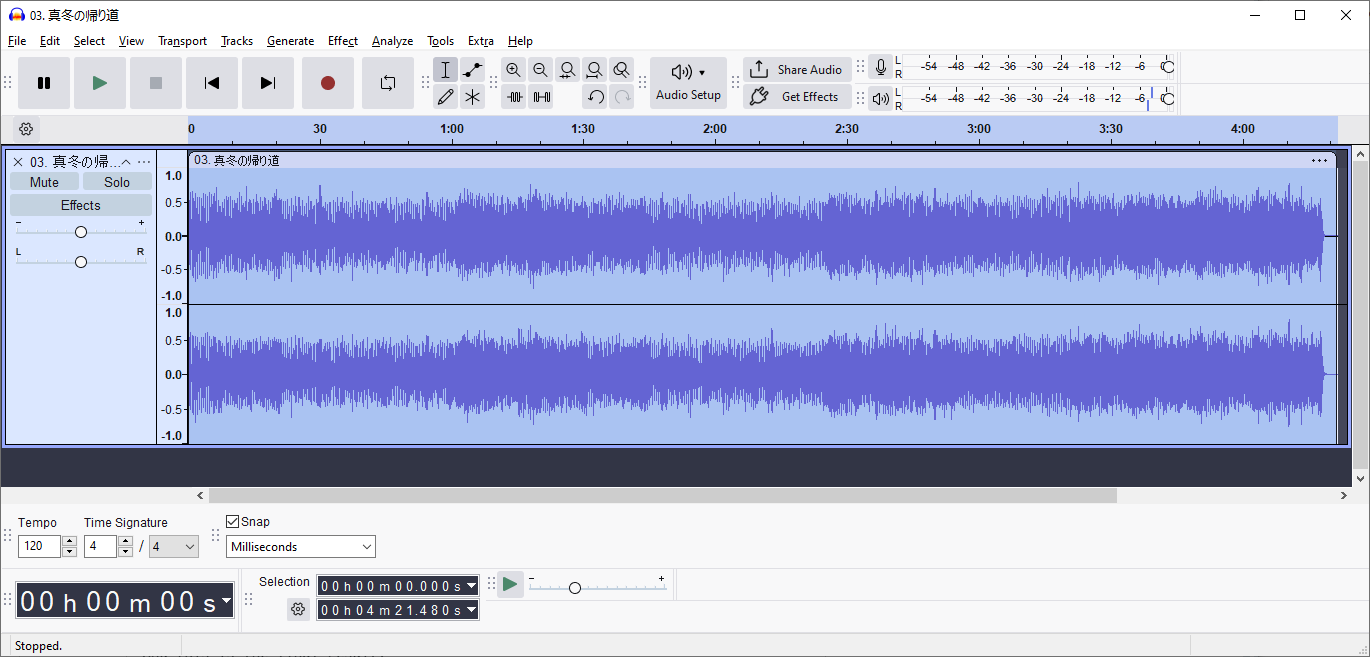
As reference, this is how the track looks like:
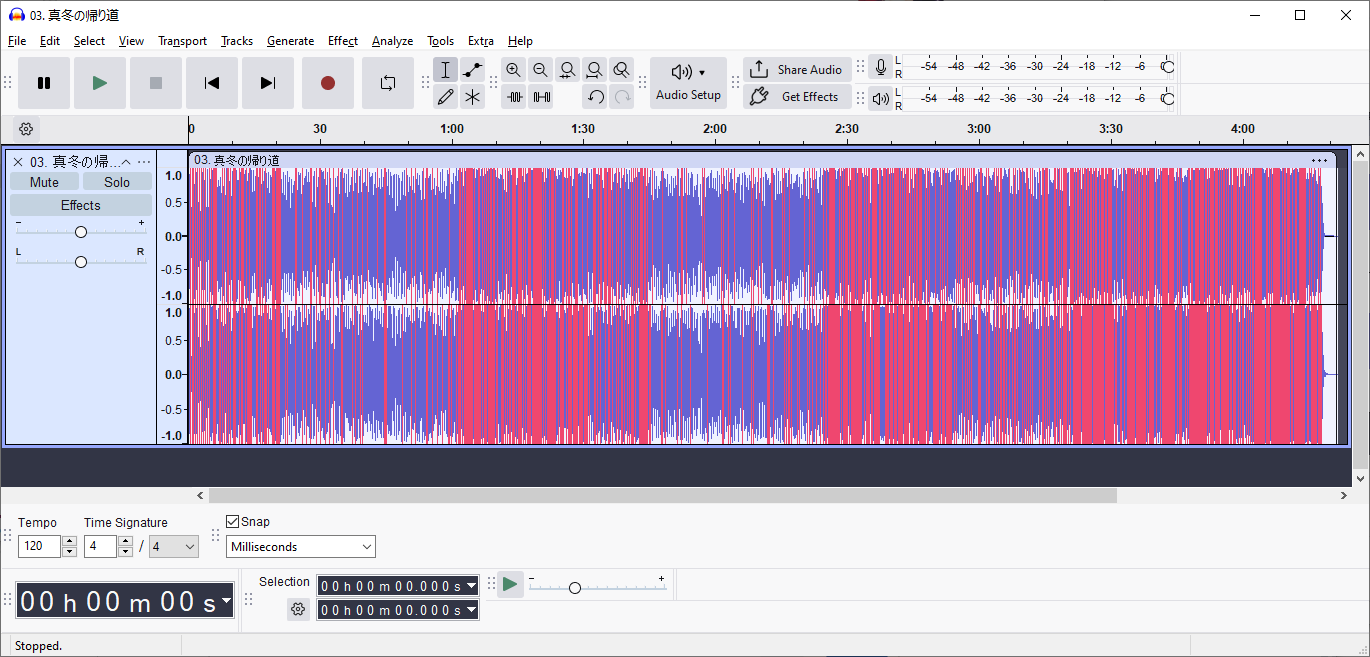
To view the clipping, go to the View menu and select Show Clipping in Waveform. Then, follow the steps below:
- Download and install Audacity.
- Download and install ReLife plug-in.
- Open the wav track in Audacity and press Ctrl + A to select all.
- Go to Effect > Volume and Compression > Amplify…, in Amplification dB set it to -10 dB and press Enter to apply, this will give the plug-in more room to work with.
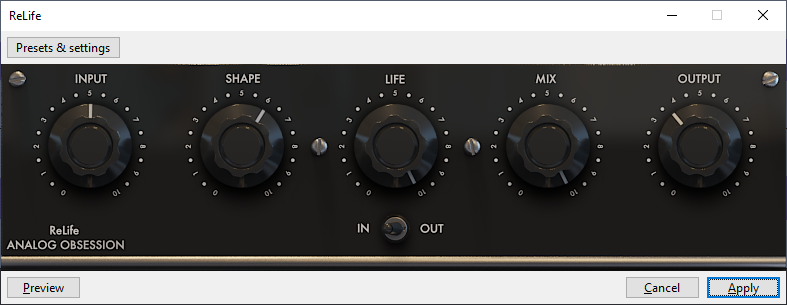
- Go to Effect > ReLife. There is no one settings fits all, you have to adapt and fine tune the settings. For this song I use this setting. Don't overdo it with Shape, as that can make the sound too thin, sharp, or strident.
- Click Apply.
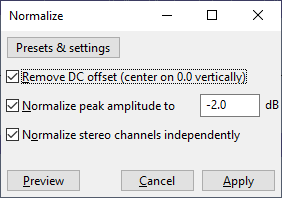
- To conclude, go to Effect > Volume and Compression > Normalize. I use this settings to get close to LP levels.
And this is the final result:
VLC
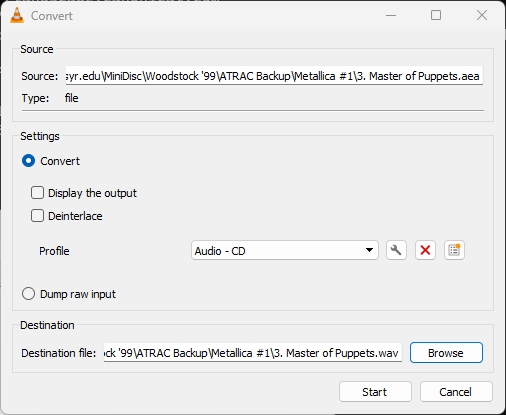
VLC provides a straightforward, GUI-based way to convert files. From the Media menu, choose Convert/Save… (Ctrl-R):
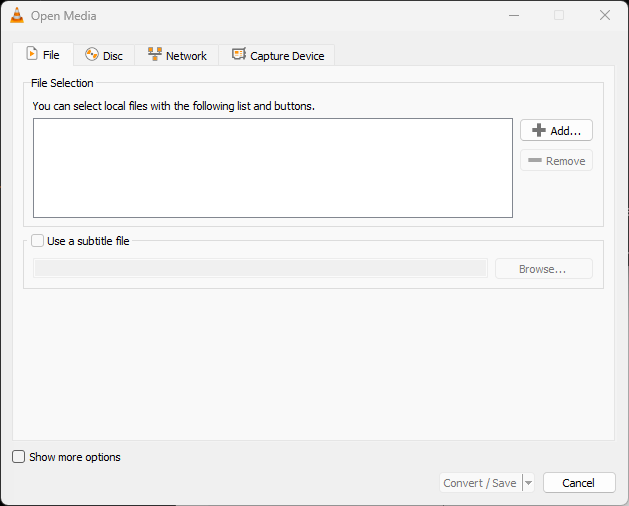
Add the files to be converted and select the target format. From the Convert/Save pulldown at the bottom, select Convert (Ctrl-O) and then Start: